
photoshop模拟毛笔字的教程
发布时间:2017-04-09 12:44
相关话题
中国的书法博大精深,我们可以在photoshop里面模拟出这种效果。接下来就是小编精心整理的一些关于photoshop模拟毛笔字的教程的相关资料,供你参考。
photoshop模拟毛笔字的教程
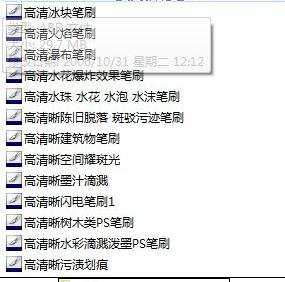
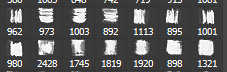
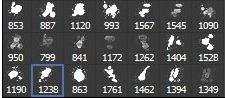
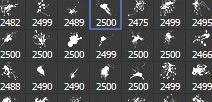
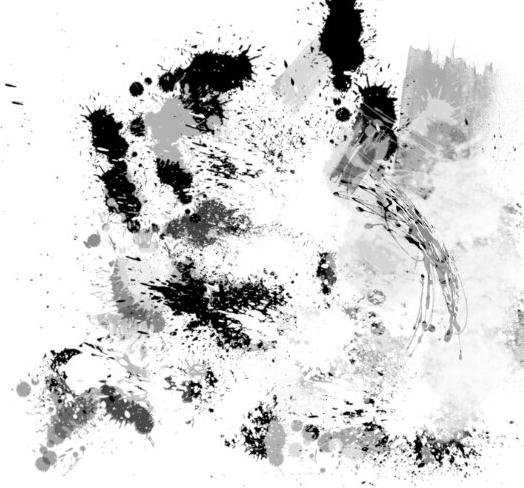
俗话说,不打没有准备的仗。为了得到墨迹的效果和撕裂的笔触和纹理,该类型的笔刷当然是不可以少的了。所以,我们新建一层背景之后,就尽快的载入我们需要的笔刷。
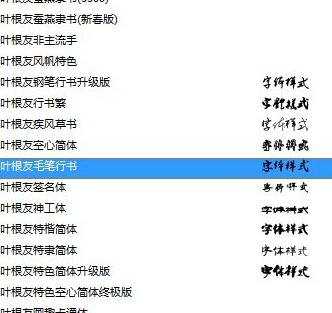
一、打开文字工具,在里面选一个类似古风的字体其实用屁股想也知道,方方正正的字体来做这种效果,肯定很奇怪对吧。字体选得越接近心中所想,修改基础字体的部分花的时间就越少。
二、讲打出的字,放大到幅面所需,然后将它转化为形状。

三、利用钢笔工具来进行一些调整,这里你可以处理的艺术化一些。这里要郑重说明一点的是,这里是墨迹化处理的字,不是模拟毛笔字。尽管用这种方法也是可以轻松实现的。
四、重点来了。这里的墨迹处理其实说穿了就是两个部分。
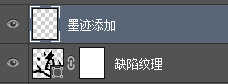
第一个部分,把原始字体用笔刷结合蒙板来“搞破坏”做出类似纹理,第二个部分就是在它上面来添加墨迹。最后整体体现出来就可以了。图层放置如下
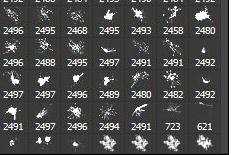
五、类似“毛笔”笔触的画笔。
六、画的时候,可以把间距提到可以看到单独的笔刷,然后,不断的来旋转角度来契合你要擦拭的字体边缘。
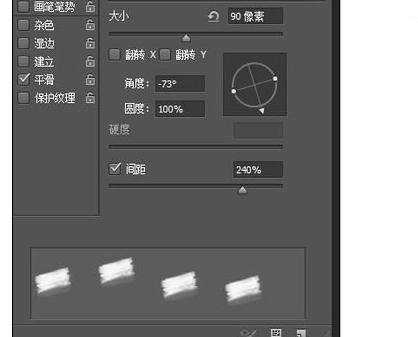
七、还要用不同的透明度和流量来反复的来回擦拭。

效果如下
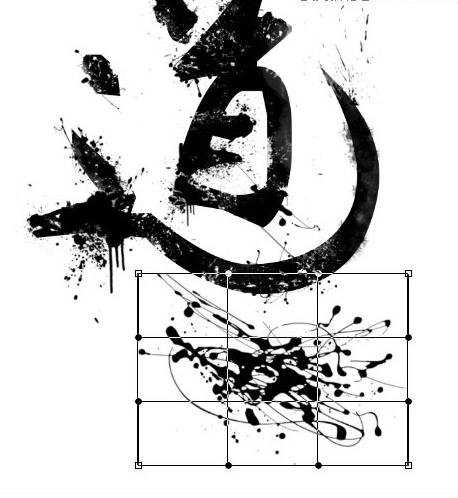
八、然后选择墨迹类笔刷来添加一些元素。
九、尽量选择和字体笔画有一定联系的笔刷来贴合。
十、其他的一些元素可以通过变形来强制贴合就好。
十一、这里是“蒙板”的单独显示。
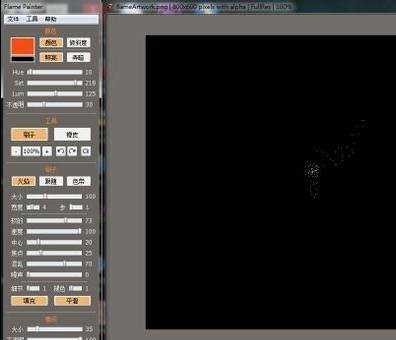
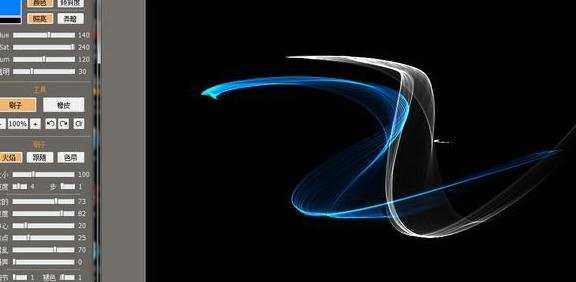
十二、然后打开烟雾绘制软件来绘制一些类似烟雾的装饰元素
十三、然后放进去装饰,添加个背景在字体的下面就可以了。最终在根据自己想想法装饰一下就可以了。

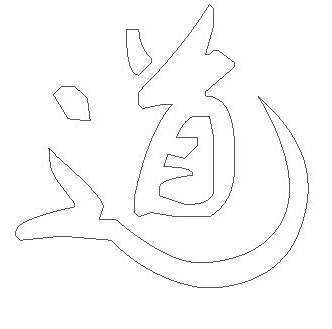
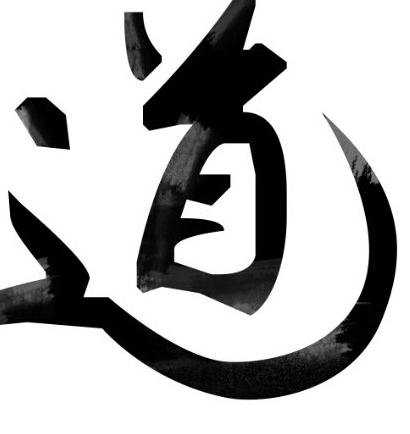
最终效果

photoshop模拟毛笔字的教程的评论条评论