
ps制作相框的方法
发布时间:2016-11-07 16:57
手工制作的相框大家可能都弄过,有些麻烦。那么PS如何去制作自己喜欢的相框呢,弄好了相框又该如何把图片弄进去呢?下面是小编为大家整理的ps制作相框的方法,仅供大家参考~
ps制作相框的方法如下:
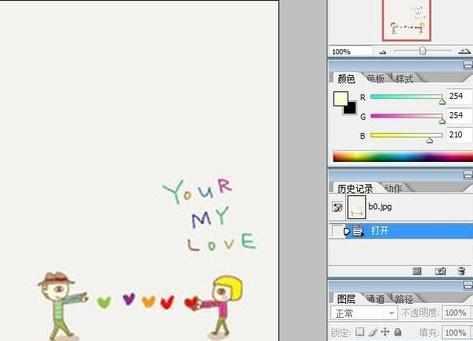
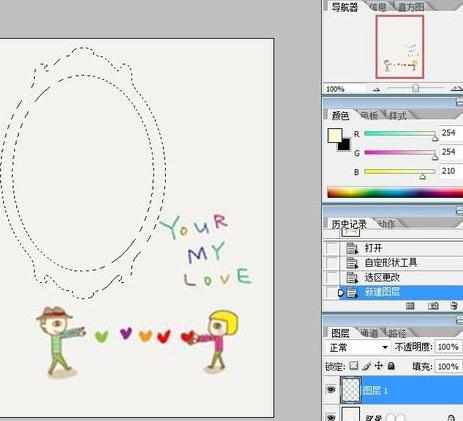
打开PS软件,把背景图片拉进去。
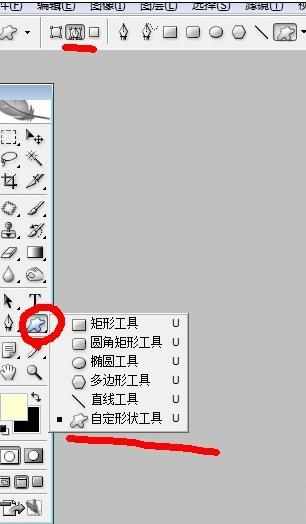
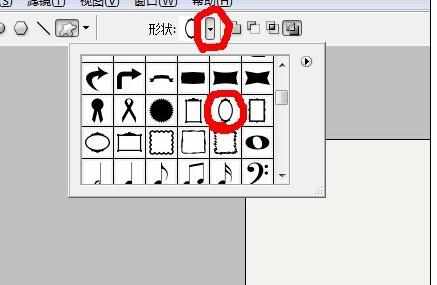
选择自定义图案工具,且设置如下图,再在形状处找到你喜欢的相框样式。
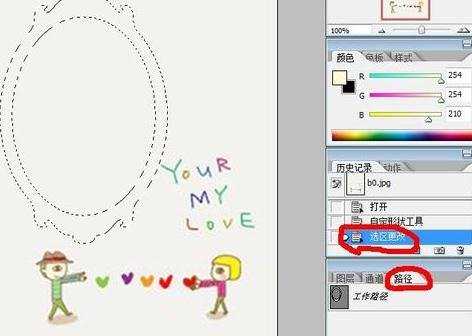
在图中拉出一个适当大小的画框。

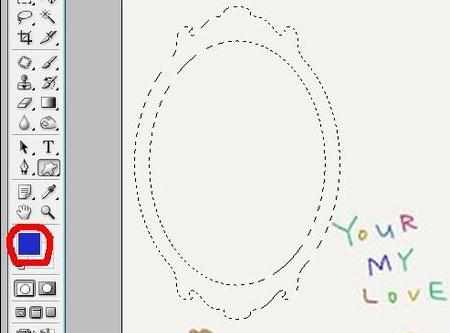
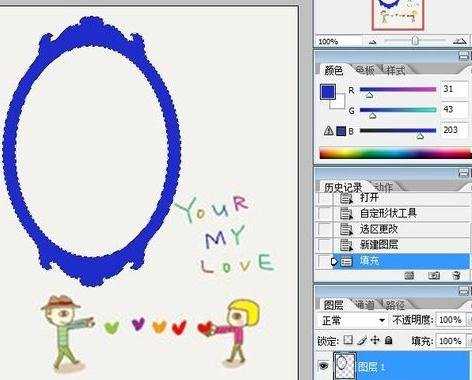
在路径处,按住Ctrl + 鼠标左键单击该路径,再回到图层处,点击下图所示的图标【新建一个图层】,再颜色处选择好你喜欢的颜色,按Alt + Delete【填充选区】。
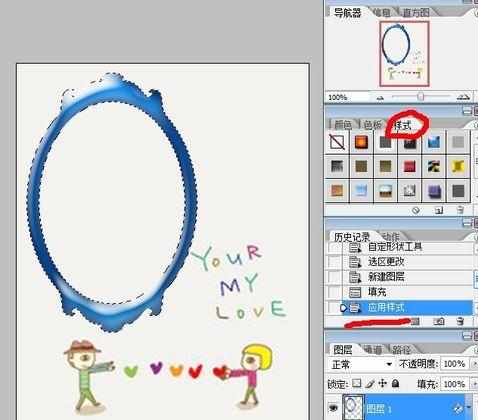
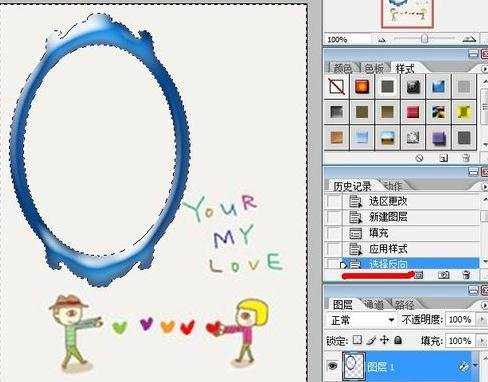
在下图所示的样式处,选择你喜欢的样式【鼠标左键单击一下即可】。
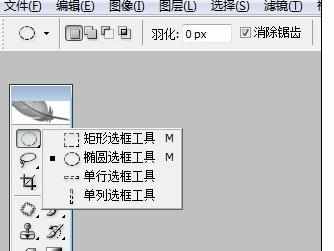
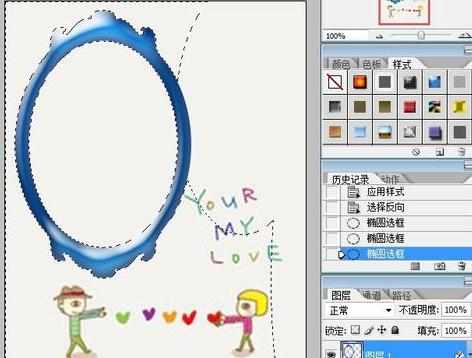
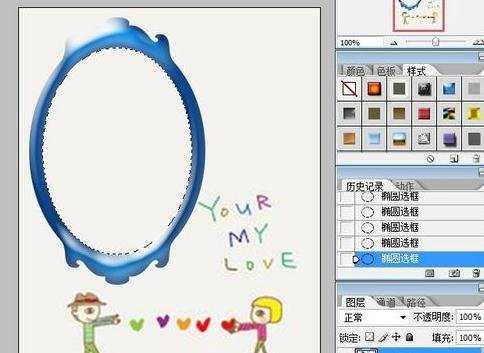
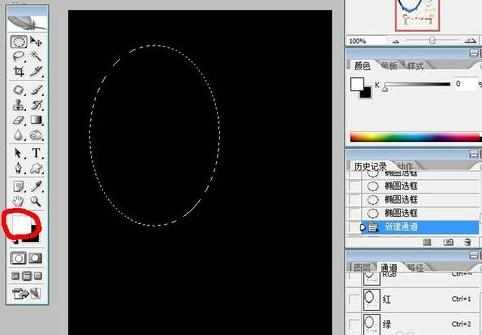
按Shift + Ctrl + i【反向选择选区】,选择椭圆选区工具,按住Alt + 鼠标拉动选区【去删除除了相框中间的椭圆选区外的其他选区】。
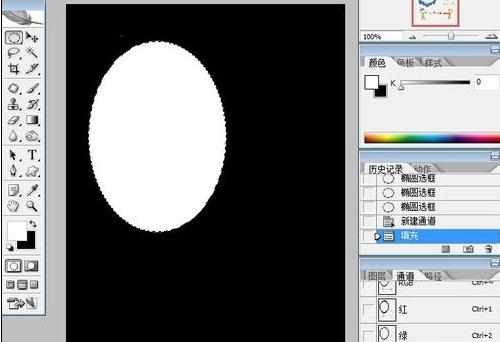
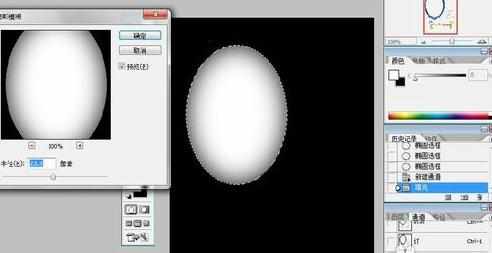
来到通道处,点击下图所示的按钮【新建一个通道】,选择白色,按Alt + Delete【填充颜色】,选择滤镜——模糊——高斯模糊【详细参数自己适度设置】。
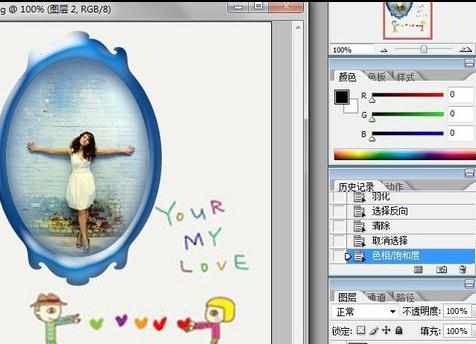
按Ctrl + C 【复制选区】,回到图层处,新建一图层,按Ctrl + V【粘贴选区】。

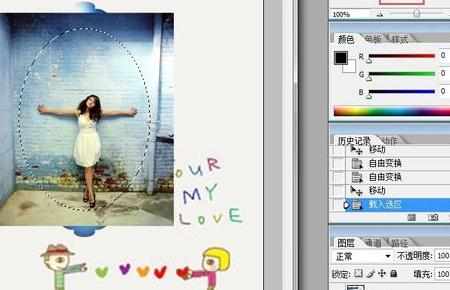
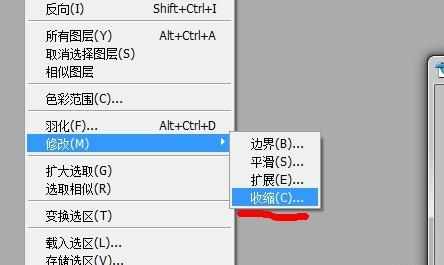
把照片拉进去,按Ctrl + T【调整大小】,放好位置。按Ctrl + 鼠标左键单击图层2【载入选区】,点击菜单栏的选择——修改——收缩【参数自调】。按Ctrl + Alt + D【羽化选区,之前收缩多少,就羽化多少】。
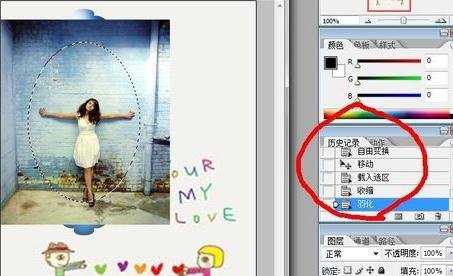
按Ctrl +Shift+ I【反向选择选区】,选择图层3,按Delete【删除选区】。
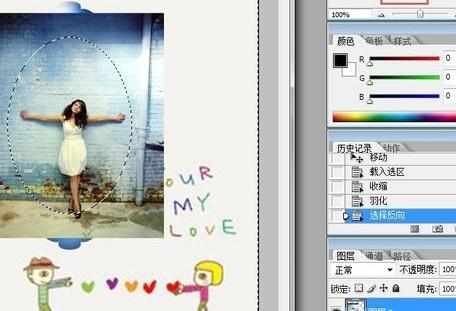
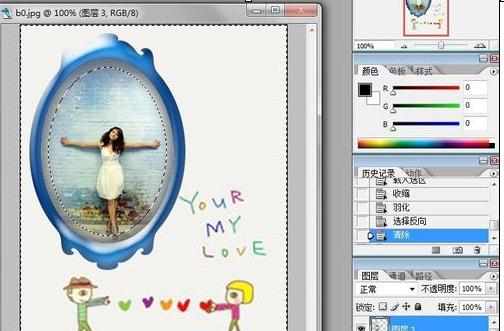
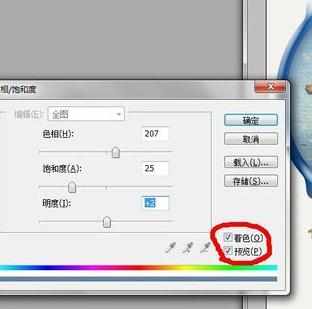
按Ctrl + D【取消选区】,选择图层2,按Ctrl + U【调整饱和度,参数自调,最好和相框颜色相似】。
ps制作相框的方法的评论条评论