
photoshop制作水滴的方法
发布时间:2016-11-07 11:56
相关话题
如何用PS制作出逼真的水滴效果呢?下面是小编为大家整理的photoshop制作水滴的方法,仅供大家参考~
photoshop制作水滴的方法如下:
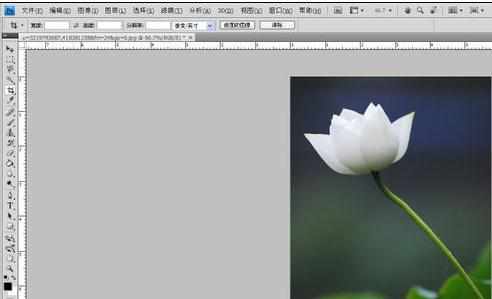
我们首先用PHOTOSHOP打开一张图片。
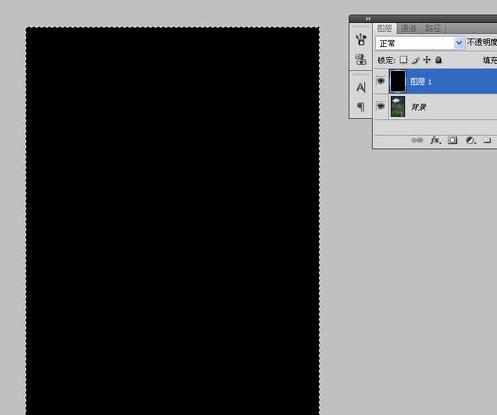
2在背景图层上新建个图层,并用工具栏上的油漆桶工具填充为黑色。
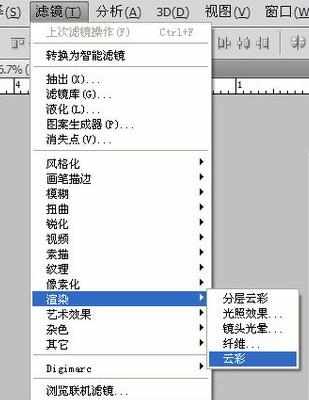
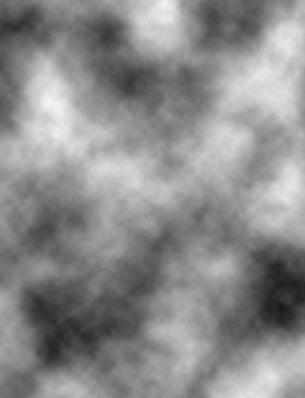
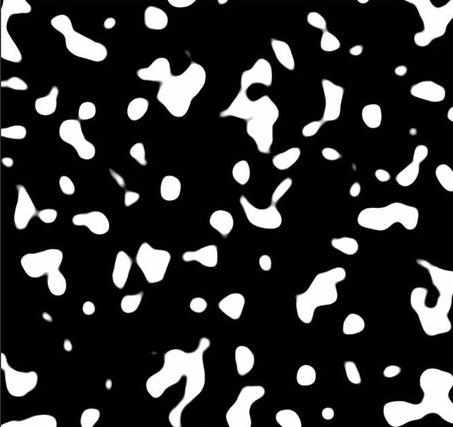
3执行滤镜-渲染-云彩
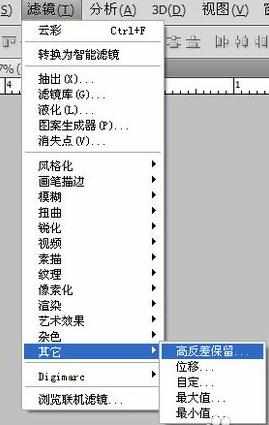
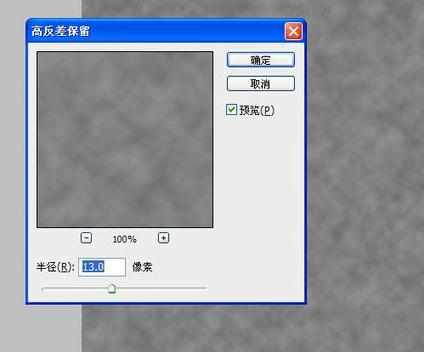
执行滤镜-其他-高反差保留
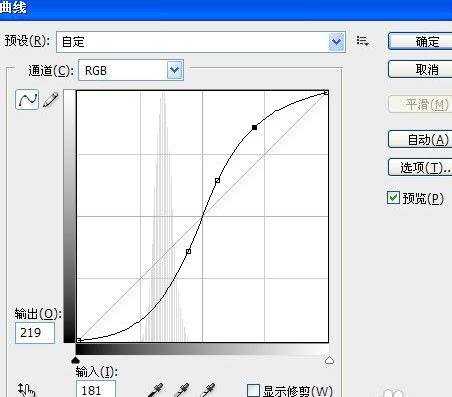
我们可以按CTRL+M,将曲线值调整一些,不然之后的图章像果会不大好。
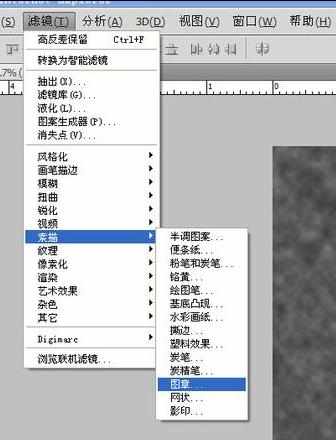
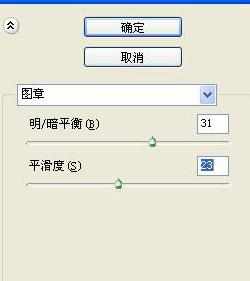
我们执行滤镜-素描-图章。
我们将图像调成我如下的效果,数值可以自己掌控一下,调一下明暗平衡度和平滑度。
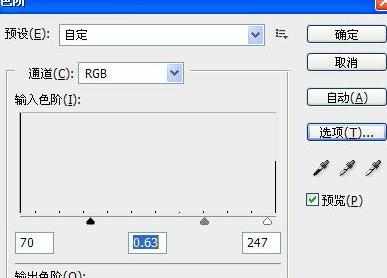
我们可以再按CTRL+L,调整一下色阶,使图像更平滑。
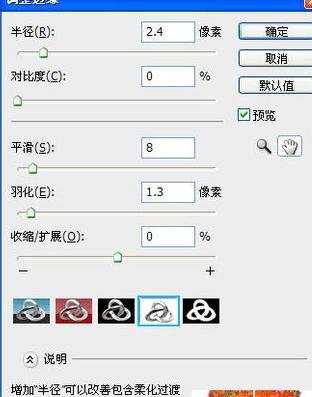
我们现在用魔棒工具点中黑色区域,再点选择-调整边缘,在弹出的对话框中,调整半径,平滑度和羽化值。点确定。按DEL键将黑色区域删除。
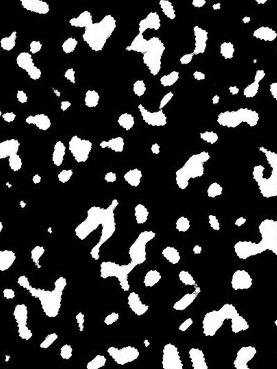
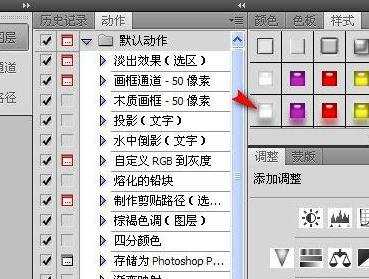
我们再按CTRL+SHIFT+I,反选,选中白色区域,我们在样式面板上选个按钮,如图。最好选我选的这类材质的。
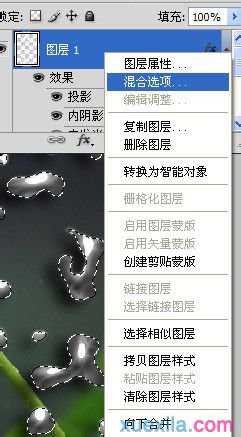
我们右击该图层选混合选项,斜面浮雕参数调整如下。
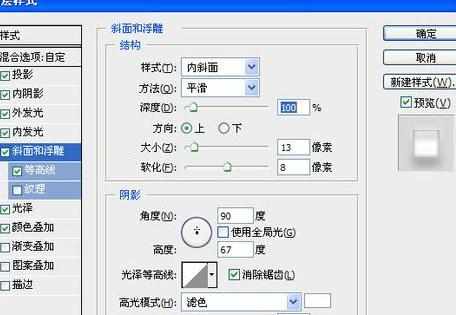
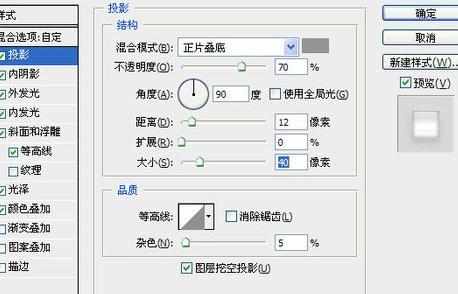
投影参数调整如下。
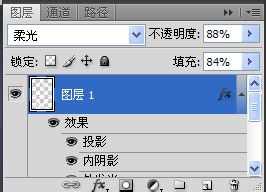
我们最后将水滴图层的混合属性适为柔光,调低不透明度和填充值。最终效果如下。

photoshop制作水滴的方法的评论条评论