
怎样使用ppt墨迹功能
发布时间:2017-05-16 19:44
我们在演示ppt文稿的时候,一般都会使用墨迹功能来将重要的内容标记出来,对于新手来说,可能不知道墨迹功能使用的方法,下面就让小编告诉大家怎样使用ppt墨迹功能。
使用ppt墨迹功能的方法
添加墨迹:
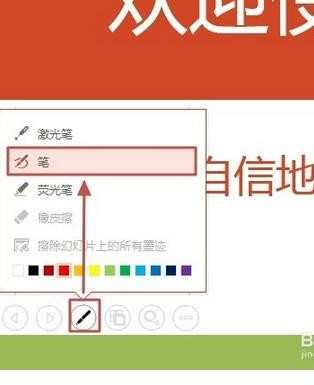
A、在PPT2013放映幻灯片时候,我们可以使用“笔”或“荧光笔”来添加墨迹。放映时,在左下角单击指针工具图标,在弹出的菜单中选择“笔”或“荧光笔”,这里以选择“笔”为例。
B、在放映的幻灯片中添加墨迹,如下图所示。

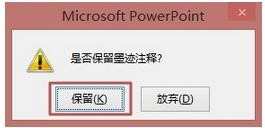
C、当我们退出放映时,会打开如下图所示对话框,提示是否保留墨迹注释,这里选择“保留”,即可把墨迹保存到幻灯片中了。
编辑墨迹(一)更改墨迹颜色
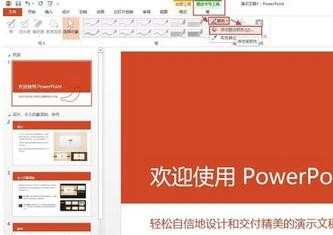
A、选中墨迹,然后在“墨迹书写工具-笔”选项卡,单击“颜色”—“其他墨迹颜色”按钮。
B、打开“颜色”对话框,选择合适的颜色,然后单击“确定”。
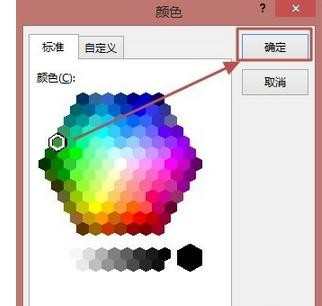
C、这时候墨迹颜色,如下图所示。

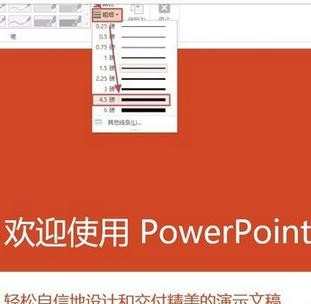
编辑墨迹(二)更改墨迹线条
选中墨迹,然后在“墨迹书写工具-笔”选项卡,单击“粗细”,从列表中选择相应的线条即可。
删除墨迹:
选中墨迹,直接按键盘上的“Delete”键即可将其删除。

怎样使用ppt墨迹功能的评论条评论