
ps鼠绘彩色立体字
今天小编分享一个用Photoshop制作潮流的彩色立体字的教程,教程的立体字制作得非常有创意。虽然立体效果不太明显,不过作者在渲染方面制作的非常好。用了一些云彩及笔刷素材装饰文字,再经过精心的调色,效果看上去非常经典。
Photoshop制作潮流的彩色立体字
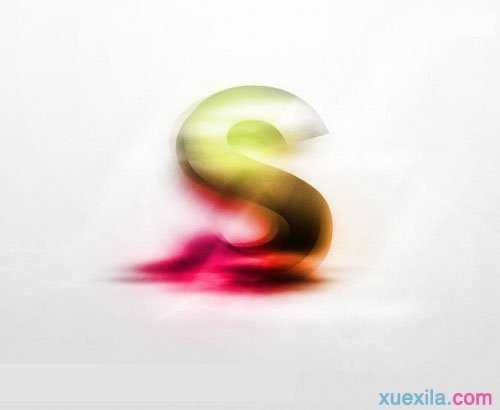
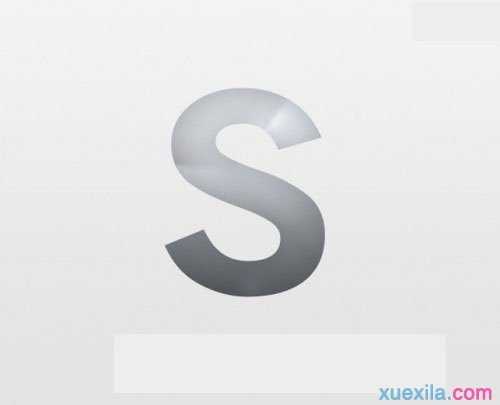
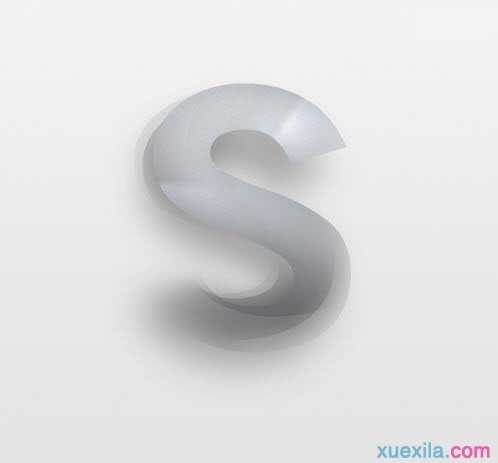
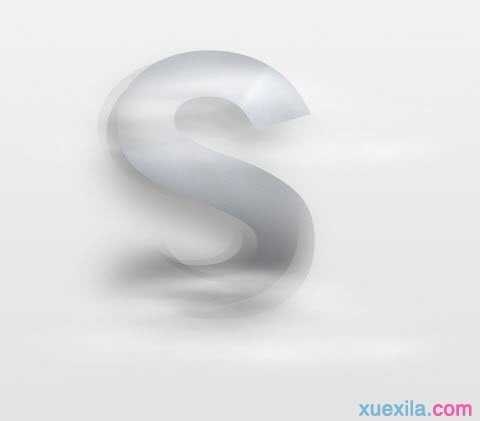
最终效果1
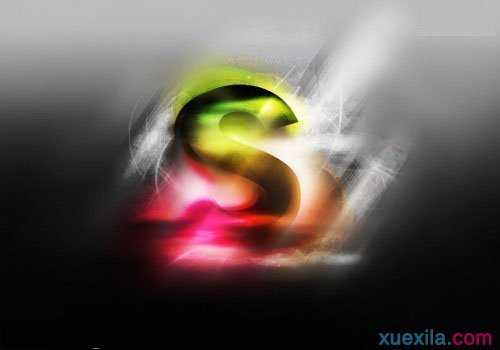
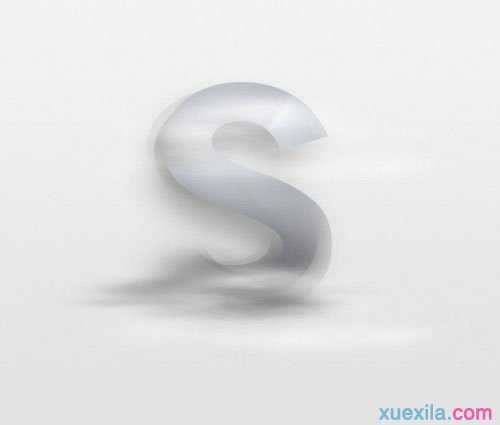
最终效果2
1、新建一个文件,大小自己定,本教程的大小是 800*600。
2、把前景色和背景色的颜色设为:#F2F2F2和#E3E3E3,利用渐变工具拉一条(也可以自己设一个背景渐变色)

3、在画布上输入一个字,字体用粗体。

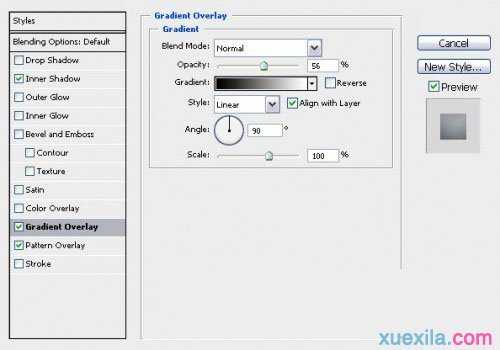
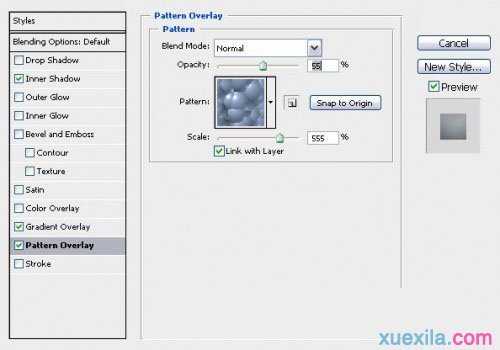
4、在刚输入文字的图层,打开图层混合选项,各种效果数值如图设置。
内阴影:

渐变叠加:
图案叠加:
调好的效果图如下:
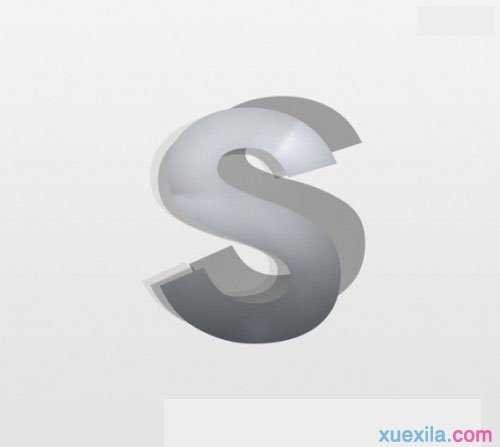
5、复制三个文字图层,移动排出如下图的效果,提示:降低透明度,底部那S可以隐藏:
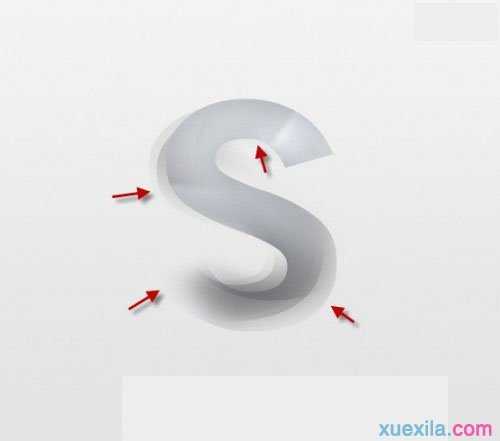
6、在每个文字复制图层,添加图层蒙板,用软笔刷涂抹相应位置 ,效果如下。这步的目的是融合周围:
7、在任何文本复制图层的副本,再复制一层,这个复制图层拉到原文本图层的上面,利用滤镜-模糊-高斯模糊-数值11.1%。
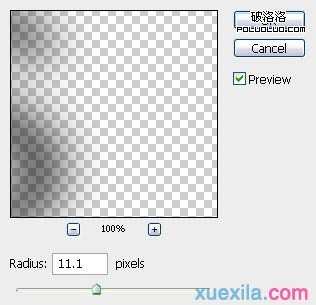
模糊后的效果:
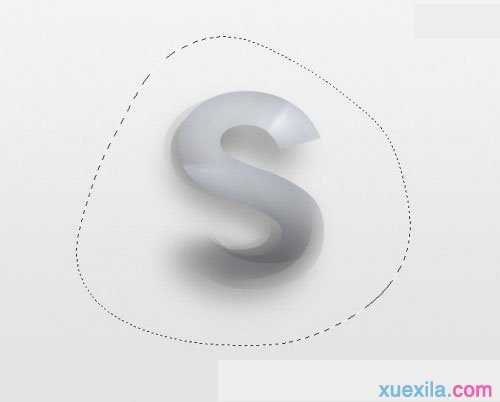
8、新建一层,命名为“云”,用套索工具套住局部,羽化半径 25 PX,执行:滤镜--渲染--云彩(前景色设为 白色,背景色设为深灰色)调到喜欢的云彩。你也可以用云彩笔刷来完成。
完成云彩渲染的效果:
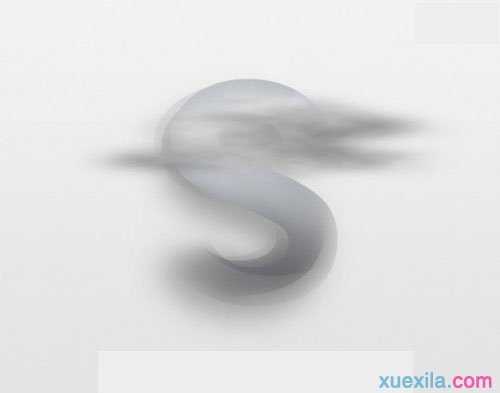
9、新建一层在云彩一次,移到下方。
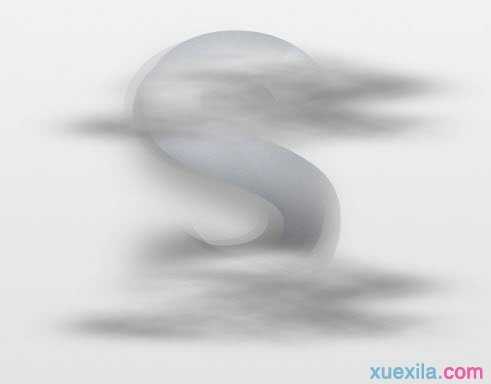
10、把这两个云图层的模式改为 “强光”。
11、复制S下方的云图层,并将其命名为“阴影”,更改阴影图层混合模式为“正常”和不透明度为40%,效果如下:
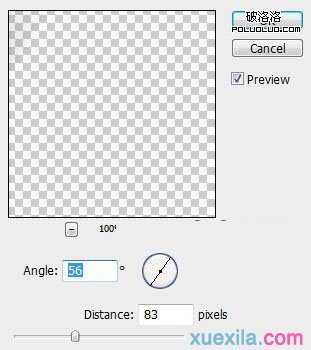
12、在最上面重复云彩一次,命名此层为“光”,旋转60度左右,并添加“动感模糊”设置为角度 56 距离 83:
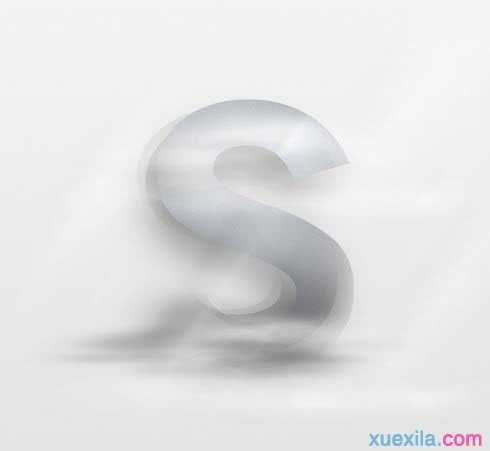
13、更改此层的图层混合模式为“叠加”,重复了几次并拖动,效果如下:
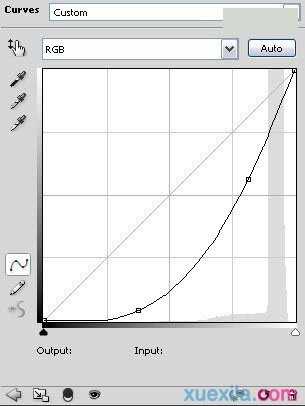
14、除了背景盖印图层(ctrl+alt+shift+e)现在我们可以做一些微调,CTRL+L 曲线如图:
15、最后开始上色,上色方法很多,大家可以试试,本教程上色方法,在盖印层打开图层混合选项--渐变叠加--混合模式改为“叠加”,渐变选择彩色,你也可以自己设置颜色。
深色版本:(调整背景颜色,调整亮度和对比度的最终效果,用到了抽丝和纹理,可以下载笔刷添加)。
ps鼠绘彩色立体字的评论条评论