
photoshop基本动画制作
发布时间:2017-05-23 14:25
相关话题
动画制作在photoshop里面也是可以实现的,接下来就是小编精心整理的一些关于photoshop基本动画制作的相关资料,供你参考。
photoshop基本动画制作的方法
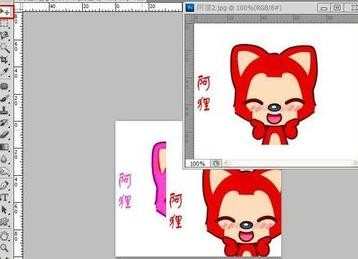
打开要制作动画两张图片后,用移动工具将一张图片移动到另外一张中,使两张图片在同一个图像文件中,如图所示:
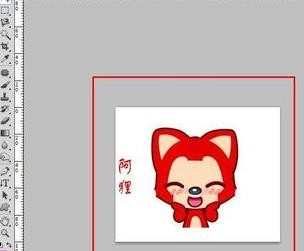
用移动工具将图层1移动到合适位置(图层1将背景图层覆盖),如图所示:
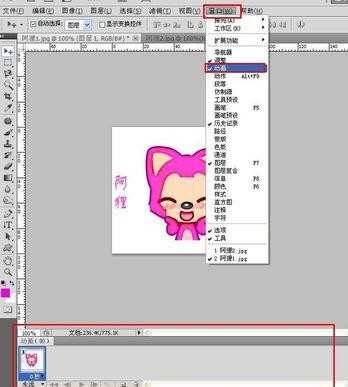
将图层1隐藏,然后“窗口”—“动画”,如图所示:
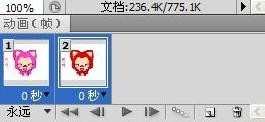
然后在动画菜单栏中点击“复制所选帧”,就会新建一个帧了,如图所示:

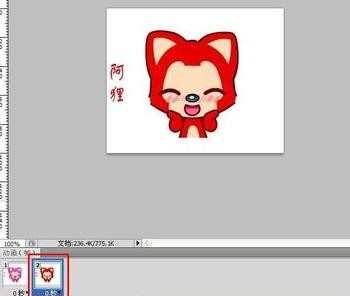
隐藏背景图层,然后显示图层1,这样第二个帧的内容就会由原来背景图层,转换为图层1,如图所示:
按“Ctrl”键,然后点击帧1,将帧1、帧2同时选中,如图所示:
然后点击“过滤动画帧”按钮,就会弹出过滤窗口,参数设置如图所示:
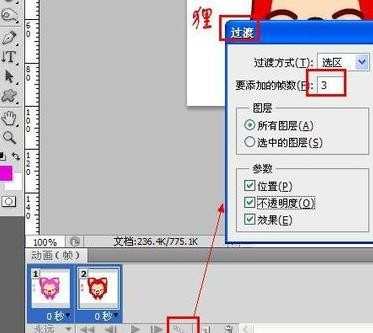
将所有帧延迟时间设置成0.1秒,最终效果就出来了,如图所示:

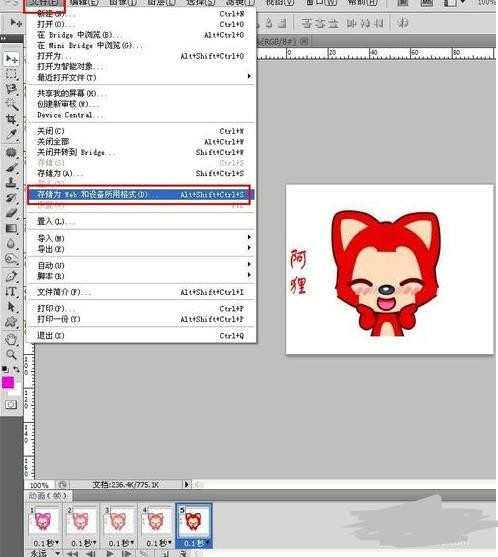
最后就是将制作好的动画保存好,如何保存用PS制作好的动画呢?选择“文件”—“存储为Web和设备所用格式”,如图所示:
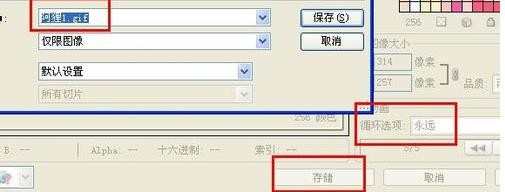
弹出存储窗口,只要点击存储就可以了,不过要注意循环选项选择“永远”,如图所示:
photoshop基本动画制作的评论条评论