
在word2013中如何对插入的图片进行排版
发布时间:2017-04-08 21:48
相关话题
当我们在使用办公软件时,尤其是word编辑文档时,需要插入图并进行图片的排版。对很多电脑高手来说是很easy的事,但是对一些初学者来说可能是一个大困难。那么下面小编就教你怎么做吧。
word2013对插入的图片进行排版的方法
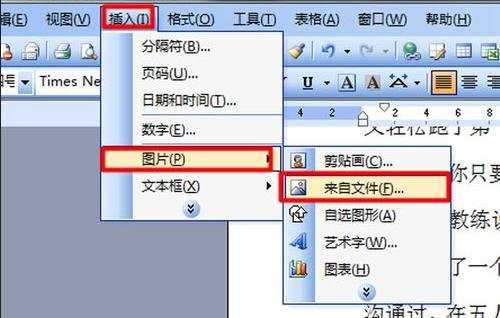
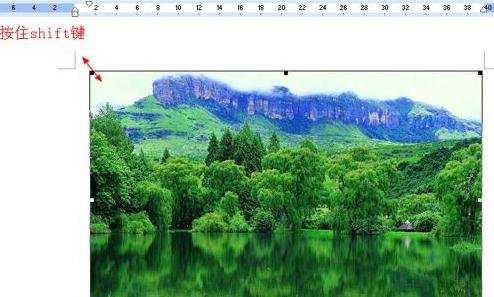
打开要编辑的word文档,依次选择【插入】--【图片】--【来自文件】,选择你需要插入的图片后,系统自动导入图片,然后进行图片大小的调整(按住shift+图片四角的箭头进行调整,这样调整的图片不会变形,是等比例的缩放)。

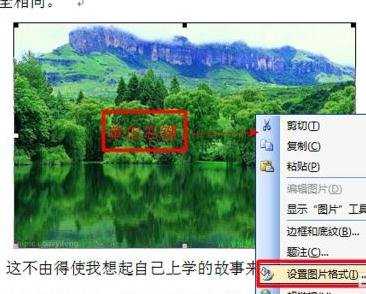
在图片中央单击右键--设置图片格式。然后选择【版式】。在版式下方选择你需要的环绕方式。
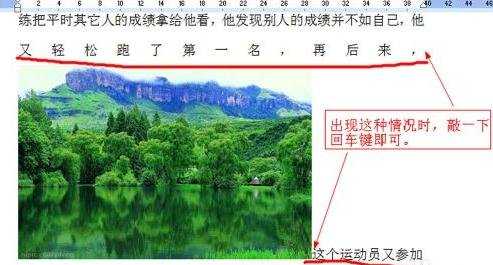
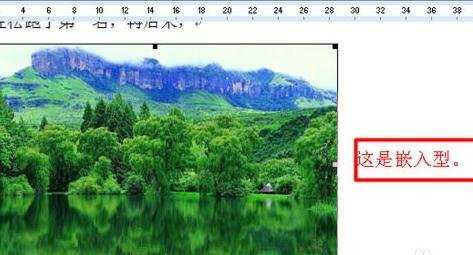
我们先选择【嵌入型】,选择后单击确定。之后出现的编辑板面可能会出现有些文字距离拉大,那么我们可以另起一段,回车即可。
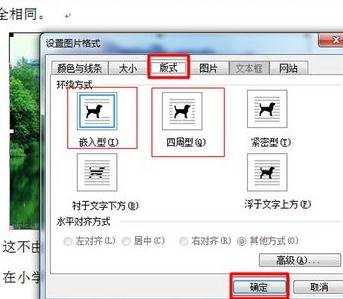

然后我们再以同样的方式选择【周围型】,进行需要对图片大小、文字进行调节,满意即可。
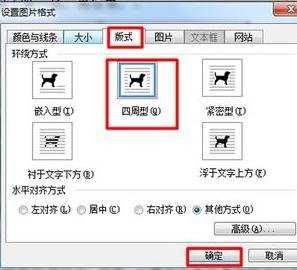

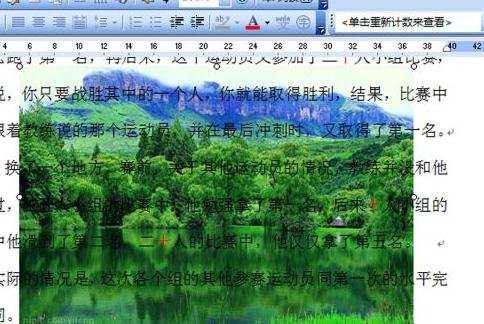
然后我们再以同样的方式选择【衬于文字下方】,进行需要对图片大小、文字进行调节,满意即可。
在word2013中如何对插入的图片进行排版的评论条评论