
Photoshop制作创意海报图片实例教程
相关话题
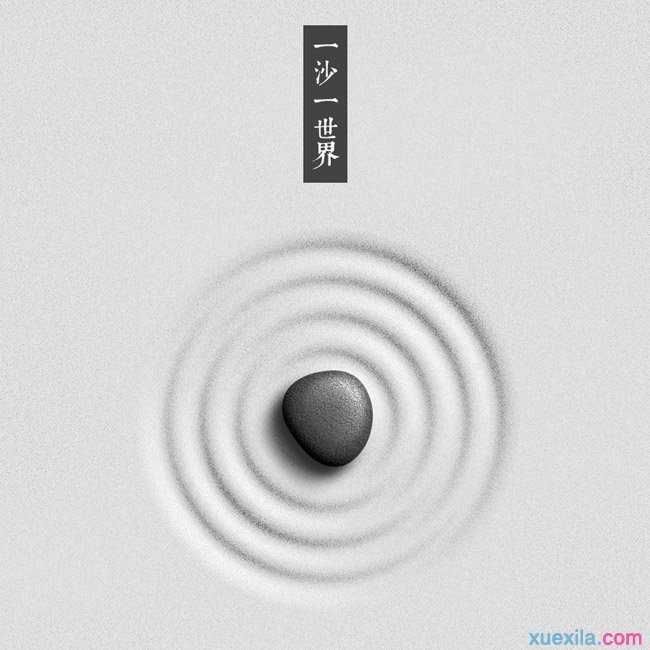
效果图非常简洁,由水纹和石块两部分构成;水纹部分先用形状工具画好形状,再用图层样式做出层次;石块部分同样做出形状,用图层样式做出质感,再增加一些杂色和阴影做出立体感。下面是小编为大家整理的Photoshop制作创意海报图片实例教程,仅供大家参考~
Photoshop制作创意海报图片实例教程如下:
最终效果
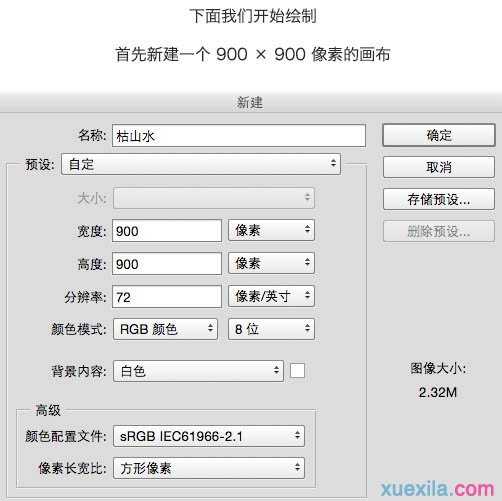
一、首先新建一个900 * 900像素的画布。
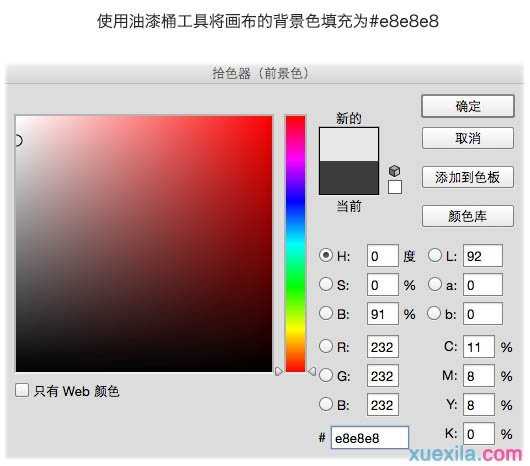
二、使用油漆桶工具将画布的背景色填充为#e8e8e8。
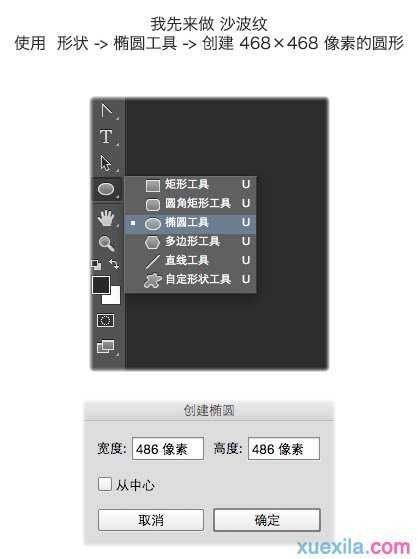
三、使用形状 > 椭圆工具,创建468 * 468像素的圆形。
四、选中画布中刚才建立的圆形,先Ctrl + C 复制一个形状,再选中这个形状,Ctrl + T 进行变形。
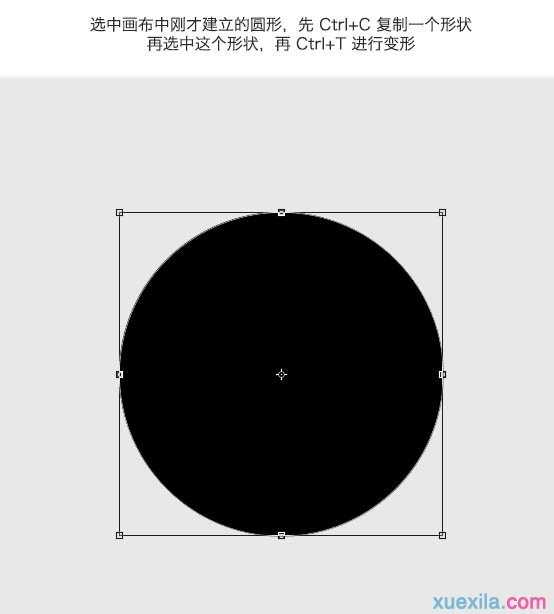
五、以中心点将圆形的长宽都缩小到90%。

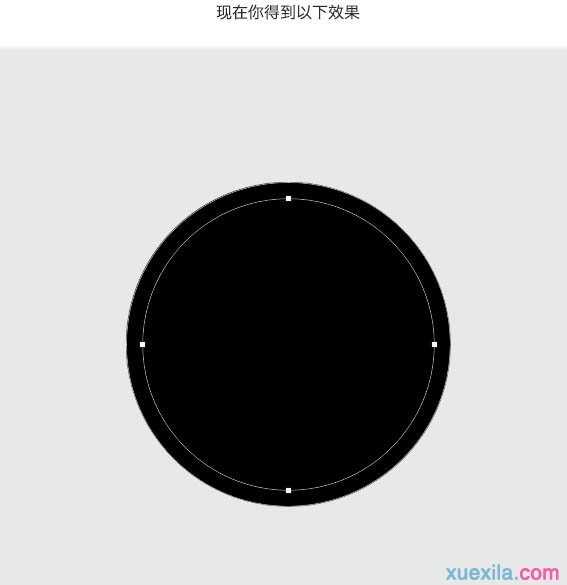
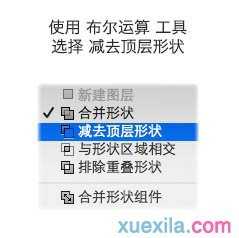
六、使用布尔运算工具,选择“减去顶层形状”。
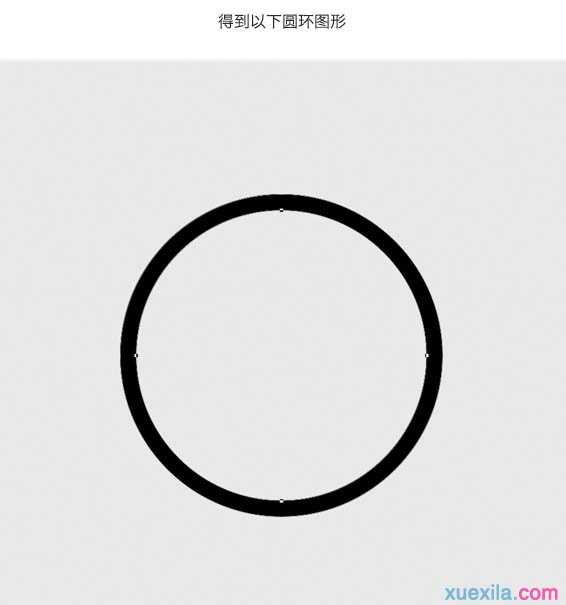
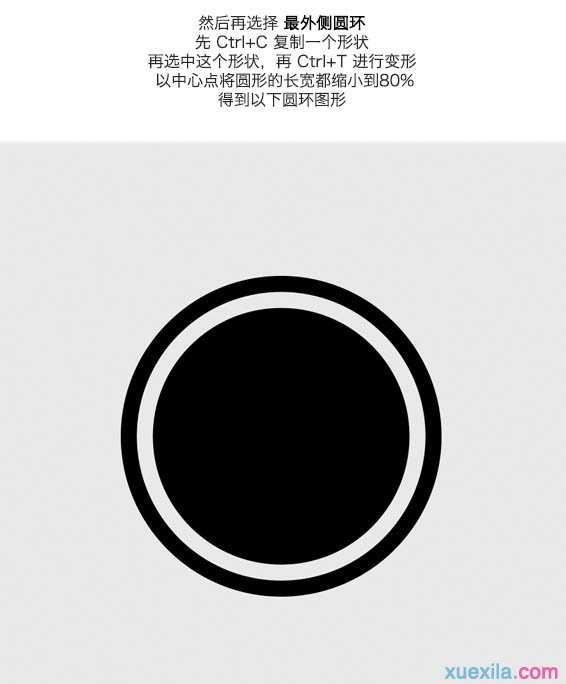
七、然后再选择最外侧圆环,先Ctrl + C 复制一个形状,再选中这个形状,Ctrl + T 进行变形,以中心点将圆形的长宽都缩小到80%,得到以下圆环形。
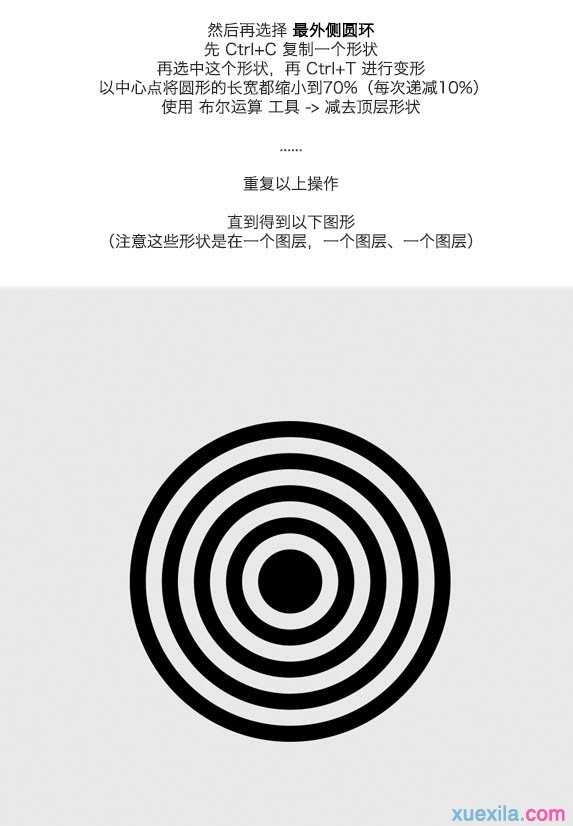
八、然后再选择最外侧圆环,先Ctrl + C 复制一个形状,再选中这个形状,Ctrl + T 进行变形,以中心点将圆形的长宽都缩小到70%,每次递减10%,使用布尔运算工具,减去顶层形状。
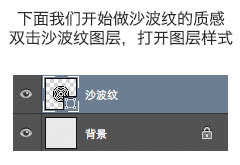
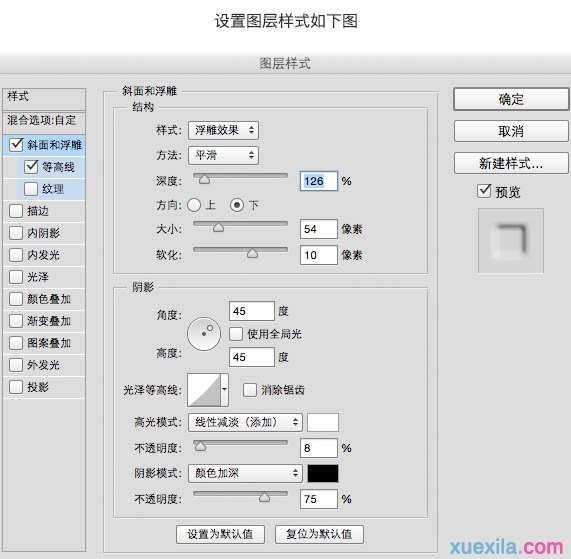
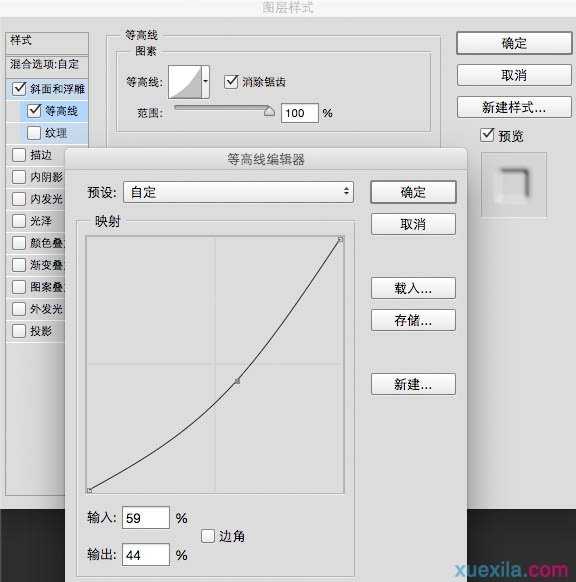
九、下面我们开始做沙波纹的质感,双击沙波纹图层,打开图层样式。
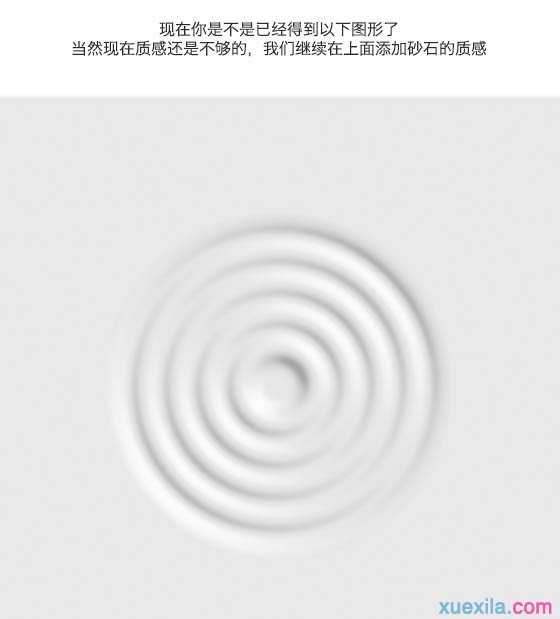
十、现在你是不是已经得到以下图形了,当然现在质感还是不够的,我们继续在上面添加砂石的质感。
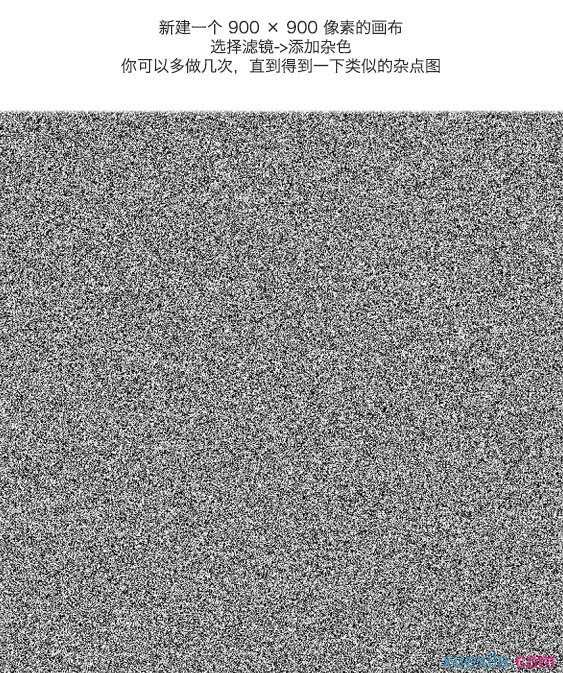
十一、新建一个900 * 900像素的画布,选择:滤镜 > 杂色 > 添加杂色,你可以多做几次,直到得到以下类似的杂点图。
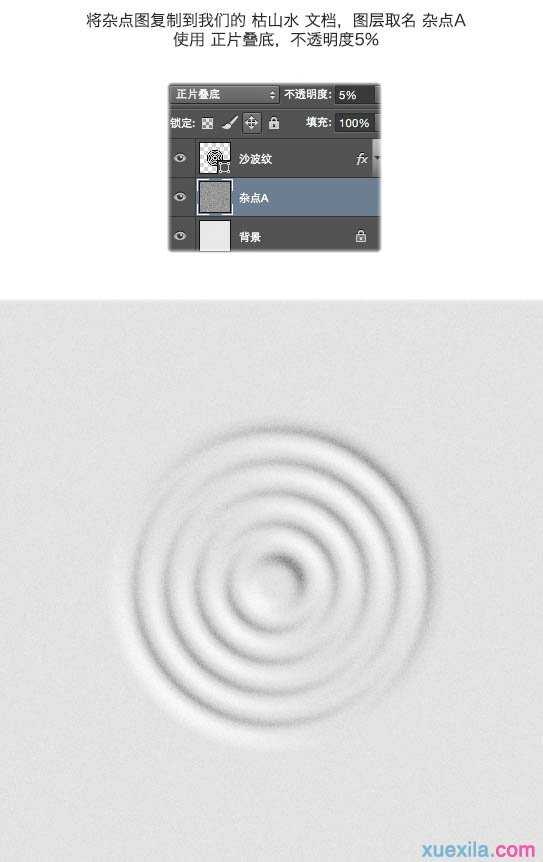
十二、将杂点图复制到我们的文档,图层取名“杂点A”,使用正片叠底,不透明度5%。
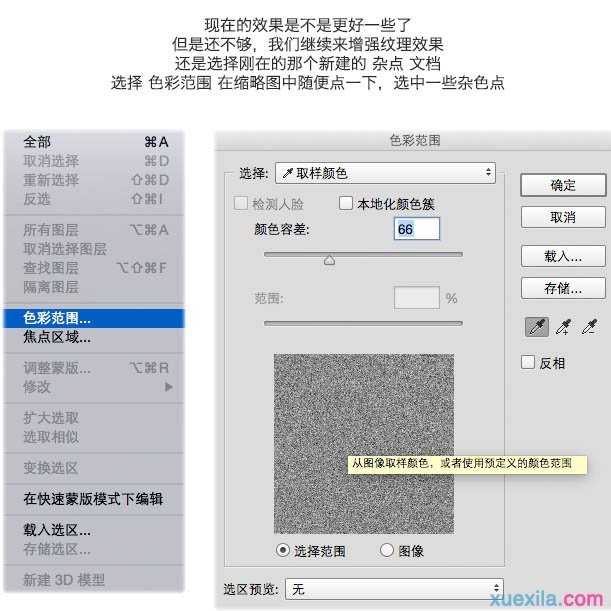
十三、现在的效果是不是更好一些了,但是还不够,我们继续来增强纹理效果;还是选择刚才那个新建的杂点文档,选择色彩范围,在缩略图中随便点一下,选中一些杂色点。
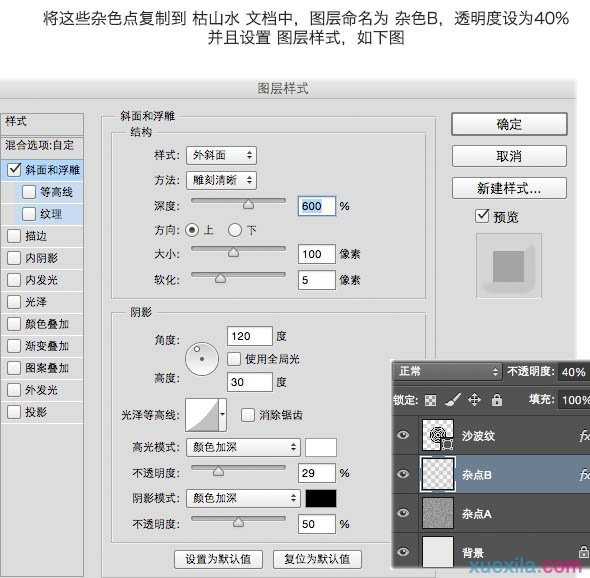
十四、将这些杂色点复制到文档中,图层命名为“杂色B”,透明度设为40%,并且设置图层样式,如下图。

十五、我们继续来制作黑石。

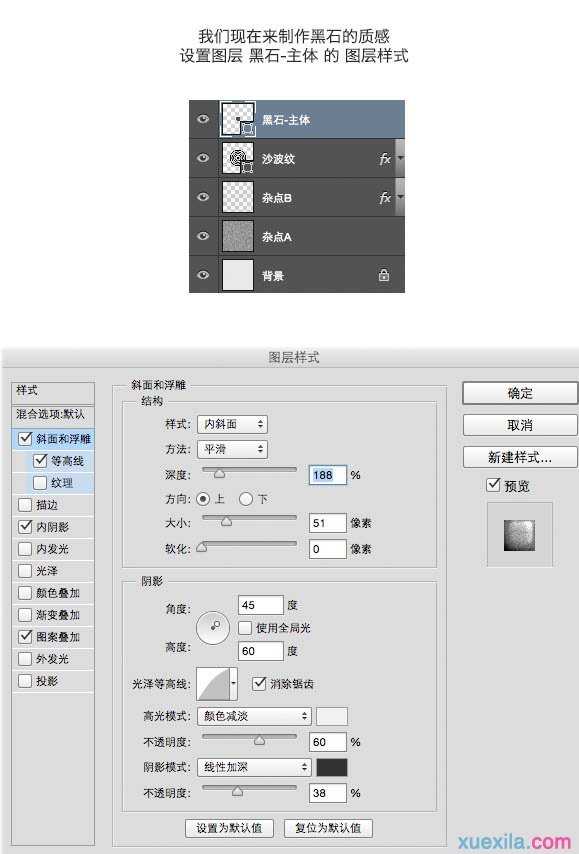
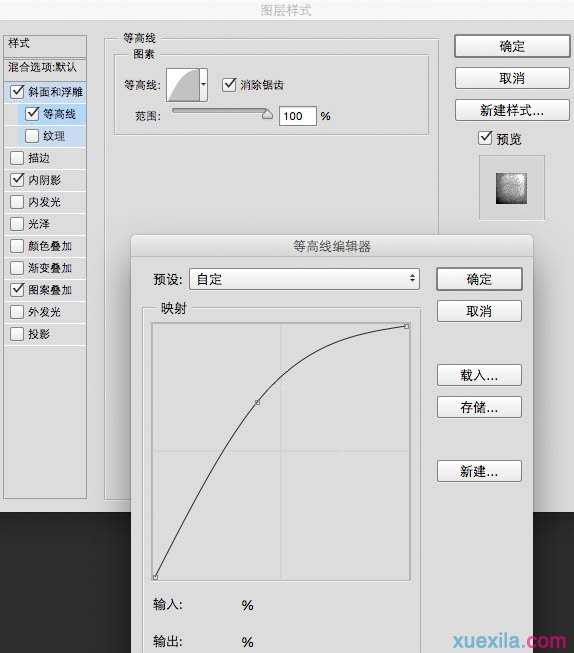
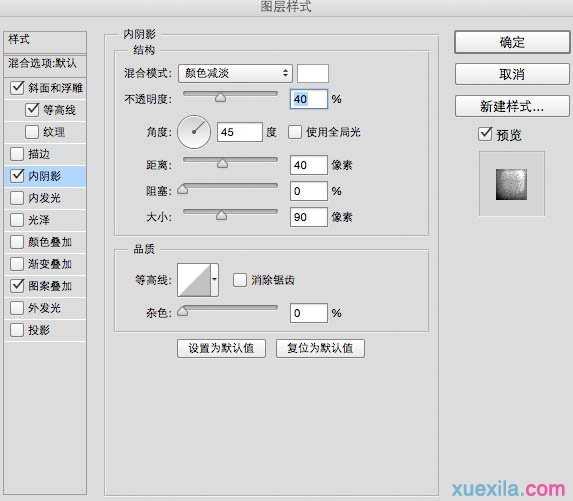
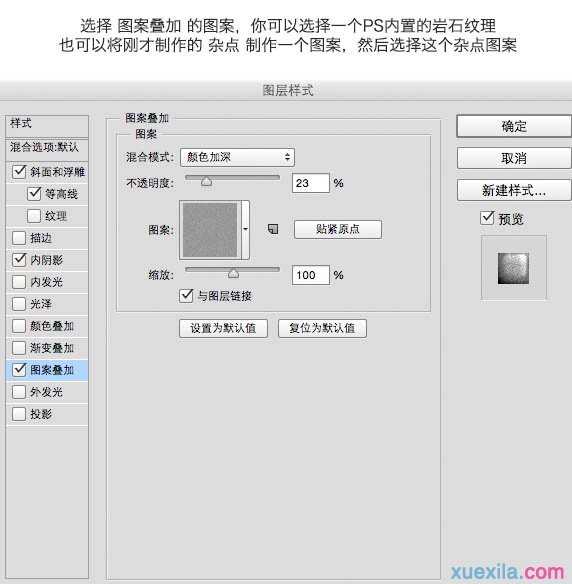
十六、我们现在来制作黑石的质感,设置图层样式。
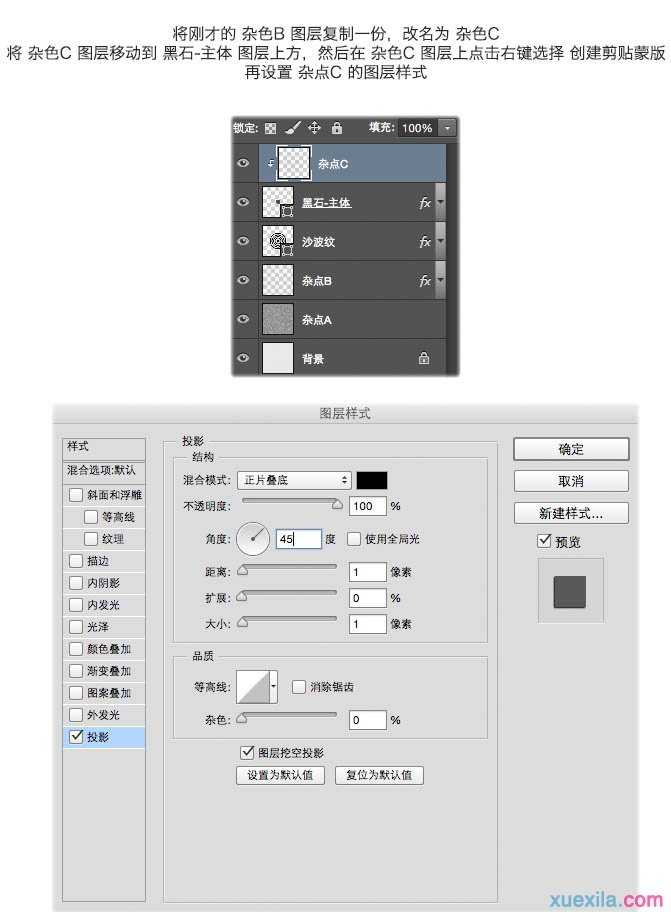
十七、将刚才的杂色B图层复制一份,改名杂色C,将杂色C图层移动到黑石主体图层上方,然后在杂色C图层上右键选择创建剪贴蒙版,再设置杂点C的图层样式。
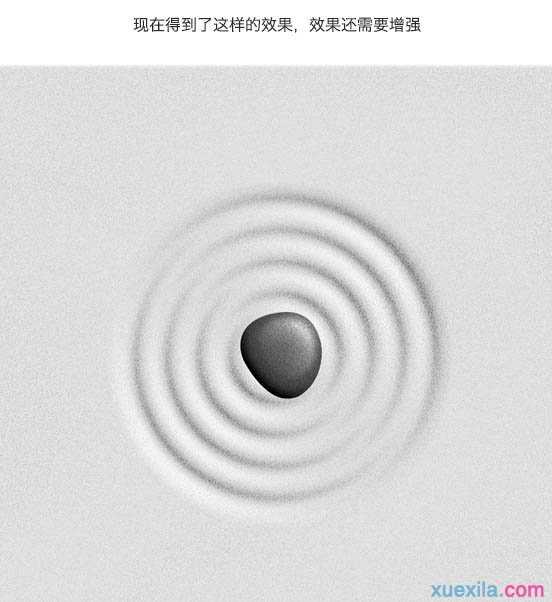
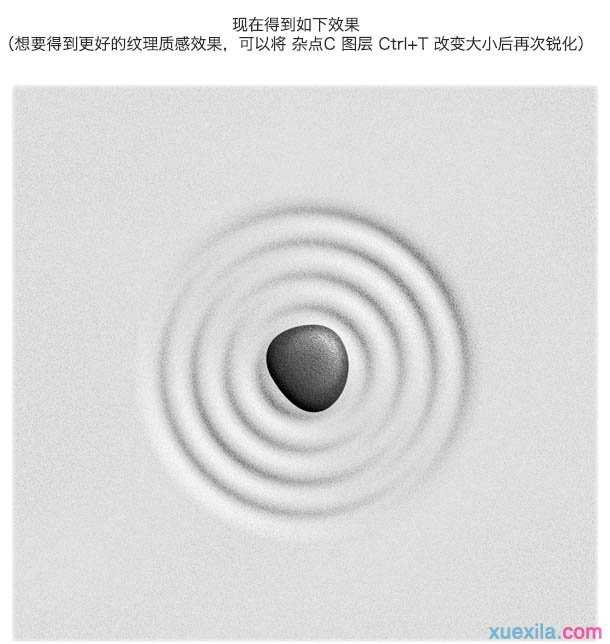
十八、现在得到如下效果。
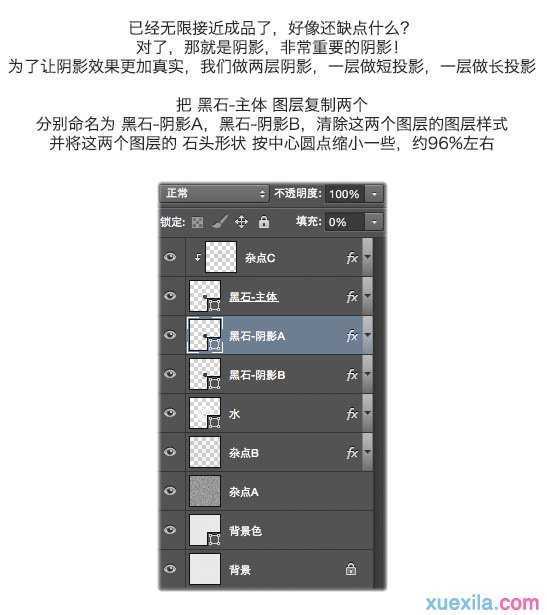
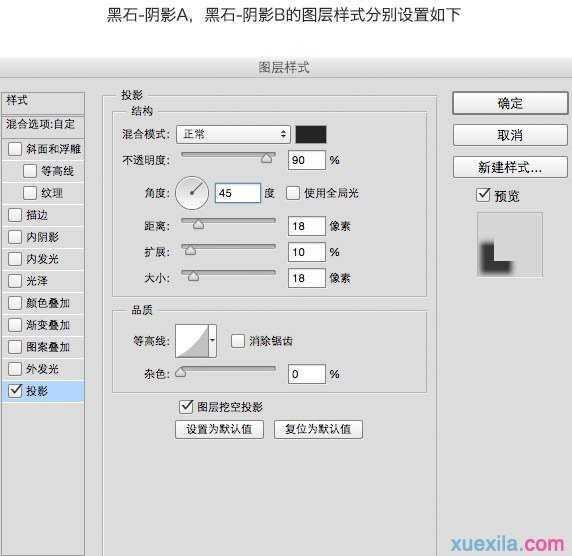
十九、制作阴影。

再加上一些文字装饰,完成最终效果。
Photoshop制作创意海报图片实例教程的评论条评论