
photoshop头发边缘处理
发布时间:2017-02-14 08:32
相关话题
我们平时在使用Photoshop软件抠取人物头像的时候,人物头像的头发边缘很难处理,下面小编告诉大家photoshop头发边缘处理,一起来学习吧。
photoshop头发边缘处理的方法:
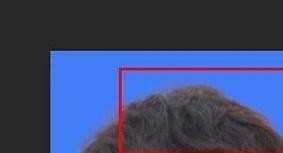
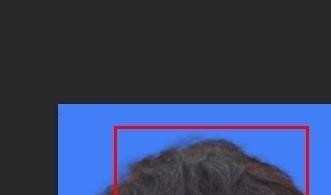
首先,请大家打开Photoshop软件,看下面的人物示例图片,人物头发上有很多杂色。
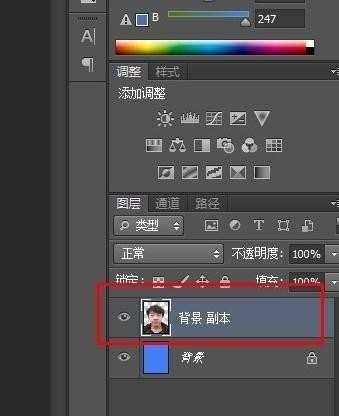
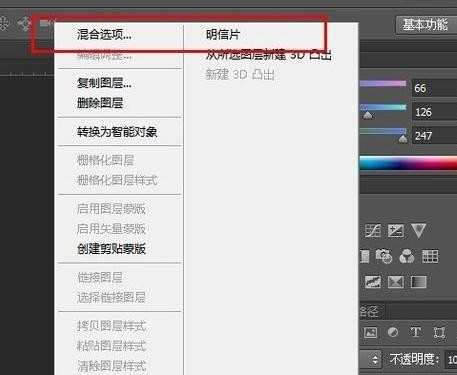
接下来,对人物头像所在图层击右键,点击“混合选项”。
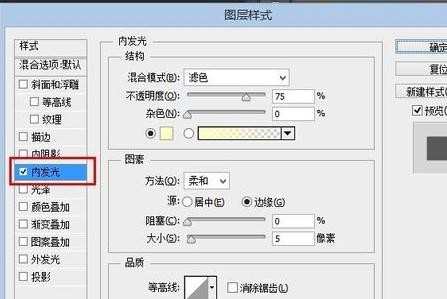
接下来,在打开的混合选项中,选择“内发光”,然后选择混合模式为“正常”。

按照自己的需要调节不透明度,直到不透明度与自己的人物头像处于比较和谐的程度,然后选择“颜色”,建议选择背景色或者是黑色,如果人物头发是黑色的话。
在调整好像素大小以后,就可以点击“确定”了,最后,我们看看处理后的图片是不是已经比先前的图片好了很多啦,大家赶快去试试看吧。
photoshop头发边缘处理的评论条评论