
photoshop抠图怎么抠头发
发布时间:2017-06-05 10:06
相关话题
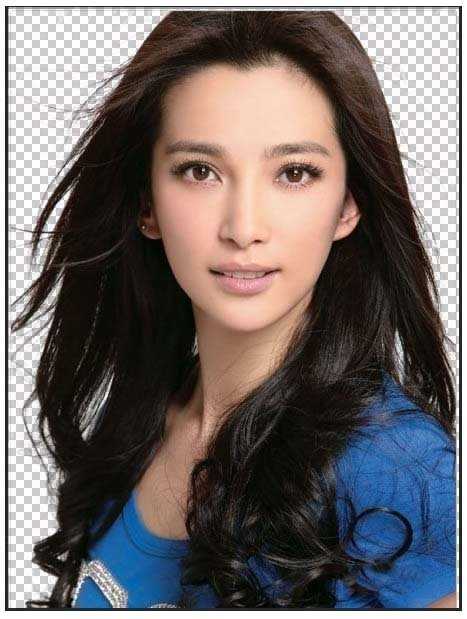
抠图大家一定要注意头发,在photoshop中抠头发不是很难。接下来就是小编精心整理的一些关于photoshop抠图怎么抠头发的相关资料,供你参考。
photoshop抠图抠头发的方法
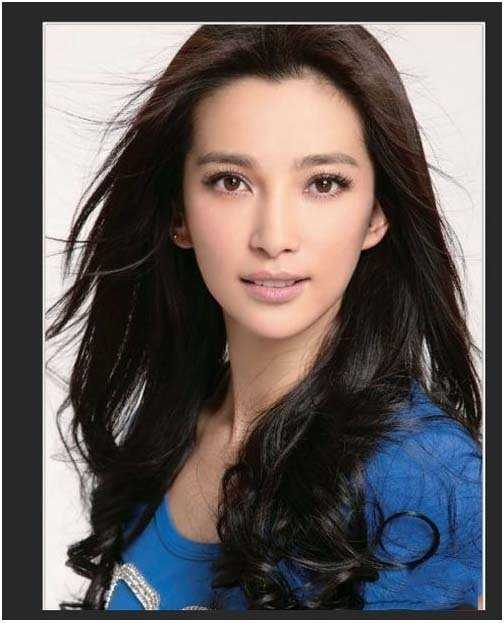
1、打开素材图片并复制一个图层。
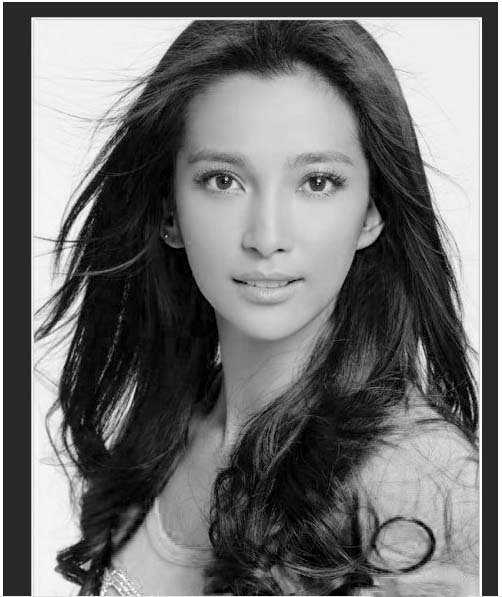
2、打开通道面板,选一个头发和背景颜色差别最大的一个通道,在这里我选的是蓝色通道。
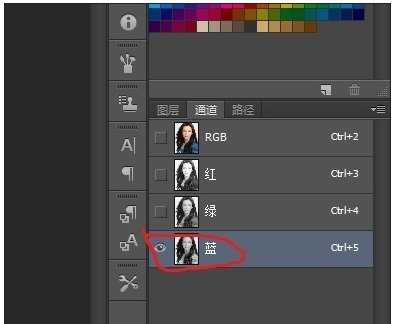
3、因为在蓝色通道里人物头发和背景的颜色差别相对来讲是最大的。
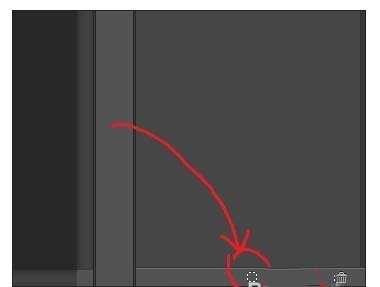
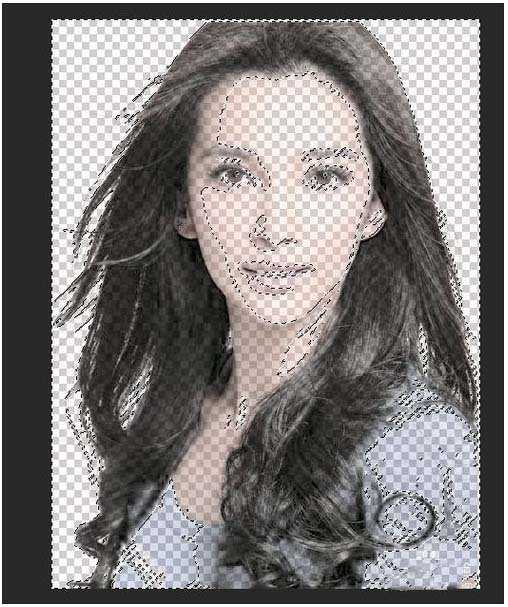
4、点击图中红色圆圈中的按钮在通道中载入选区。
5、载入选区之后回到图层面板,在图层副本里按delete键把选区中的内家删除,得到图中的效果。
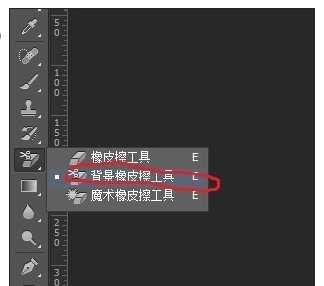
6、将副本图层前面的小眼睛点掉使其不可见,在背景图层里使用背景橡皮擦工具将人物周围的背景色去掉。
7、这个效果不太好,不过这还没完,接下来就好了。
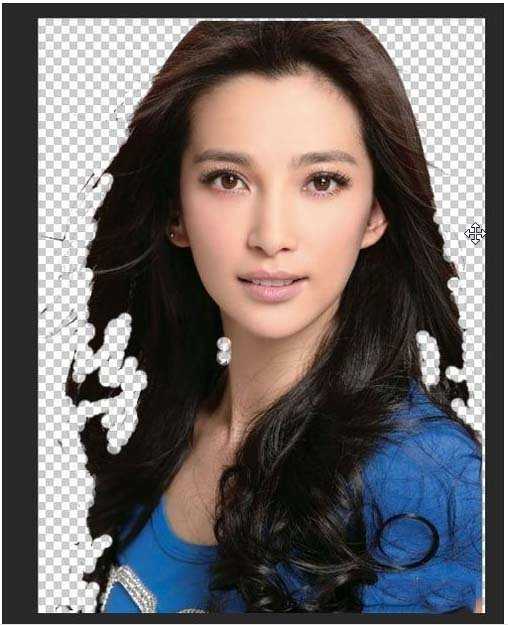
8、把原来复制出来的图层副本前面的小眼睛点亮使其可见。

9、把副本图层用快捷键ctrl+j多复制几次,直到出现满意效果为止。
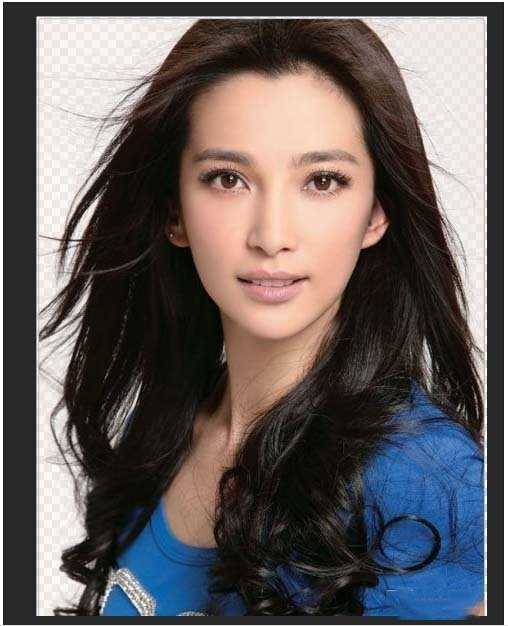
10、最后用背景橡皮擦处理一下,把人物周围的背景颜色再处理一下得到最后的效果图,保存成PSD图层源文件留着以后用。
photoshop抠图怎么抠头发的评论条评论