
photoshop中怎样进行渐变上色
发布时间:2017-06-06 15:30
当我们在photoshop中画好图形了就需要上色,上色如果用渐变的话非常好看,接下来就是小编精心整理的一些关于photoshop中怎样进行渐变上色的相关资料,供你参考。
photoshop中进行渐变上色的方法
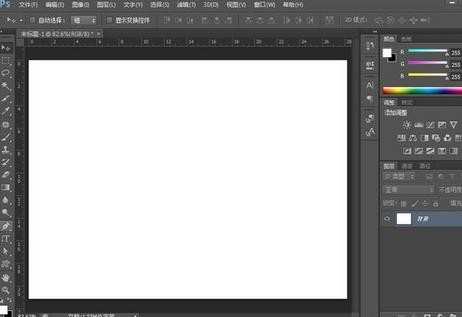
1、首先,在Potoshop中新建一个空白画布。
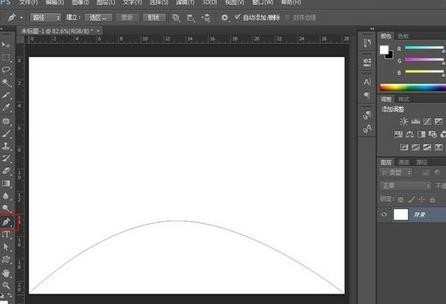
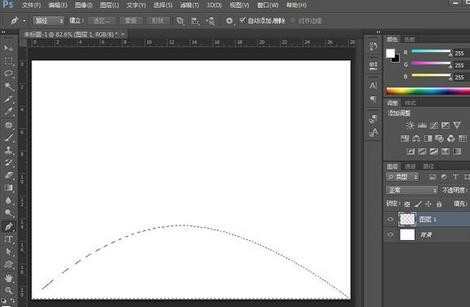
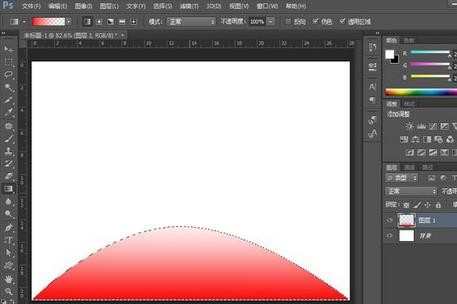
2、然后,选择“钢笔工具”画一个如图的半圆。新建一个图层,并按“Ctrl+Enter”将路径转换为选区。
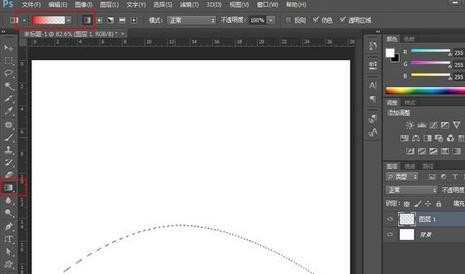
3、点击“渐变工具”,渐变方式设置为径向渐变。然后从下向上拉一条渐变,如图。
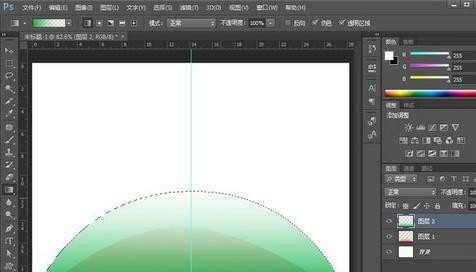
4、然后,再次使用钢笔工具画一个如上的半圆,并填充绿色渐变。
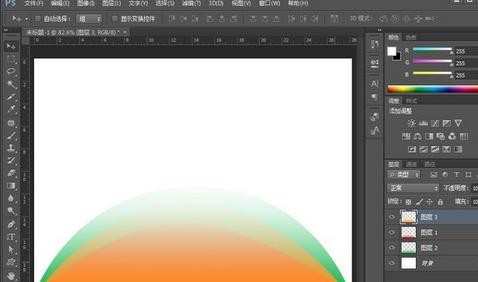
5、重复上述步骤方法,再画一个半圆填充黄色渐变。
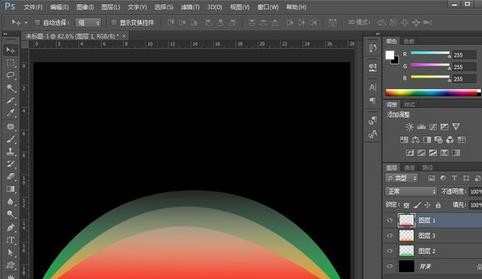
6、调整三个图层的排列顺序,换个背景就可以看到效果了。
photoshop中怎样进行渐变上色的评论条评论