
photoshop光标怎么设置
发布时间:2017-03-09 00:23
我们在使用photoshop软件的时候,经常会用到鼠标,鼠标移动到图片上的时候会产生一个光标,那么大家知道photoshop光标怎么设置吗?下面是小编整理的photoshop光标怎么设置的方法,希望能给大家解答。
photoshop光标设置的方法
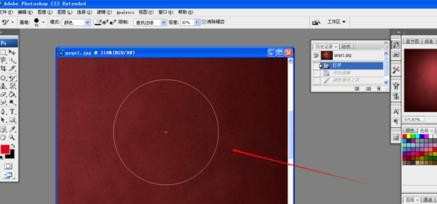
首先,我们来认识一下各种光标,下图是一个圆形光标,这种光标对控制画笔大小的能力比较强,而且中间的十字让准确度得到保证。
下面这一种光标是一个小十字,这种光标比较注重准确度,但是画笔的大小却无法有效体现出来,而且不太明显,小编不太经常使用这种光标。
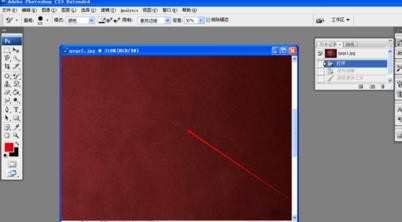
还有一种标准样式,是一直笔的形态,如图圈出的样子,这种光标基本看不到,因为除了生动具体的优点,对于绘图并没有太大帮助。

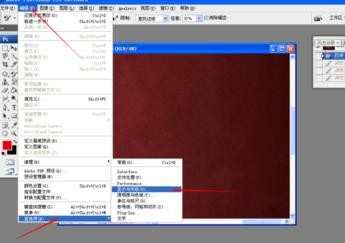
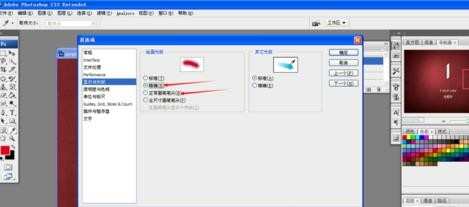
下面,我们就来看一下,如何进行光标的设定,首先在上方工具菜单中找到“编辑——首选项——显示与光标”进入光标的设置页面。
单击后就会弹出首选项对话框,进入光标的设置,一共有两个区域进行设定,有多种样式可以进行选择。
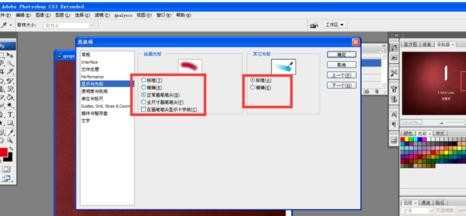
左边是以画笔为主的光标设置,一共有三个样式,有些样式还有附加的选项可以进行勾选,大家可以逐个尝试选择最顺手的光标。
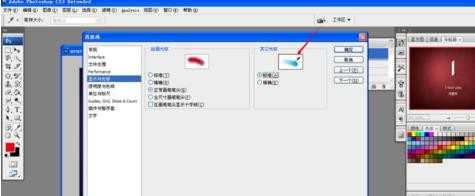
右边的是以取色光标为主的设置,标准就是我们默认的,也是十分大众的吸色光标,“精准”则是一个圆圈,比较准确。
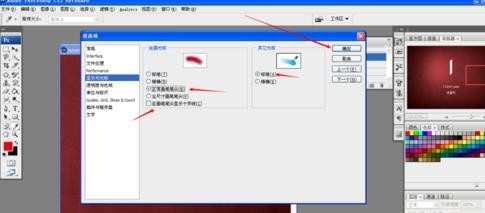
8我们把两种光标都确定下来后,选定,单击确认就完成了设置,我们就能一直使用我们感觉顺手的光标了。这个技巧操作十分实用,要掌握一下。
photoshop光标怎么设置的评论条评论