
局域网如何设置共享文件夹
发布时间:2016-10-28 10:46
通过设置共享文件夹可实现资源的充分利用,尤其对于处于同一局域网中的用户,通过设置共享文件夹来实现资源共享是最基本的方式。下面就跟小编来看一下设置共享文件夹的方式。
局域网设置共享文件夹的方法
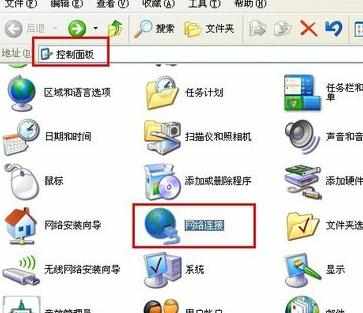
首先必须得安装IPX/SPX协议,打开“控制面板”,双击“网络连接”图标。
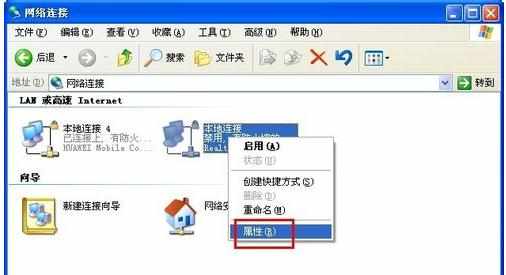
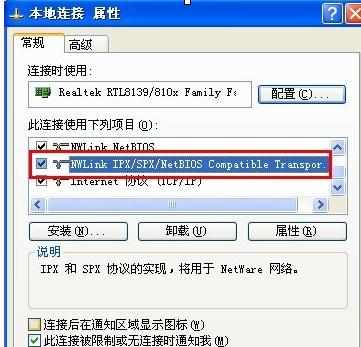
在打开的窗口中,右击“本地连接”,在弹出的窗口中选择“属性”项。
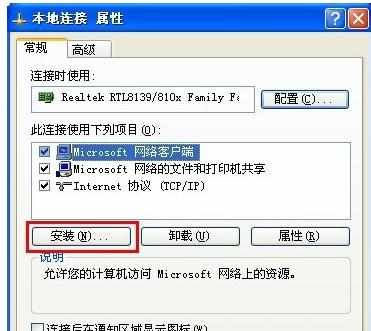
在打开的“本地连接 属性”窗口中,点击“安装”按钮,接着选项“协议”并点击“安装”按钮。
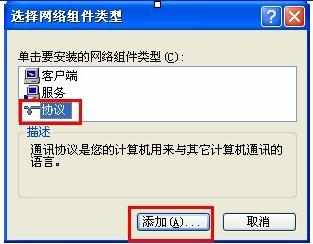
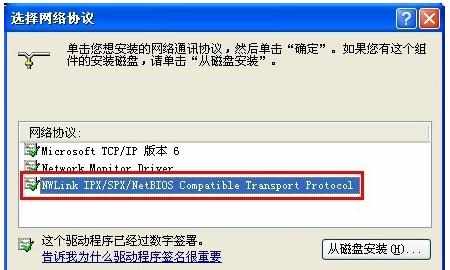
在打开的“添加网络协议”窗口中,选择“IPX/SPX协议”并点击“确定”来完成协议的添加。
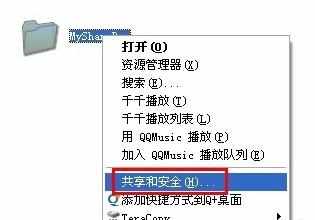
接着找至要共享的文件夹,右击,从弹出的菜单中选择“共享和安全”选项卡。
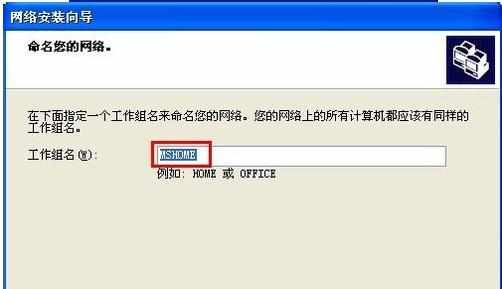
在打开的“属性”窗口中,点击“网络安装向导”,然后直接点击“下一步”完成网络配置过程。在此特别说明一明,工作组名必须设置相同,同时启用“文件和打印机共享”选项。
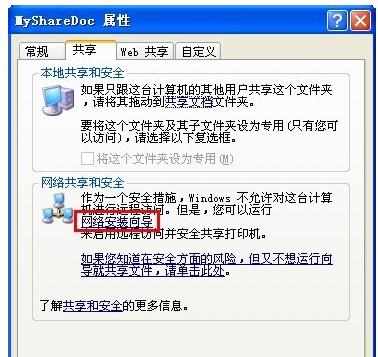
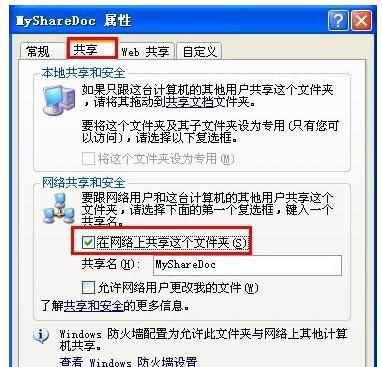
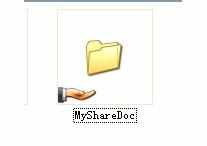
设置完成后,在“属性”窗口中勾选“在网络上共享这个文件夹”,并点击“确定”完成。此时就会发现文件夹上有一只手型,说明共享成功。
END
局域网如何设置共享文件夹的评论条评论