
ps3.0里面羽化功能怎样使用
发布时间:2017-05-29 14:05
相信很多同学都知道羽化功能,在ps3.0中羽化很好用的。其实这个也不算太难,下面就让小编告诉你ps3.0里面羽化功能怎样使用的方法,一起学习吧。
ps3.0里面羽化功能使用的方法
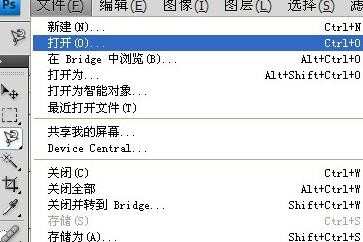
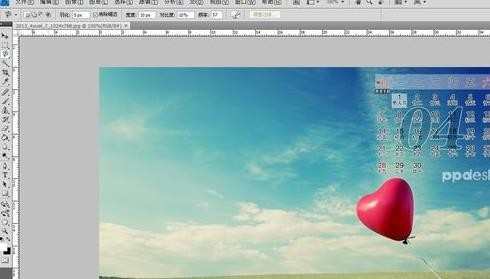
我们首先从桌面打开PHOTOSHOP CS4,点文件-打开,打开一张壁纸,我们准备将这壁纸上的气球扣下来。
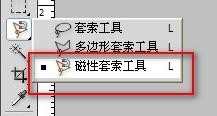
我们首先点选工具上的磁性套索工具,如图。一般一些简单的图可以用磁性套索工具来勾选,快捷简便。
我们可以看到顶部工具栏上有羽化的属性,我们可以先羽化的数值,像我们这次只是勾选的图形较小的话,我们就选5就可以做到边缘圆滑了。

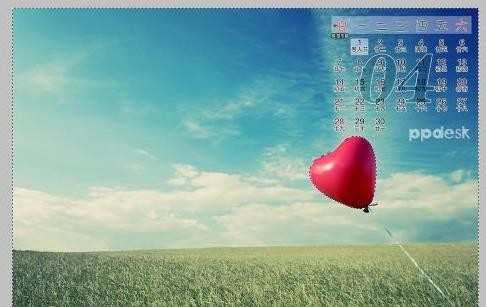
抠图时,如果想抠的较精确的话,可以将图片按CTRL+加号进行放大,如图我们已经用磁性套索工具快速抠好了。

羽化效果是要将边上其他区域去除才能看到的,我们按CTRL+SHIFT+I,进行反选。
再按DEL键删除,接着按CTRL+D,却除选择效果。效果出来了。

当然我们还有另一种方法,我们先用磁性套索工具抠好图形,如图。

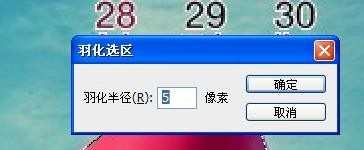
我们点菜单,选择-修改-羽化
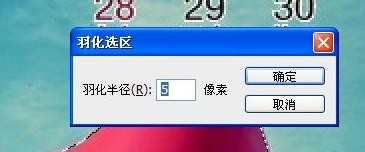
弹出对话框,我们将数值填为5。点确定。
我们再按CTRL+SHIFT+I,反选。按DEL删除周边区域。效果出来了。

ps3.0里面羽化功能怎样使用的评论条评论