
Photoshop文字加宽方法
发布时间:2016-12-26 12:40
我们经常可以看到很宽的字体,但是却打不出来,那么这种宽字体是怎样做出来的呢?下面是小编为大家整理的Photoshop文字加宽方法,仅供大家参考~
Photoshop文字加宽方法如下:
打开软件,打开字体设置。
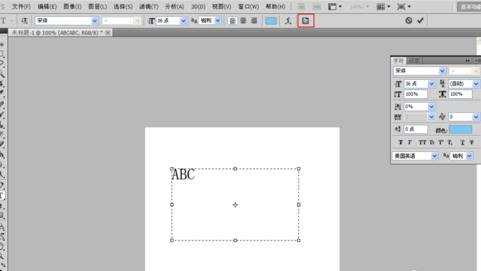
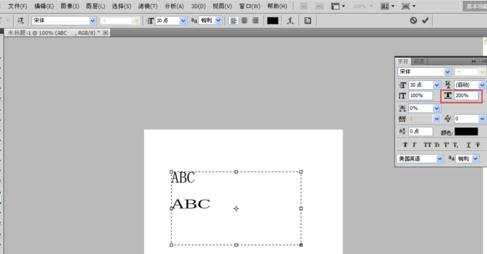
字体加宽方法1,加大水平字体宽度数值增加字体宽度。
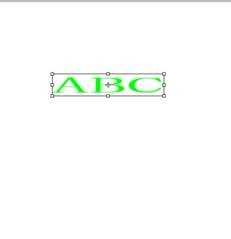
字体加宽方法2,选择编辑自由变换。
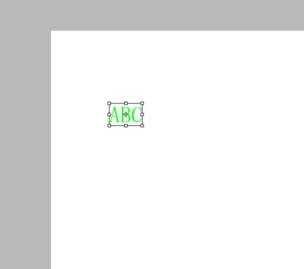
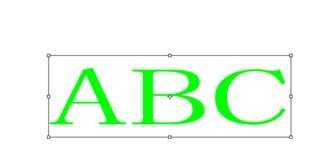
选择自由变换图片字体,点击字体出现虚线框,水平拉动线框加宽字体。
选择自由变换图片字体,点击字体出现虚线框,斜方向拉动虚线框就可以同时加宽和加高字体。
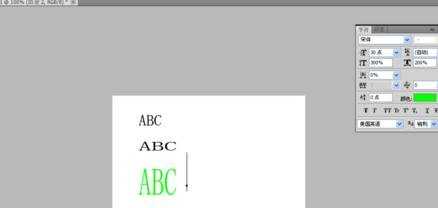
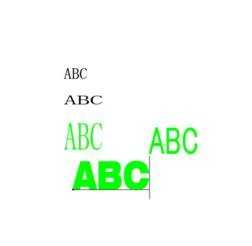
选择字体的字形,就也可以改变 字体的宽度和样式。

Photoshop文字加宽方法的评论条评论