
Photoshop给海滩上的人物加上唯美的霞光暖色教程
发布时间:2017-01-03 10:52
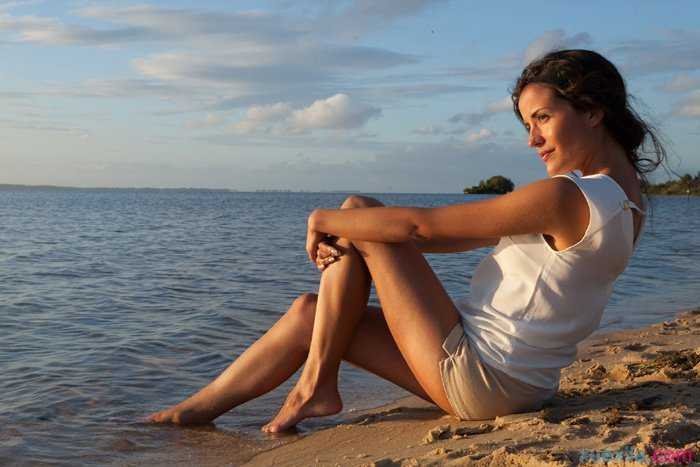
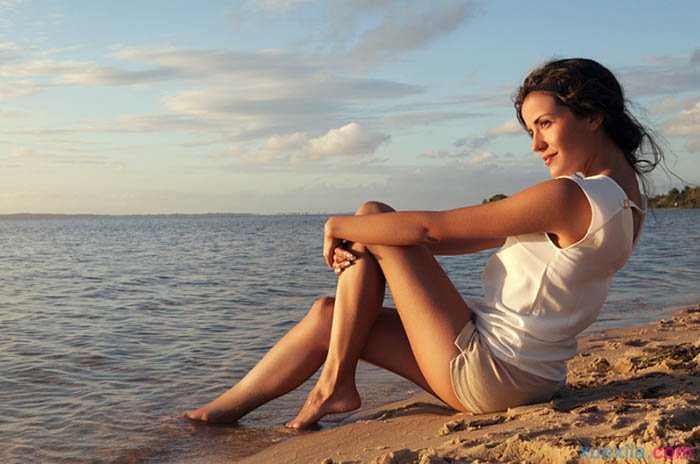
这张片从构图和色彩到意境拍的其实已经很漂亮了;仔细分析,照片明暗对比度欠缺,不够细腻,有点暗沉。天空,大海和人物还不够更明朗,光线也不透彻。下面是小编为大家整理的Photoshop给海滩上的人物加上唯美的霞光暖色教程,仅供大家参考~
Photoshop给海滩上的人物加上唯美的霞光暖色教程如下:
原图
最终效果

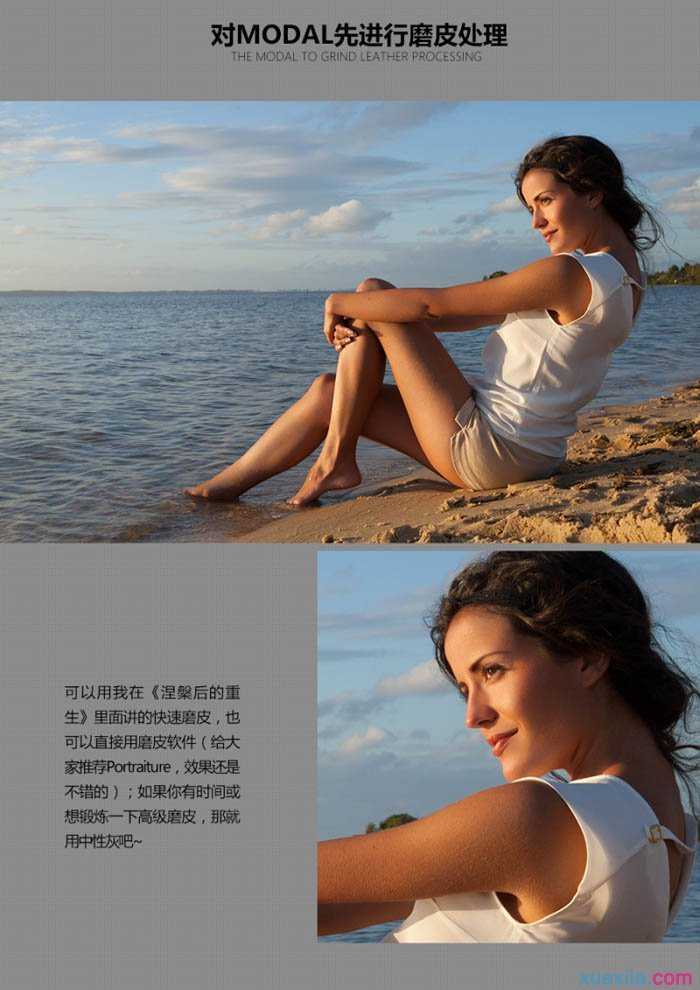
1、对人物进行磨皮处理。
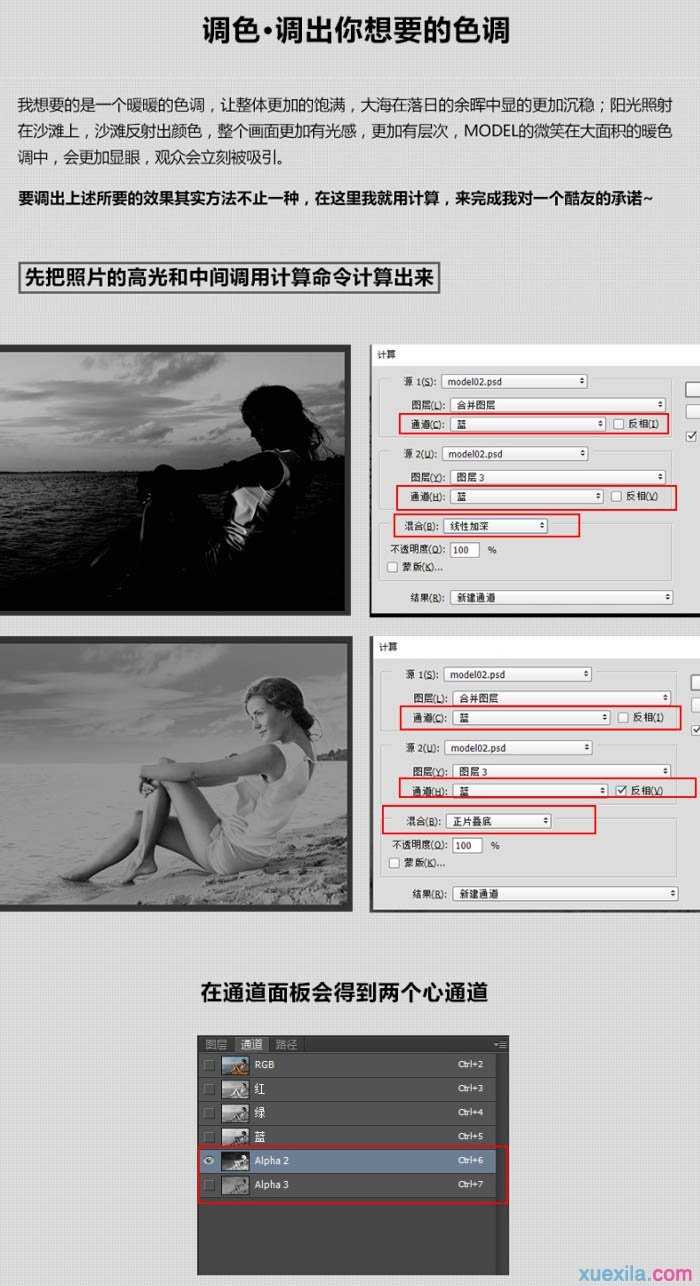
2、把照片的高光和中间调用计算命令计算出来。
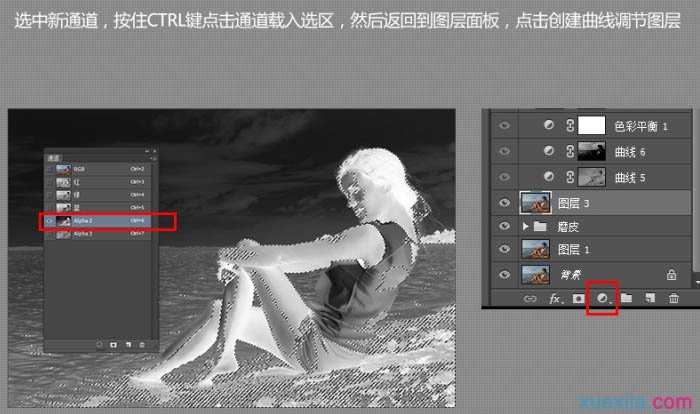
3、选中新通道,按住Ctrl键点击通道载入选区,然后返回到图层面板,点击创建曲线调节图层。
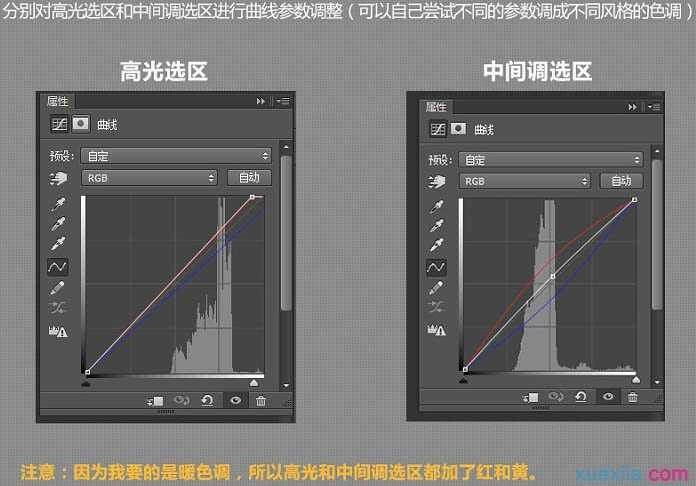
4、分别对高光选区和中间调选区进行曲线参数调整,可以自己尝试不同的参数调成不同风格的色调。
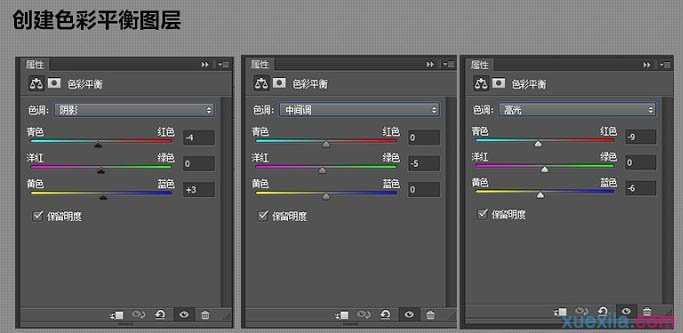
5、创建色彩平衡调整图层,参数设置如下图。
6、提亮沙滩的色彩:新建一个空白图层,混合模式改为“颜色减淡”,用黄色涂抹沙滩部分,然后对其色相/饱和度调整,调出你想要的颜色。

最后再给海水和天空做出光晕效果,利用高反差保留做一些锐化就可以了。

Photoshop给海滩上的人物加上唯美的霞光暖色教程的评论条评论