
PS打造万里晴空教程
发布时间:2017-03-21 15:29
photoshop中的滤镜可以调出我们所需的各种效果,本教程为大家介绍使用ps滤镜制作晴空效果,教程比较简单,适合初学者,下面就一起看看具体制作方法吧。
PS打造万里晴空教程

下面是具体的制作photoshop教程步骤:
第一步:先建立一个800×600像素的图片
第二步:按下D键,是前景色和背景色变为黑白色
第三步:滤镜——渲染——云彩,
第四步:ctrl+m曲线调整

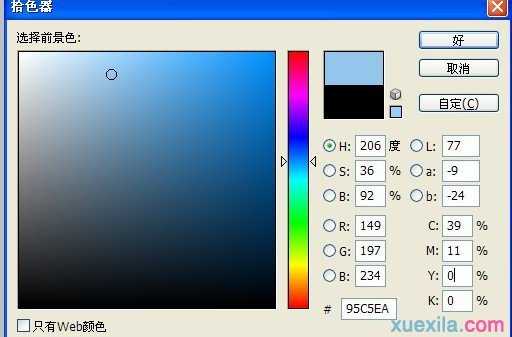
第五步:调整前景色
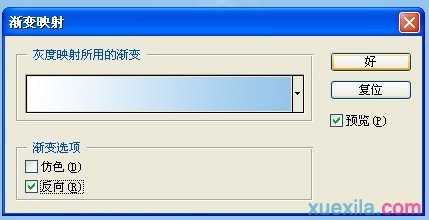
第六步:渐变映射记住反向打钩
最后一步是:镜头光晕
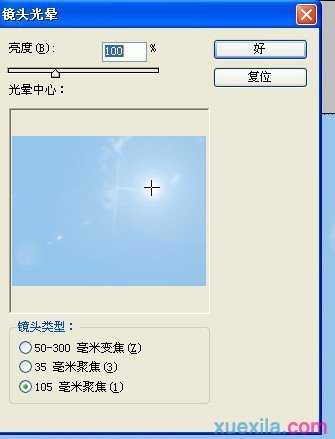
点击“好”,效果就出来了!

PS打造万里晴空教程的评论条评论