
photoshop图案自定义使用
发布时间:2017-02-14 08:35
相关话题
在PS中图案叠加非常好用,那么大家知道photoshop图案自定义使用吗?下面是小编整理的photoshop图案自定义使用的方法,希望能给大家解答。
photoshop图案自定义使用的方法:
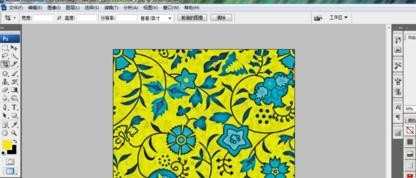
首先打开PS软件,双击灰色区域打开你要定义的图案(也可以点击菜单栏“文件”-“打开”命令)。
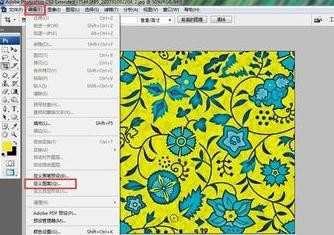
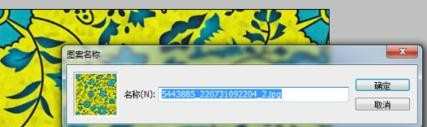
选择菜单栏“编辑”-”定义图案“,弹出一个对话框,点击确定,到这一步,图案定义完成。
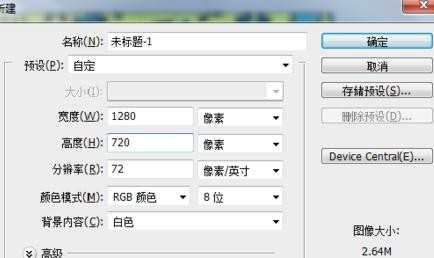
从这一步开始,我将讲解如何使用刚才定义的图案。首先新建一个空白文档。点击菜单栏”文件“-”新建“,新建一个文档。
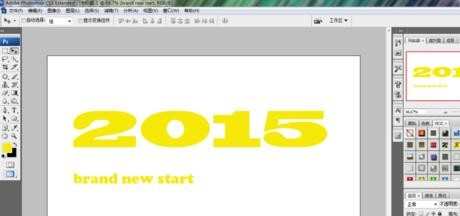
在文档中输入文字,如下图所示。
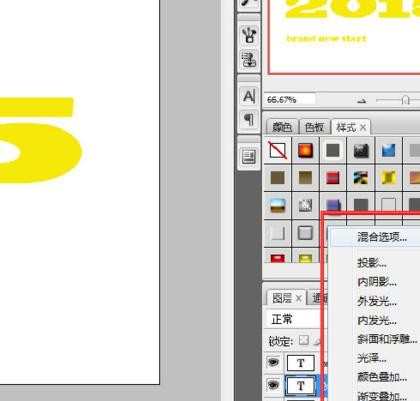
点击”添加图层样式“按钮(位于屏幕右下方),给文字添加”图案叠加“样式。
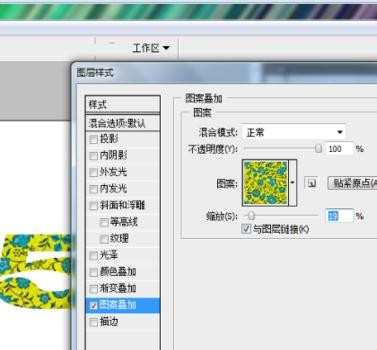
在”图案叠加“中,选择我们刚才定义的图案
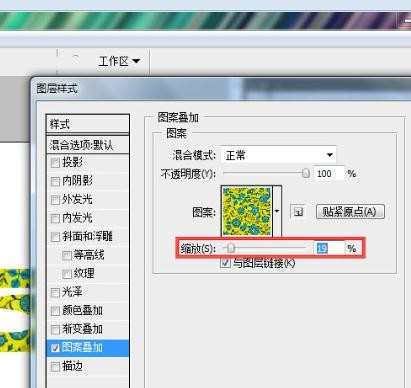
特别注意,图案的大小是可以改变的,如下图所示,按住鼠标左键拖动缩放按钮,将图案调到合适大小。
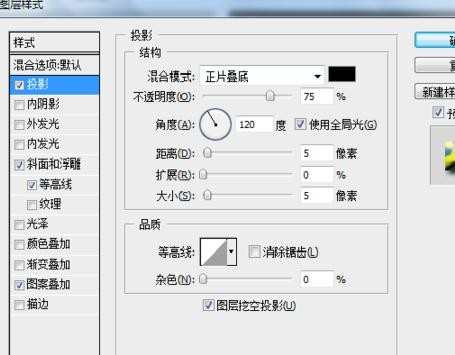
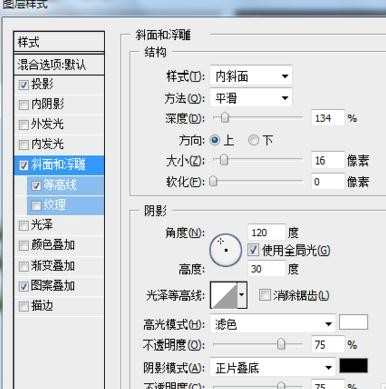
为了使文字更美观,我们给文件加上”投影“,”斜面和浮雕“效果,添加后效果如下。
最后,我们给图片加上一个背景,这样,一个由我们刚定义的图案制作的精美文字就完成了。

photoshop图案自定义使用的评论条评论