
photoshop怎样制作CG特效图片
发布时间:2017-04-17 10:17
相关话题
用photoshop可以制作电脑图像效果的图片,对磨皮后的图像进行细节处理即可。下面是小编带来关于photoshop怎样制作CG特效图片的内容,希望可以让大家有所收获!
photoshop制作CG特效图片的方法
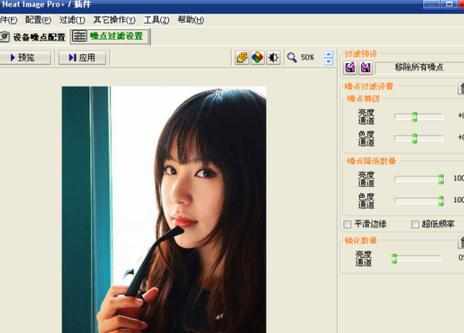
打开素材,按ctrl+j复制背景为图层1。使用neat image滤镜进行降噪处理。也可以使用其它的方式进行磨皮。用“吸管工具”选取皮肤,选择“画笔工具”,设置不透明度和流量,对人物皮肤进行涂抹。
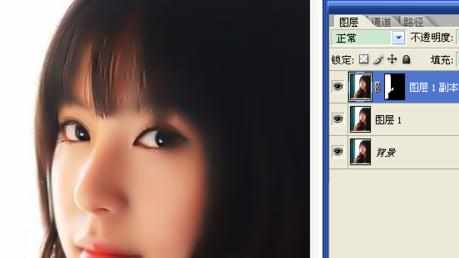
按ctrl+j复制图层,选择“滤镜”→“模糊”→“高斯模糊”,半径3像素,确定。点击“图层窗口”下方的“添加蒙版图层”按钮,用“油漆桶工具”填充黑色,选择“画笔工具”,用白色画笔涂抹需要修改的地方。
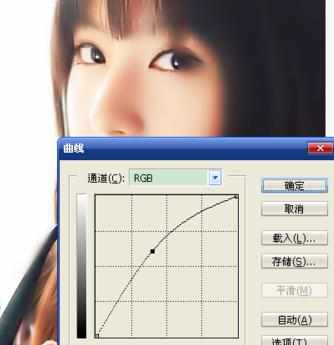
按ctrl+shift+alt+e执行盖印可见图层,选择“图层”→“新建调整图层”→“曲线”,将图像调亮。
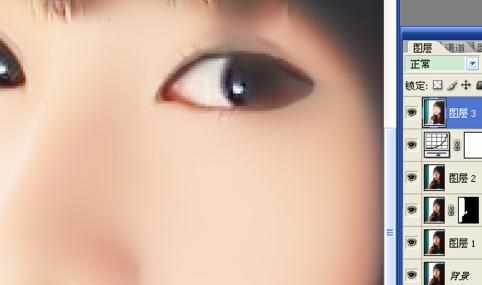
盖印图层,选择“缩放工具”将图像放大,用“橡皮擦工具”将眼睛位置擦出来。同时对其它地方进行细节处理。
选择“钢笔工具”,对头发进行选取,闭合后按ctrl+enter键载入选区。按ctrl+j复制载入选区的图层。
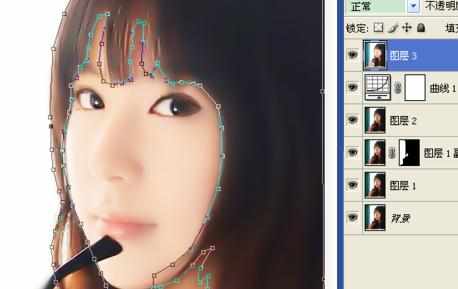
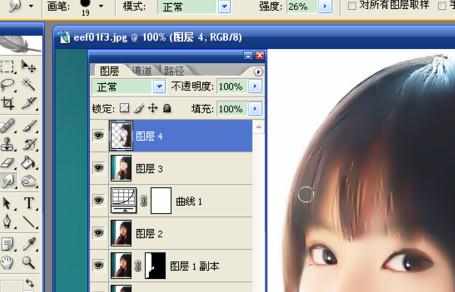
选择“涂抹工具”,将工具栏中的强度设置为20左右,顺着头发的走向进行涂抹。
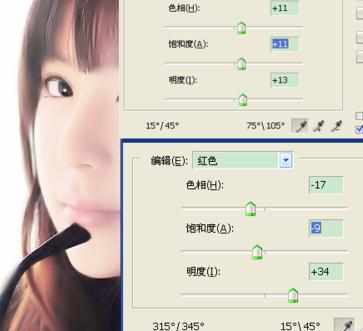
盖印图层,选择“图层”→“新建调整图层”→“色相/饱和度”,调节红色和黄色中的数值,根据图像的变化选择数值。
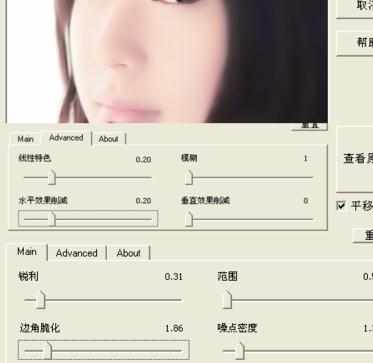
最后用topaz滤镜锐化一下。neat image和topaz滤镜都需要将滤镜文件复制到ps安装目录中的滤镜路径中,重启软件后才能使用。
photoshop怎样制作CG特效图片的评论条评论