
ps人物变卡通滤镜
本教程中我们利用photoshop液化滤镜对人物头像照片进行处理,先将头部抠出来,进行变形处理,再进行磨皮并对光暗进行处理,调出大头漫画效果。
ps人物变卡通滤镜
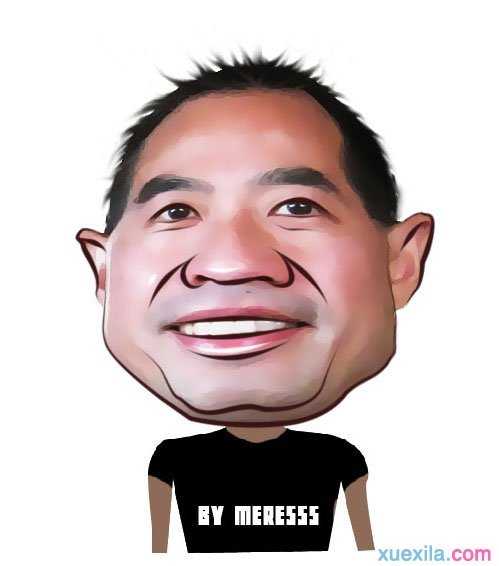
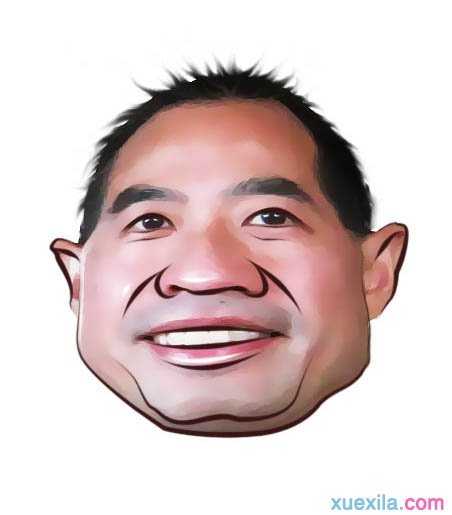
完成效果
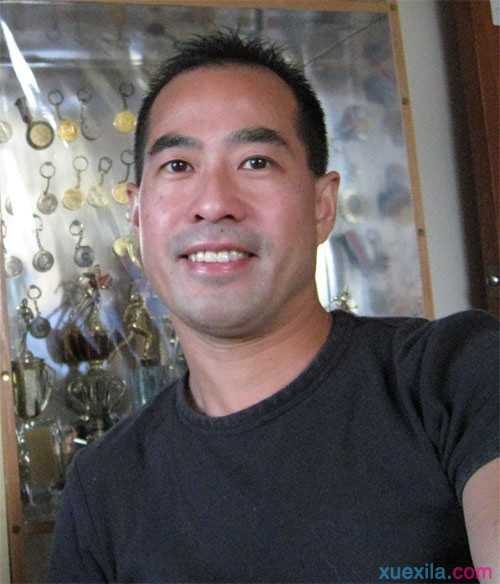
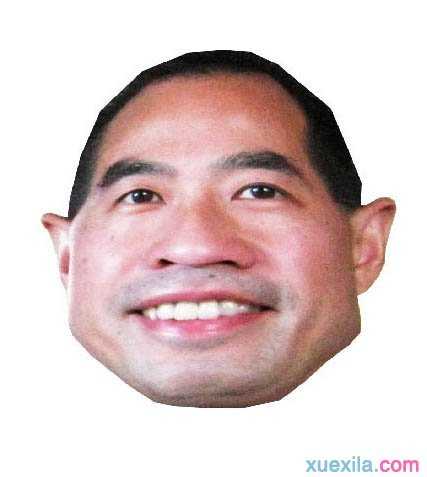
原始图片
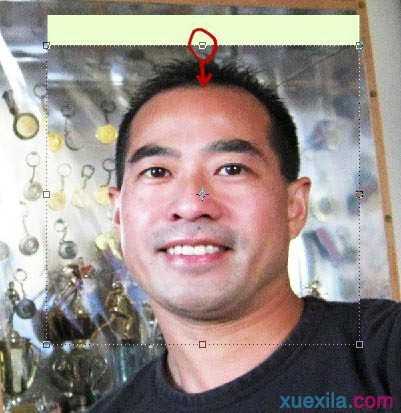
一,用矩形选区工具包围脑袋,往下压扁一些,如此一点人物特征会更分明,除非一点脸又瘦又长的人,要两侧挤扁。
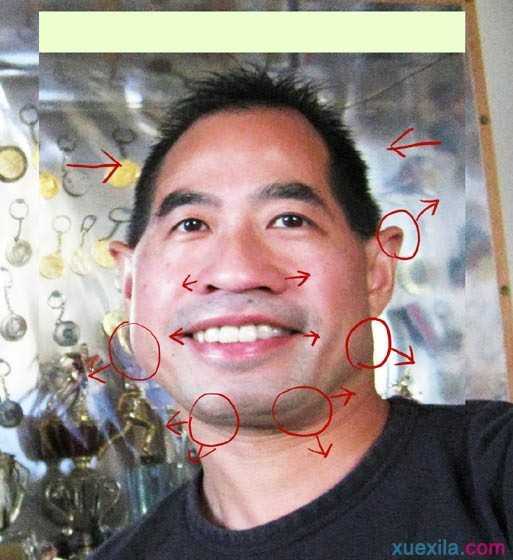
二,很重点,用伟大的液化工具突出人的特点,各位做这个最重要的是学会查看图中的大叔脸上有肉,下巴宽,腮骨也很分明,笑的很开,而且由于拍摄角度问题,额头会窄进去。我的液化步骤见下图。
三,将脑袋扣出来,我用的是多边形套索,用钢笔当然更好,可是由于等下还要整理,因此边上不用特殊的真实(头发先别管他)。

四,创建一画布,我建的是500*500的似乎,将头拉进去。
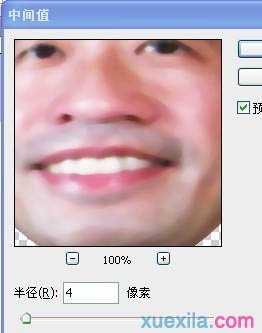
五,中间值4左右,让脸上光画,色彩明显,这全是实例。假如有topaz更好,我用的是topaz。
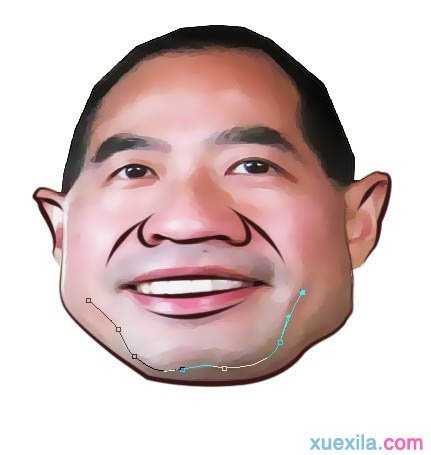
六,钢笔工具将框架勾下来,板子与钢笔工具,至少要会一哟,钢笔用差的童鞋多练练。
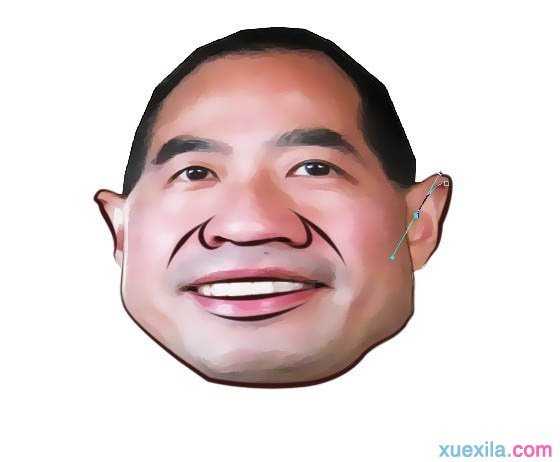
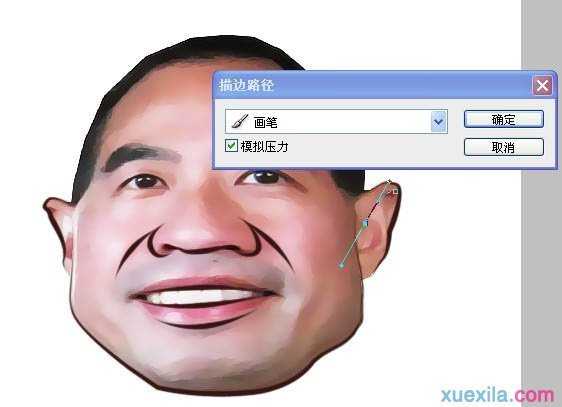
七,一次钩,一次就描边路径了,将压力选上,画笔粗细不用老变,除了眼睛,别的用一种粗细的画笔与色彩就行。我看大叔脸色发红,用的是深棕色的来描边。
八,这儿要留意,除了框架以外,法令纹啊,双下巴啊,这些分明的脸部线条也要描一次的。
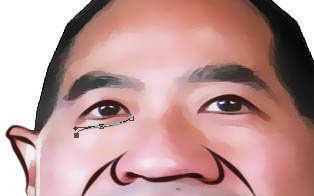
九,眼睛的上眼眶笔刷大小依然不用变,下眼眶与眼袋的描边就将笔刷调小一些,让线条细一点。
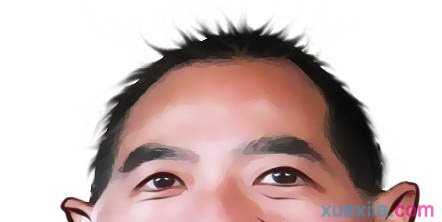
十,用涂画工具将头发涂出来,压力不用太大,默认的50%或50%下面就行,由于他头发短。
十一,此时为止脑袋就ok了,假如只需要头像的童鞋可收手了。
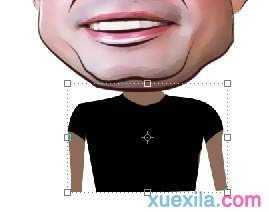
十二,接下来做身体,在头下方的图层加一层。
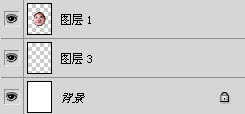
十三,身体有两种办法,一种像如此子用钢笔钩一,这个相对不讲究,相对快捷。另一种手法,找一相对完好的身体,通过变形缩小,放进来,跟头相同,滤镜,之后钩边,做出来效果会好很多。
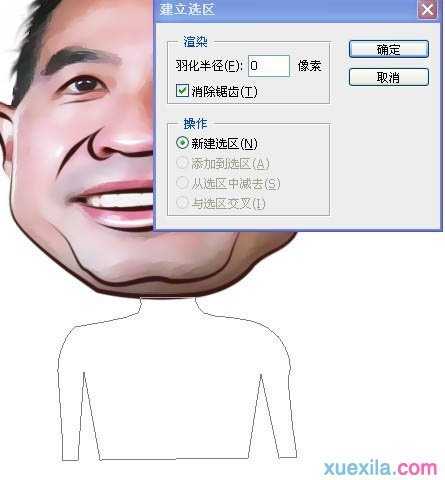
十四,路径新建选区后,吸管吸脸上的色彩填充进去。
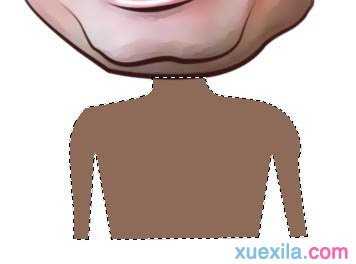
十五,选区不能 ctrl D喔,在选区里用黑笔画个T恤,相当好操作的。
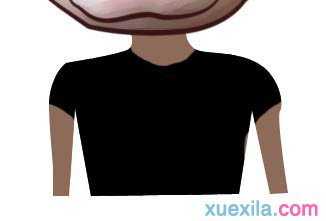
十六,最终一步,ctrl+T调节身体大小,地方。
完成效果:

ps人物变卡通滤镜的评论条评论