
photoshop怎么抠取头发丝
发布时间:2017-06-08 17:04
相关话题
有时候对一些有头发丝的图片抠图的话感觉很难受,所以在photoshop里面我们要用到很多方法。接下来就是小编精心整理的一些关于photoshop怎么抠取头发丝的相关资料,供你参考。
photoshop抠取头发丝的方法
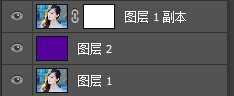
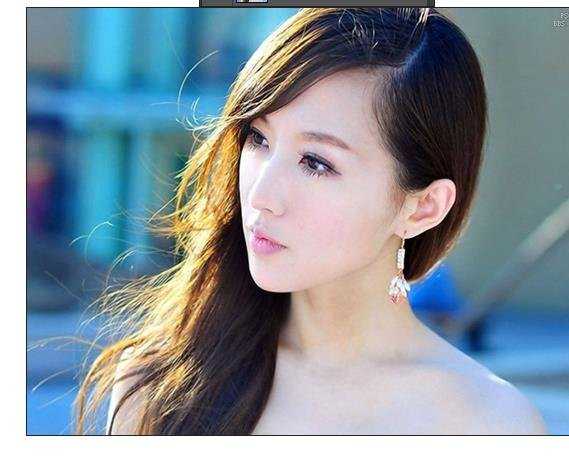
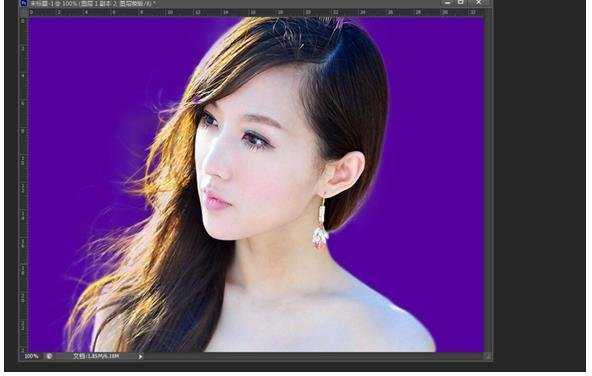
下面开始第一步打开原图。并复制该图层,修图的都习惯保留原图对吧,并且添加图层蒙版。再新建图层填充纯色已做观察之用。
在ps里选择快速选择工具
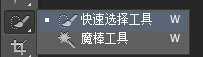
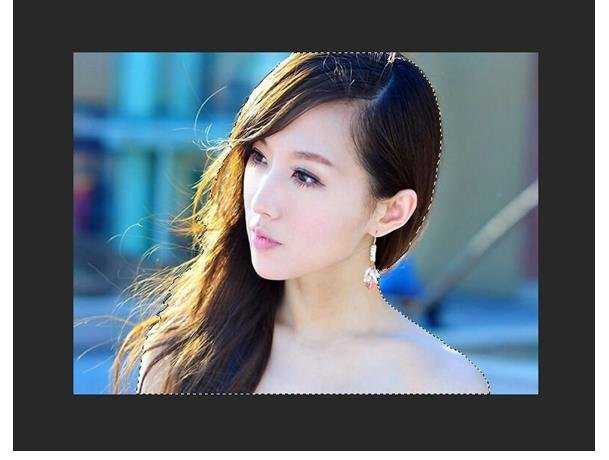
大致选择人物的身体,头发部分随便点点
下面重要的来喽!
打开菜单里的选择-调整边缘(快捷键ALT+ctr+R),出现这个画面
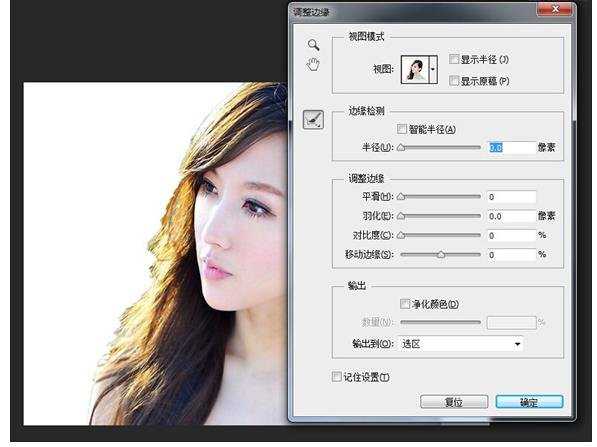
下面选择
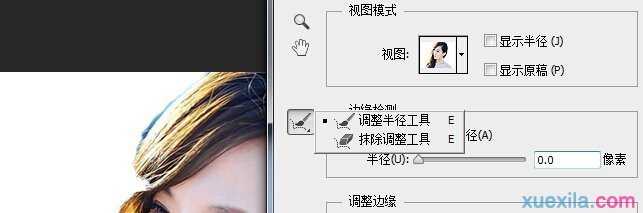
调整半径工具,画笔半径,羽化什么的看自己效果而定哦O(∩_∩)O~然后进行涂抹,涂抹状态
涂抹结束
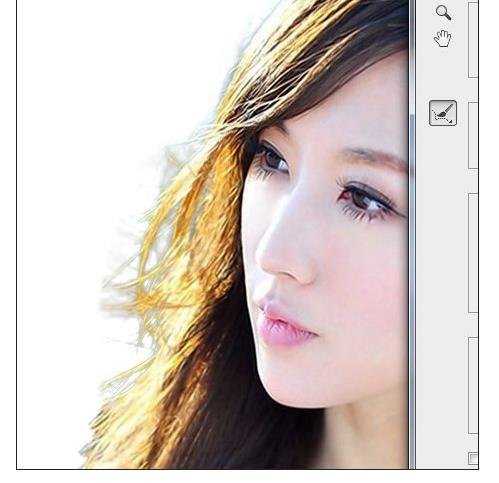
最后选择确定
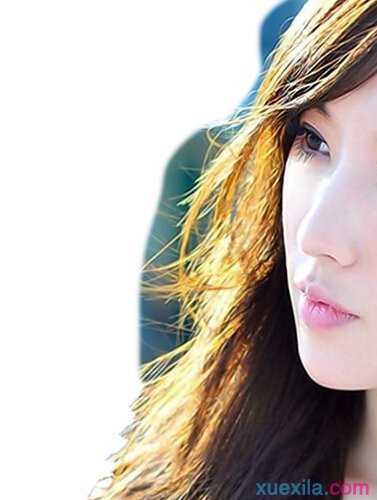
身体已经其他边缘圆滑的部分请大家选择钢笔工具进行抠取,此图没有进行人物身体的抠图,请大家自行脑补哦,。下面最后一步,选择好需要替换的背景,不要说丑哦,我是随便选的
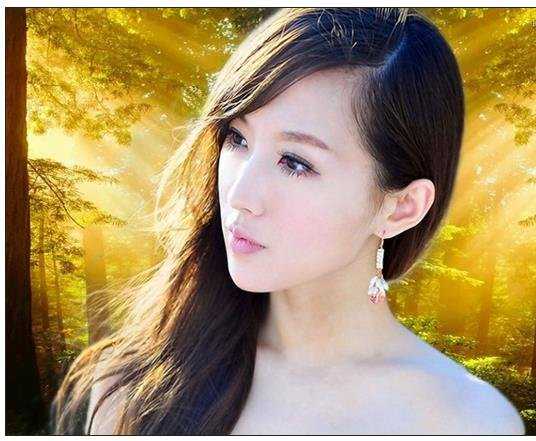
简单的进行调光。大功告成,你学会了吗?
photoshop怎么抠取头发丝的评论条评论