
Word中2013版进行从某页开始设置页码的操作技巧
发布时间:2017-06-16 11:06
相关话题
关于最新版本的office 2013,其实所有的使用教程在软件中就有,就是“帮助”选项,只不过我们使用的少而已。今天,小编就教大家在Word中2013版进行从某页开始设置页码的操作技巧。
Word中2013版进行从某页开始设置页码的操作步骤
位置:软件最右上角的“?”这个。
方法/步骤
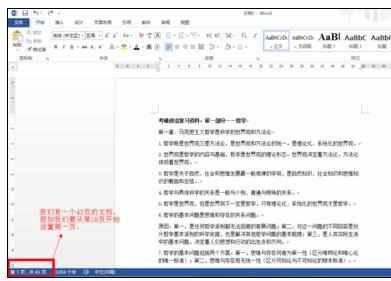
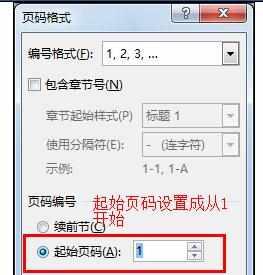
假如我们要从第11页开始,页码设置成第1页。
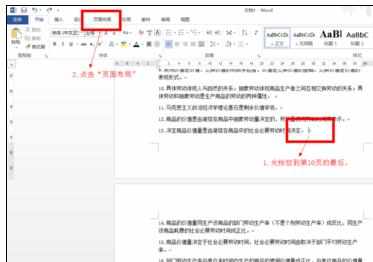
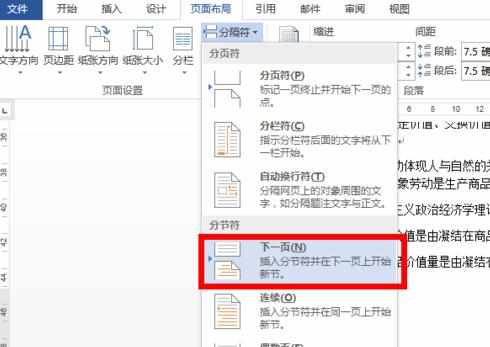
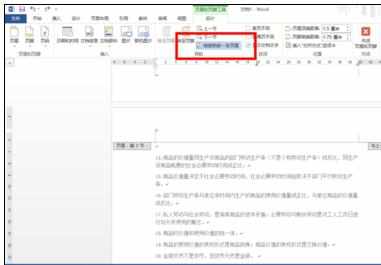
光标放到第十页的最后,然后点击“页面布局”——“分隔符”——“下一页”。
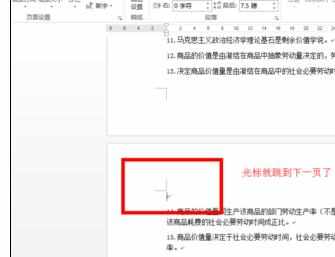
将第10页和前面的页码断开连接。在页眉空白处双击,然后把“连接到前一条页眉”取消掉;同理,把页脚的连接也取消掉。
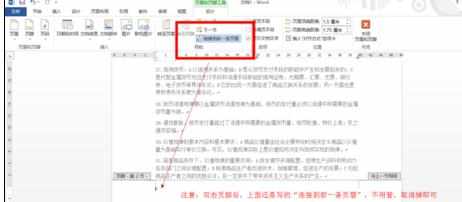
这时候就可以添加页码了,此时你想关闭页眉页脚也行,不关闭也行,无所谓,反正已经和前面的页码断开连接了。
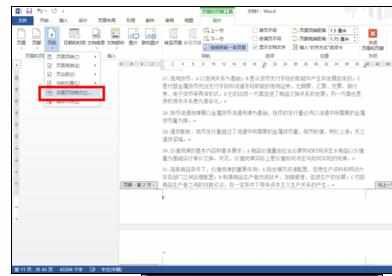
添加页码前先设置一下,“设置页码格式”
开始插入页码吧!
Word中2013版进行从某页开始设置页码的操作技巧的评论条评论