
photoshop底纹文字制作教程
发布时间:2016-12-11 14:41
相关话题
如何利用 photoshop图片处理软件 ps 设计特效底纹字体 。下面是小编为大家整理的photoshop底纹文字制作教程,仅供大家参考~
photoshop底纹文字制作教程如下:
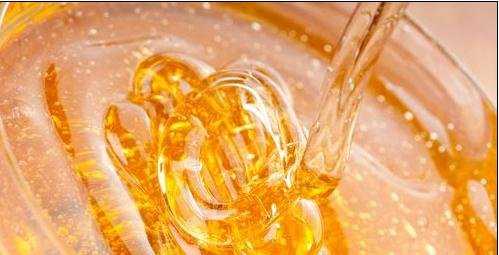
打开Photoshop软件,将素材放入操作界面中,如下图所示
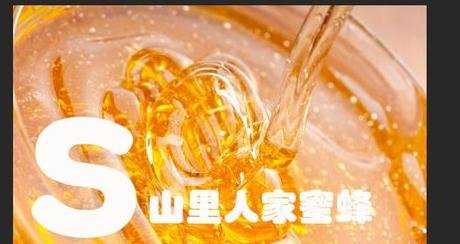
在素材图片上打入文字“山里人家蜂蜜”的字样,如图所示
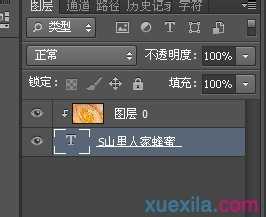
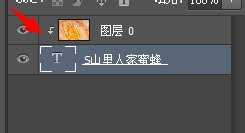
调整图层间的位置,将文字放在最底层,如图所示
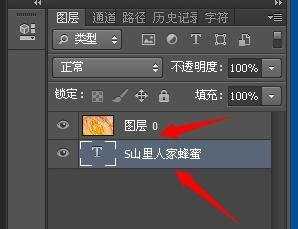
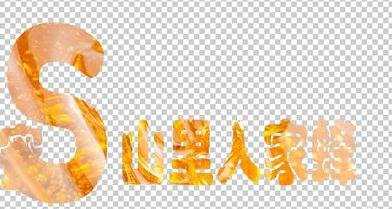
将鼠标放在“图片”图层与“文字”图层之间,按住“ALT”就会有标示,创建剪贴蒙版。创建后的效果如图所示 :如红色箭头所示,会有小标签。
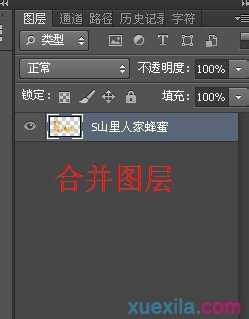
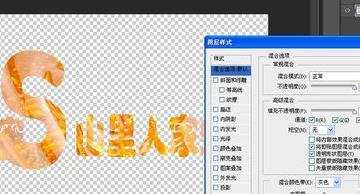
按ctrle+e 合并可见图层,给合并的图层添加特效,最终的效果如图三所示

photoshop底纹文字制作教程的评论条评论