
Excel2013中设置打印区域的操作方法
发布时间:2017-04-09 10:16
相关话题
Microsoft Excel是微软公司的办公软件Microsoft office的组件之一,是由Microsoft为Windows和Apple Macintosh操作系统的电脑而编写和运行的一款试算表软件。今天,小编就教大家在Excel2013中设置打印区域的操作方法。
Excel2013中设置打印区域的操作步骤如下:
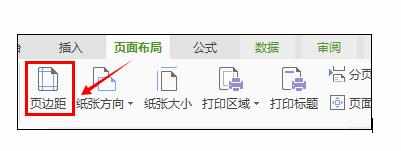
打开Excel文件后将鼠标移动到页面布局选框点击页边距按钮。
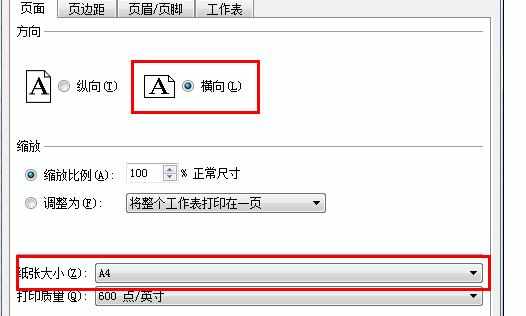
在页面设置的小窗口中勾选自己所需要的页面方向以及纸张大小。
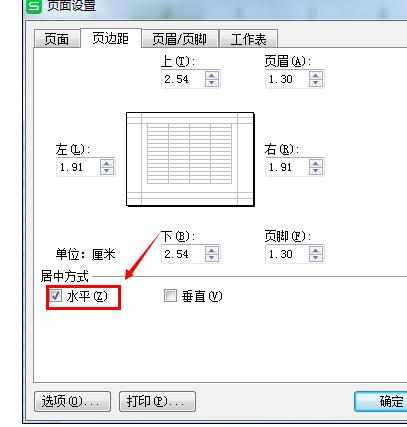
切换到“页边距”选项卡,勾选“水平居中”,并设置好页边距。
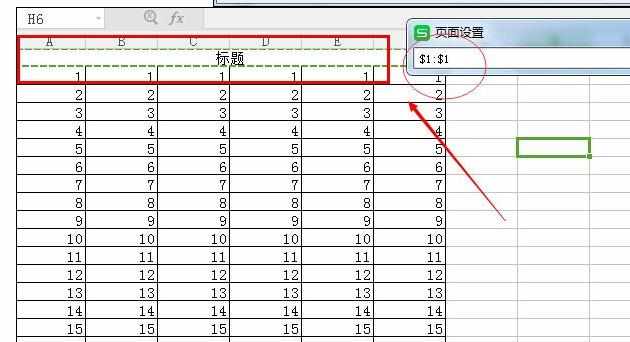
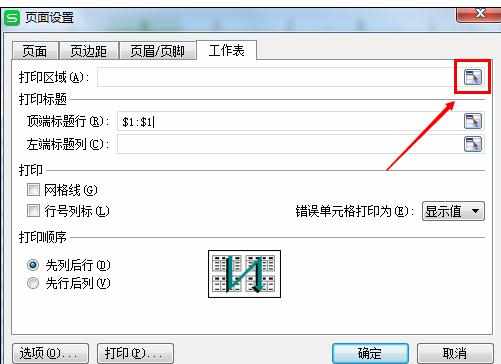
再次切换到“工作区”选项卡,顶端标题栏”右侧的按钮,选择要每页都显示的标题栏。
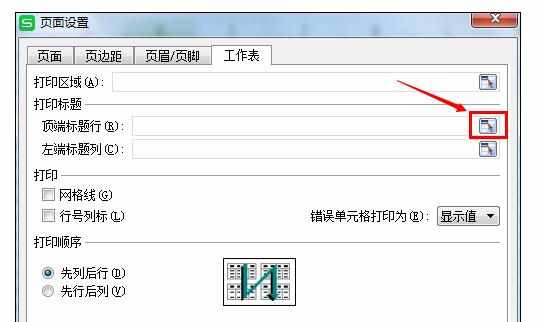
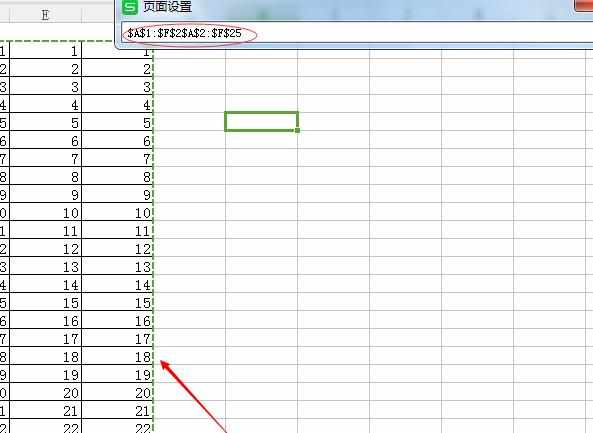
点击“打印区域”右侧的设置按钮,选择打印区域,打印区域可以不包含标题栏部分。
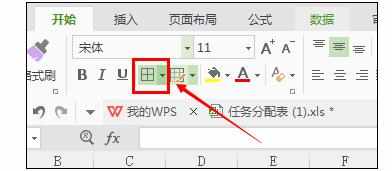
接下来选中打印区域,切换至“开始”功能区,点击“设置边框”下拉列表,从中选择“所有框线”项设置边框。
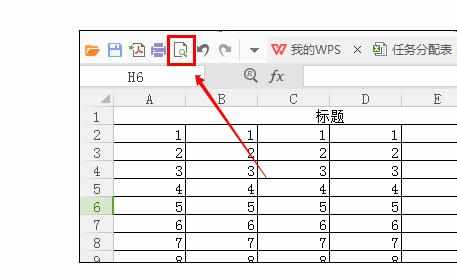
点击打印预览便可以预览设置好的格式。
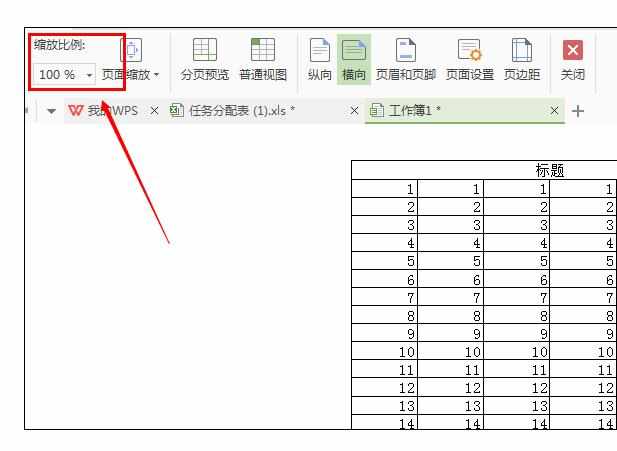
也可以在预览时点击“缩放比例”调整表格的大小,可以显得更美观。
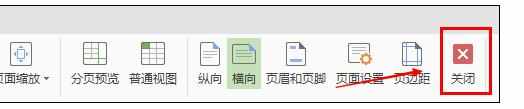
最后点击关闭预览,即可开始打印。
Excel2013中设置打印区域的操作方法的评论条评论