photoshop如何制作图片的阴影效果
发布时间:2017-06-05 18:45
相关话题
其实图片的阴影效果很重要,大家可以使用photoshop来制作一下。其实这个也不算太难,下面就让小编告诉你photoshop如何制作图片的阴影效果的方法,一起学习吧。
photoshop制作图片的阴影效果的方法
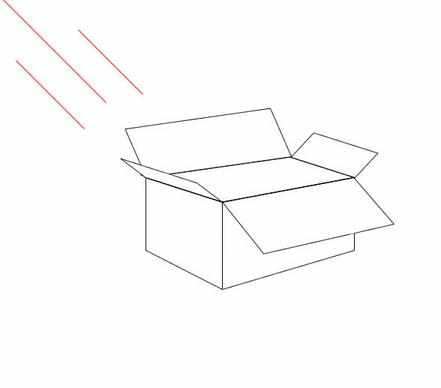
一、制作这个盒子的阴影,光线从左边45度角入射

二、利用以前学过的射影定理用辅助线确定投影的角度和位置

三、完成位置的确定,其实我现在要确定一个物体的光线分布的关系,一般会直接借助3D软件来实现

四、最终效果图

五、从A点引出L1,L2两条线,一条和光源平行,一条为法线

六、继续做出如图辅助线

七、继续连接各点,得到图中绿色的三个点,对照上面的效果图,这三个点就是上面两边在箱子上的投影

八、继续做出dc在平面和箱子上的投影,此时,得到两个兰色的点

九、连接绿色和兰色的点,于是得到面acdb的投影

十、建立选区并填充它,一个面的投影就做好了,其他面的原理是一样


photoshop如何制作图片的阴影效果的评论条评论