
photoshop溶图教程
发布时间:2017-01-03 10:22
相关话题
有没有同时喜欢的两张图呢,想不想把他们溶在一起呢。photoshop可以做到。下面是小编为大家整理的photoshop溶图教程,仅供大家参考~
photoshop溶图教程如下:
首先,当然是打开photoshop喽。
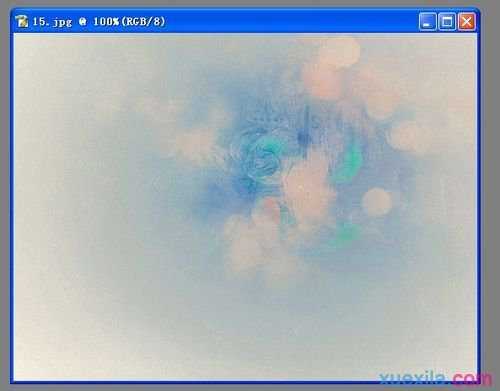
文件-打开。打开一张背景图片。
.文件-打开。打开人物图片。
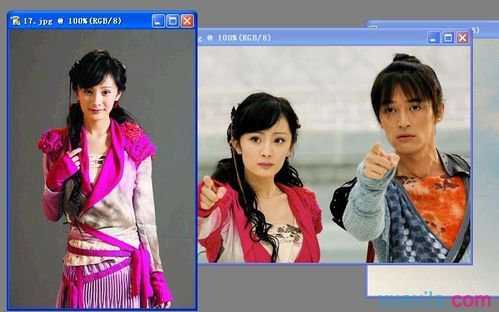
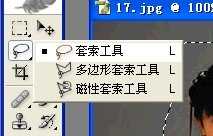
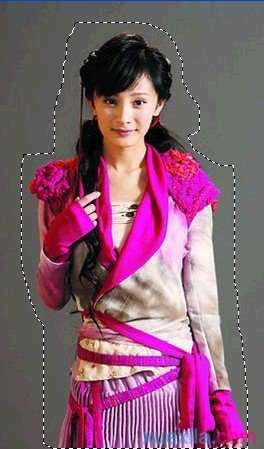
用套所工具勾出人物的大致轮廓 如下图
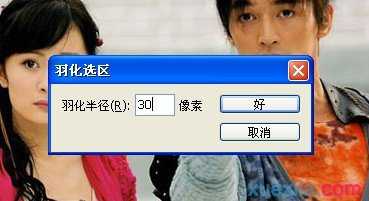
勾完后点选择菜单然后羽化(大约20~30像素,我一般选择这个范围,如果你觉得不太合适还可以自己试试别的像素~)
选择移动工具,将刚才勾出的人物拖动至背景图片上
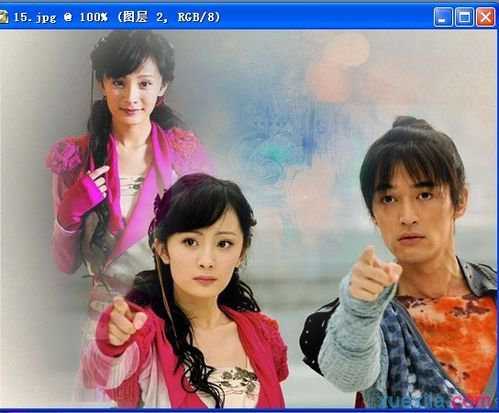
选择对应的图层Ctrl+T调整大小,调整完后回车键。

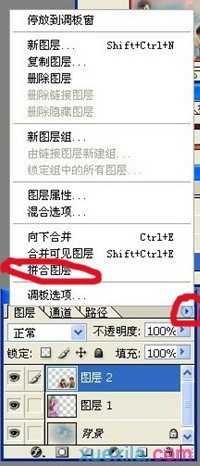
合并图层,点我标记的小箭头,然后拼合图层。
文件-储存为。看效果。

photoshop溶图教程的评论条评论