
photoshop滤镜怎么制作荧光花朵
发布时间:2016-11-09 20:31
相关话题
这个教程介绍的是PS滤镜中的风格化工具,用非常简单的几个操作就能做出美丽的花朵效果。有兴趣的朋友们可以一起学习一下。
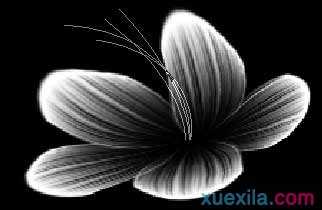
photoshop滤镜制作荧光花朵
最终效果图


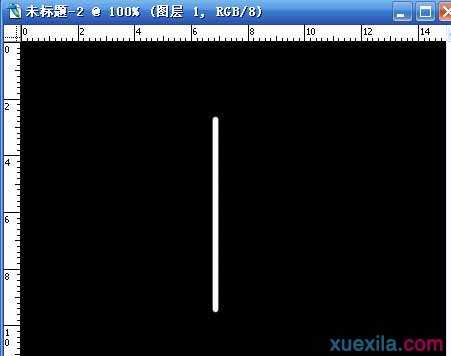
1,新建一个黑色背景的文件,再新建一个图层,用画笔画一根直线。
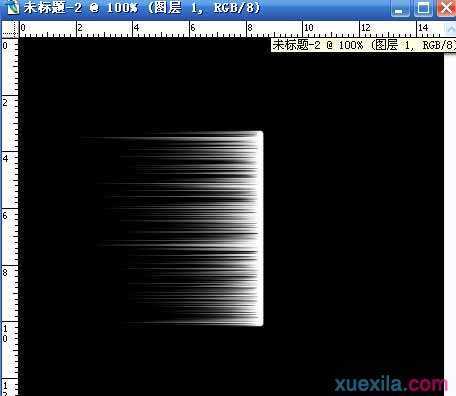
2,滤镜,分格化,风,多吹两次出下图。
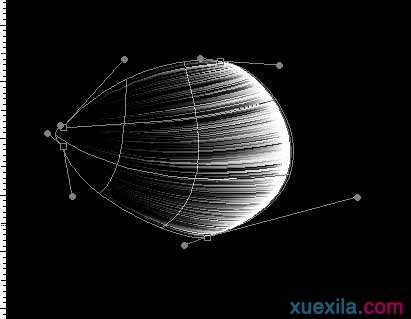
3,ctrl+T,右键,选择变形。

4,拖动结果,做出下图。
5,复制几个排列成下图,并把除背景层之外的图层合并。
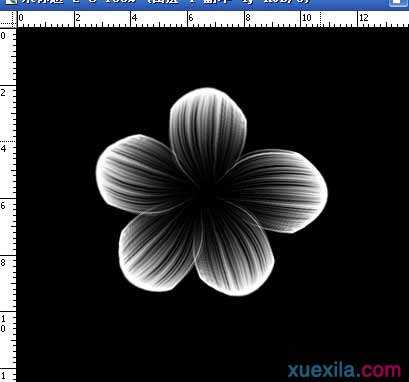
6,再来ctrl+T,右键,选择变形,做出下图。
8,把花瓣的图层手复制一份缩小做成花蕊的中心部分,3lian.com,并画面花的茎杆。
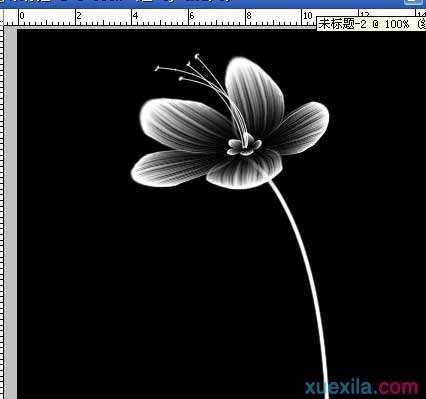
9,做到这步就差不多了,接下来就把花瓣,花蕊分别用图层样式里的颜色叠加成你喜欢的色,然后加上外发光,但有点要注意,比如叠成淡紫色,那么外发光就要发成深紫色,叠成Y100的黄,发光就要发成偏橙黄。然后用做花瓣的方法做出叶子加上点背景就大功告成。

photoshop滤镜怎么制作荧光花朵的评论条评论