
photoshop超强燃烧火焰字
发布时间:2016-12-02 08:38
相关话题
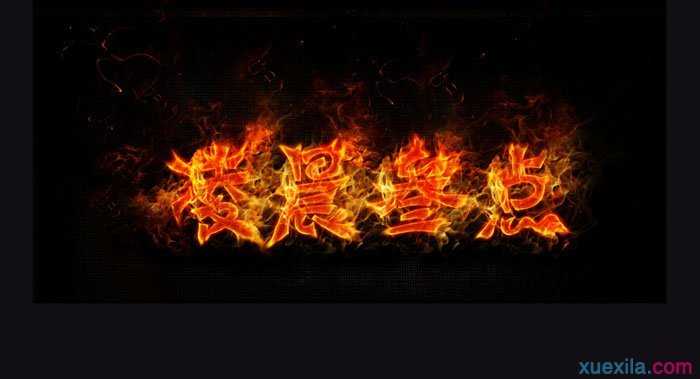
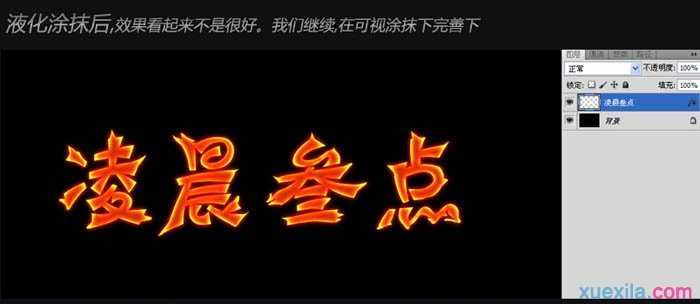
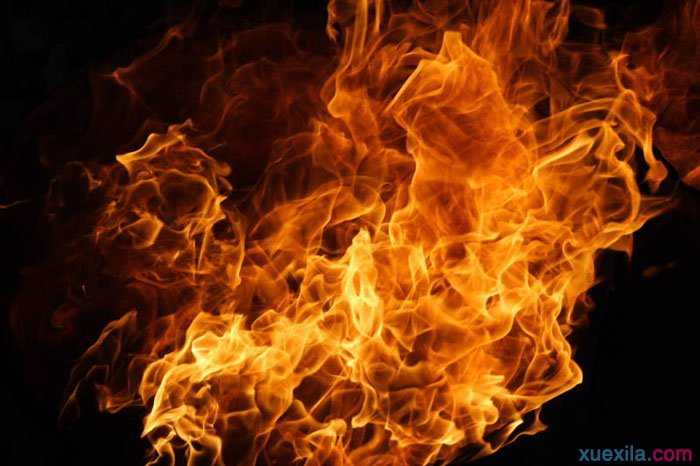
火焰字制作方法也很多,用火焰素材来制作是比较常用的。这里介绍的方法也比较类似,大致过程:先做出需要的文字,然后用图层样式增加一些火焰底色,然后用火焰素材叠加做出细腻的火焰效果。最终效果:
photoshop超强燃烧火焰字
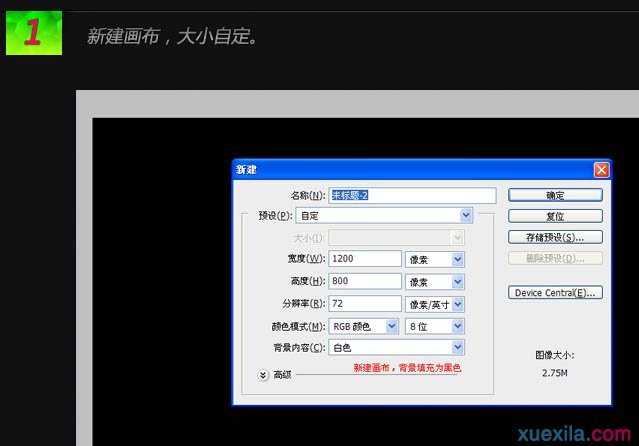
一、新建画布,大小自定,背景选择黑色。
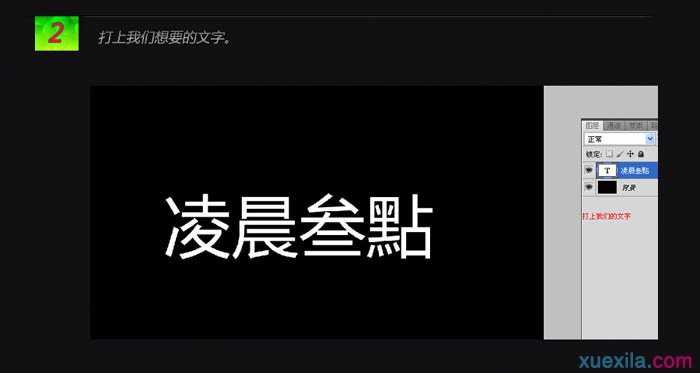
二、打上我们想要的文字。
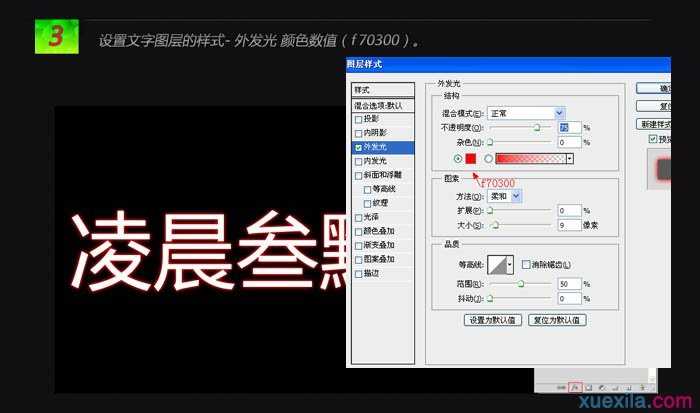
三、设置文字图层的样式:外发光,颜色设置为:#f70300。
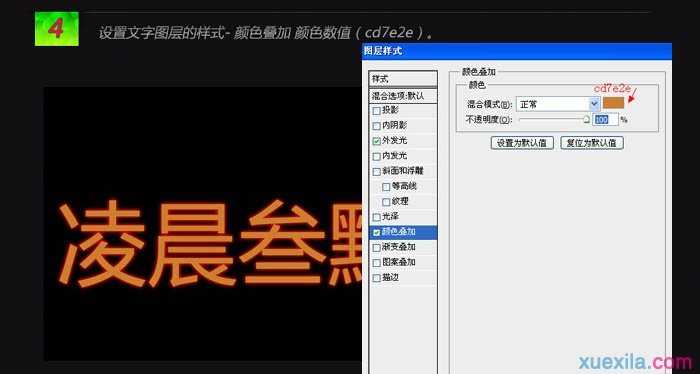
四、设置颜色叠加,颜色数值为:#cd7e2e。
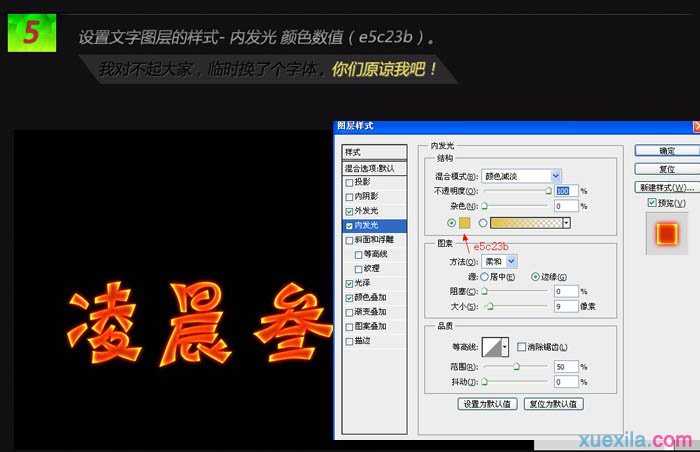
五、内发光,颜色:#e5c23b。
六、把文字图层栅格化图层,然后执行:滤镜 > 液化,画笔大小15,密度50,艳丽100。
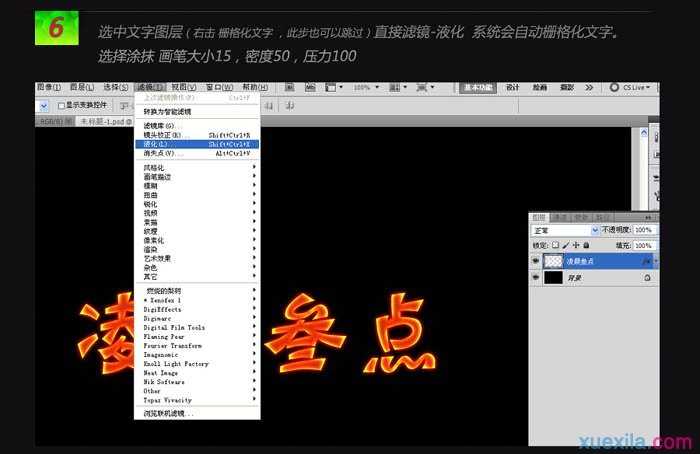
在文字上涂抹出自己想要的形状。
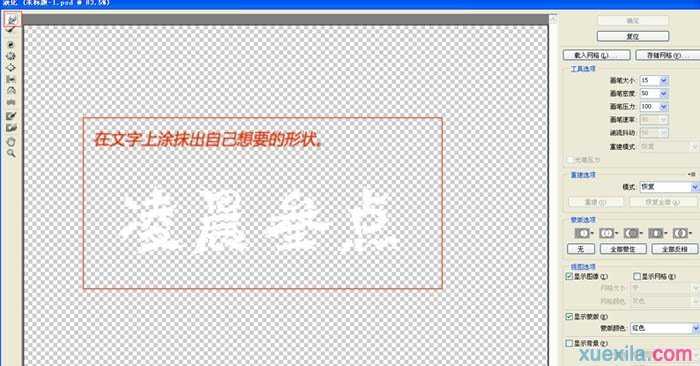
液化涂抹后,效果看起来不是很好,我们继续完善。
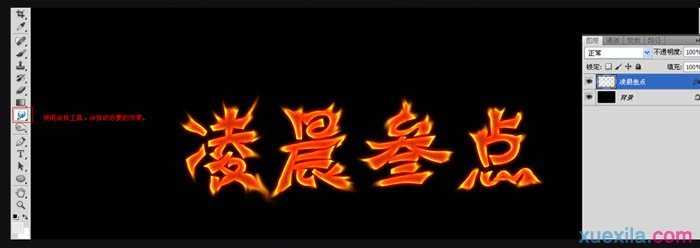
七、选择涂抹工具,涂抹成自己想要的效果,涂抹画笔数值为柔角15,强度50%。

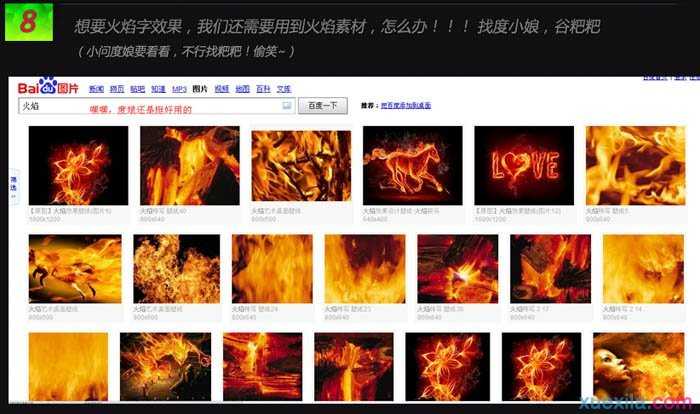
八、下载一些火焰素材。
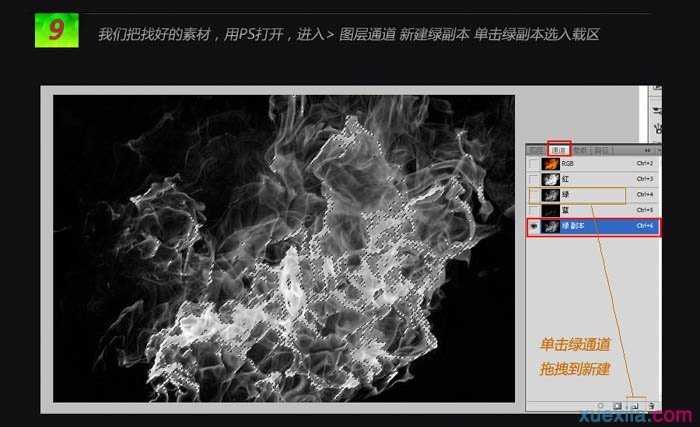
九、打开找好的素材,进入通道面板,把绿通道复制一层,然后载入选区。
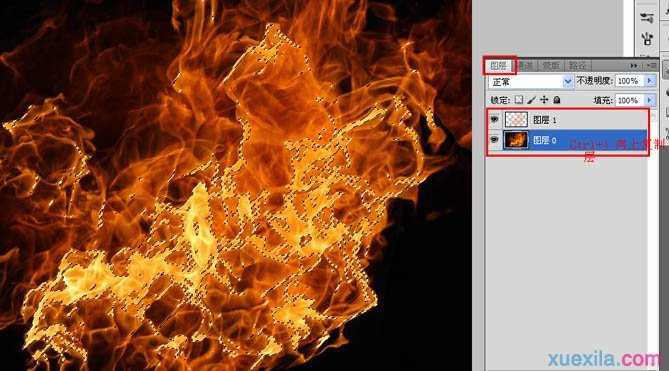
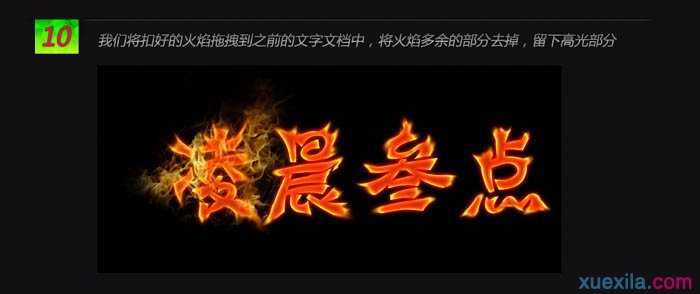
十、我们将抠好的火焰拖到文字文档中,将火焰多余的部分去除,留下高光部分。
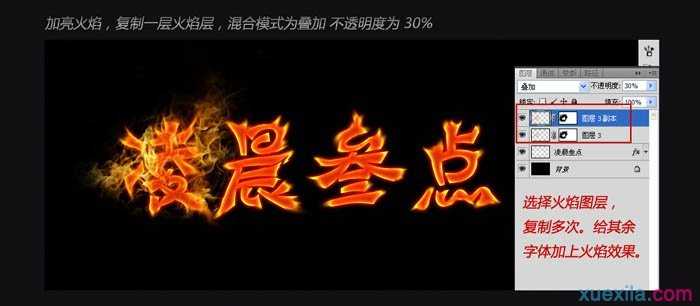
加亮火焰,复制一层火焰层,混合模式改为“叠加”,不透明度改为:30%。
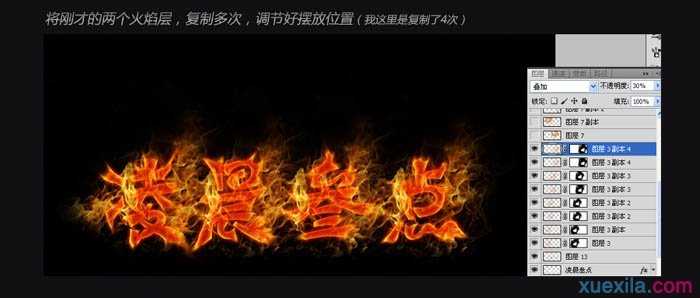
将刚才的两个火焰层合并,复制多次调节好摆放位置。
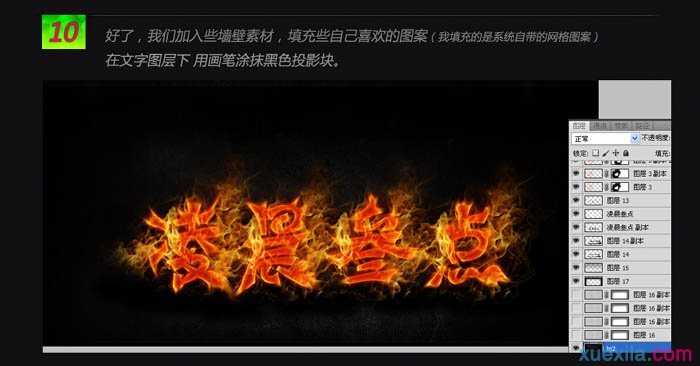
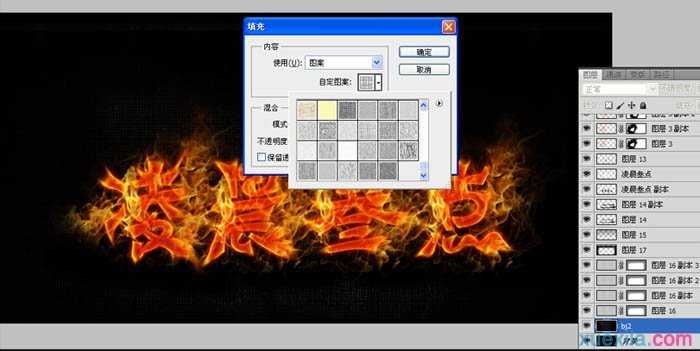
十一、适当增加背景纹理。
最终效果:
photoshop超强燃烧火焰字的评论条评论