
windows 7xp系统如何设置局域网文件共享
相关话题
设置共享可能对你电脑中的资料安全有负面影响,自己要对保密、安全、共享之间作个平衡。接下来大家跟着小编一起来了解一下windows 7xp系统如何设置局域网文件共享的解决方法吧。
windows 7xp系统设置局域网文件共享方法
问题分析
在访问权限方面,Windows 7确实做了诸多限制,通过对Windows XP和Windows 7操作系统的设置,可以实现Windows 7 和 Windows XP系统的局域网互连互通以及文件共享。
设置前必须先要关闭系统的防火墙(Mcafee、诺顿等)。若必须使用防火墙功能,建议咨询一下杀毒软件公司具体的局域网的权限设置方法。
解决方案
一、Windows XP系统的设置方法:
设置共享可能对您电脑中的资料安全有负面影响,自己要对保密、安全、共享之间作个平衡。为了提高安全性,建议使用NTFS磁盘格式,并对隐私文件设置读写权限。
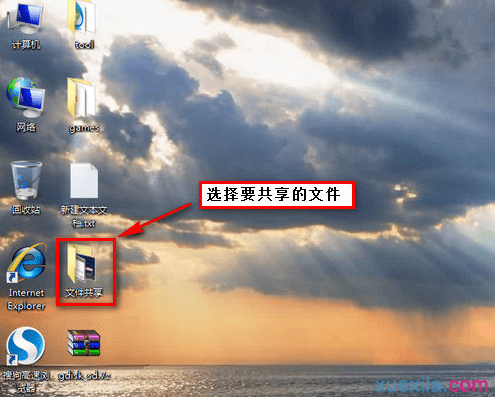
1、Windows 7系统设置方法:
选择要共享的文件夹;
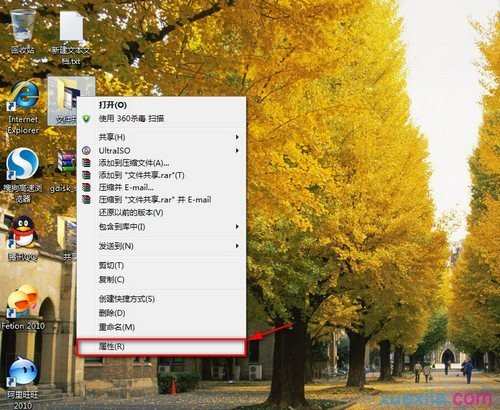
右键点击文件夹属性;
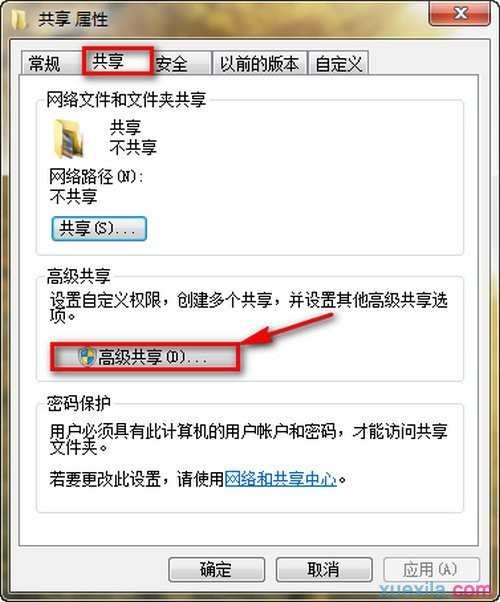
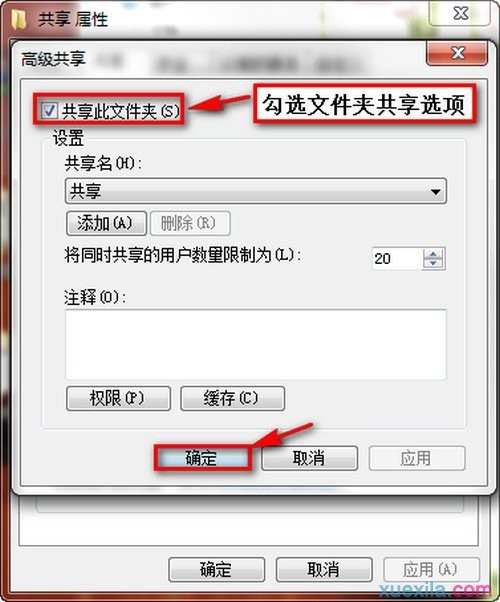
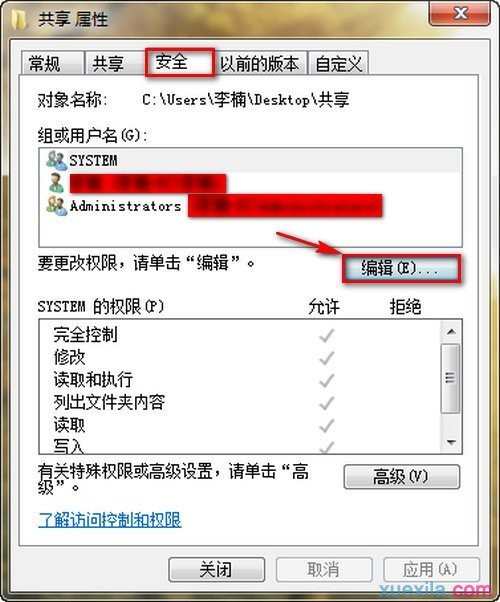
设置文件夹高级共享选项;
共享后选择安全选项,添加来宾权限
有时两台计算机访问共享文件时会提示输入密码是由于Win7端没有关闭密码保护共享,下面是关闭密码保护共享方法:
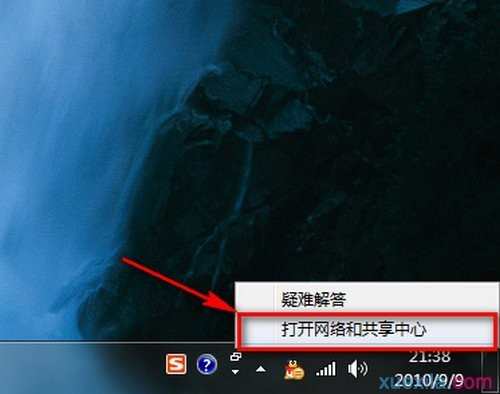
鼠标右键点击无线网络图标,选择打开网络和共享中心;
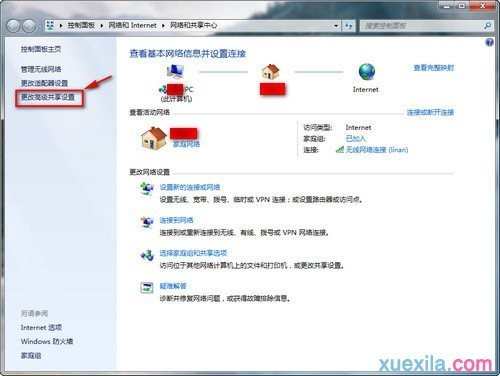
点击更改适配器设置;
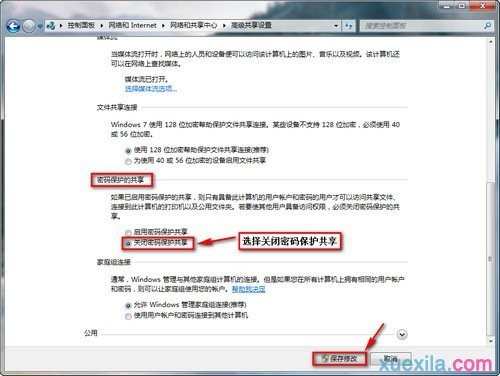
关闭密码保护共享,确定退出。
Windows 7计算机的共享设置完毕,从XP计算机端就可以访问共享的文件夹了。
2、XP端访问Windows 7端的方法:
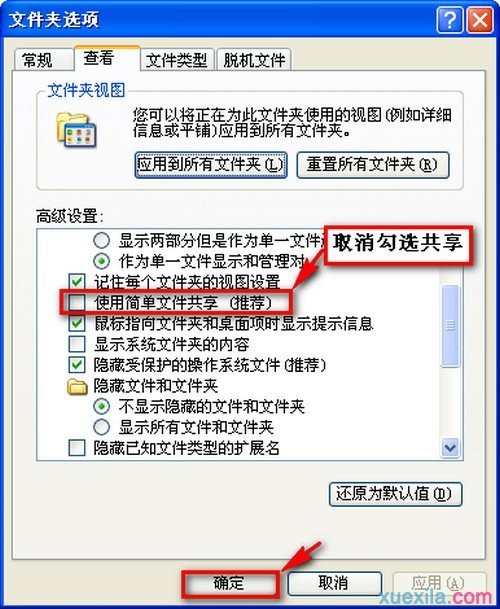
首先要设置XP端文件共享方式;
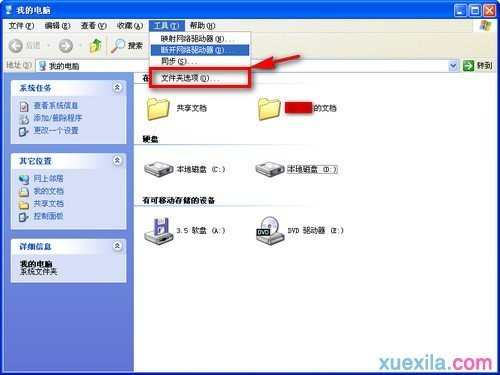
选择查看选项,取消勾简单共享后确定;
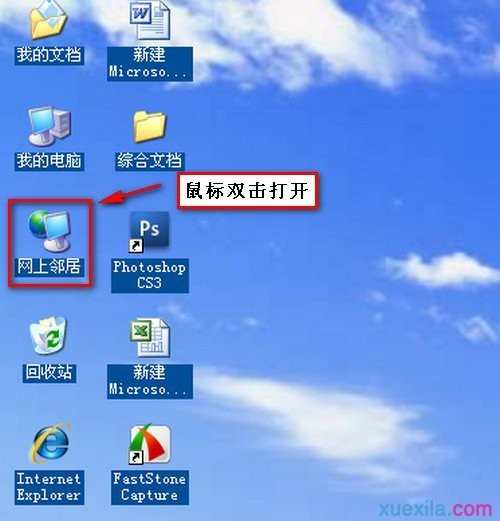
打开网上邻居;
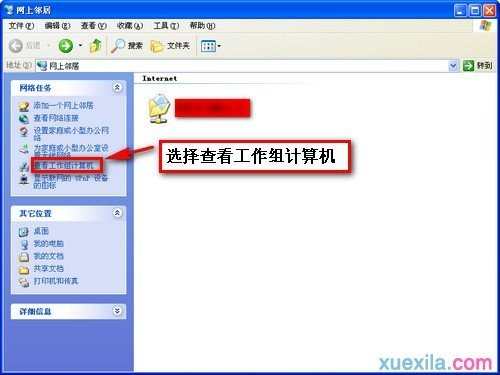
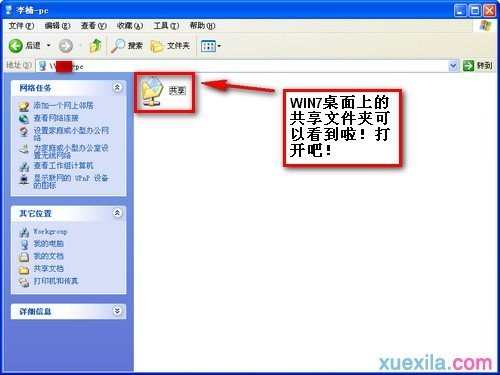
现在可以看到共享的Windows 7端计算机了。

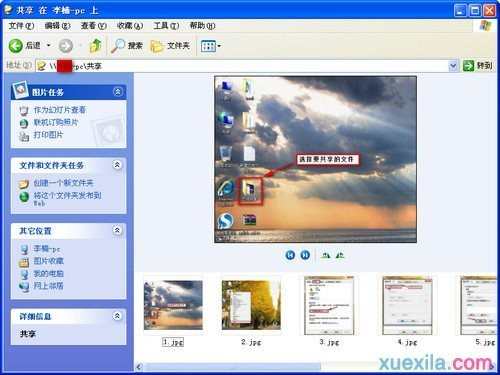
现在可以看到Windows 7端共享的文件。
文件夹里的图片
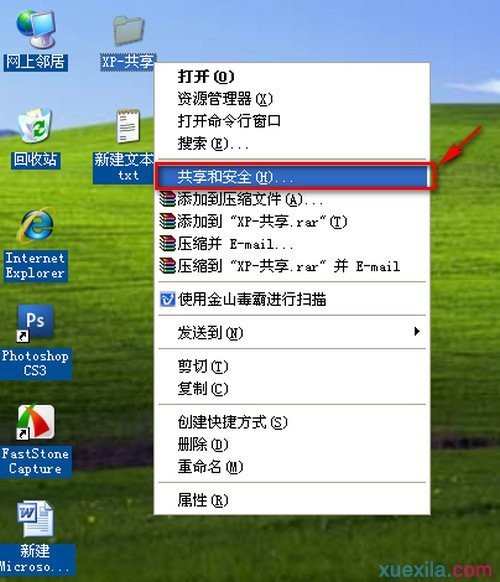
3、XP端共享文件夹设置方法:
选择要共享的文件夹,点击鼠标右键选择共享和安全;
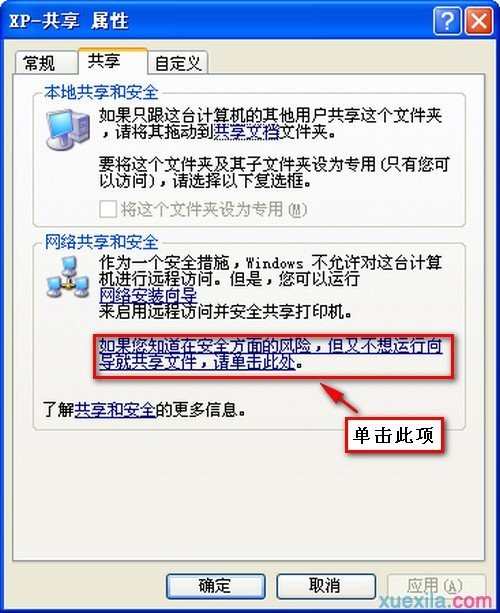
选择共享选项,单机如图所示位置;
启用文件共享;
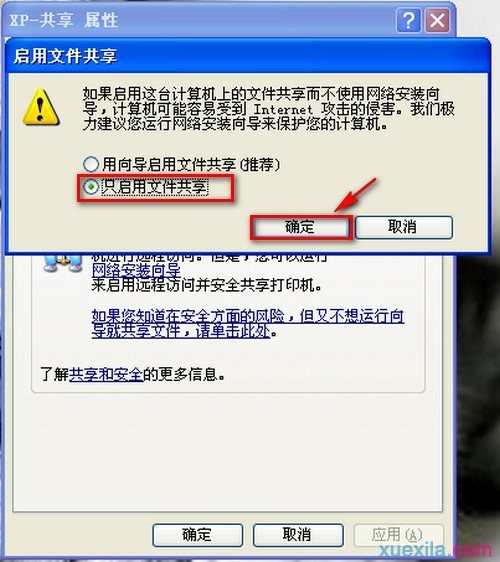
选择共享此文件夹,确定。
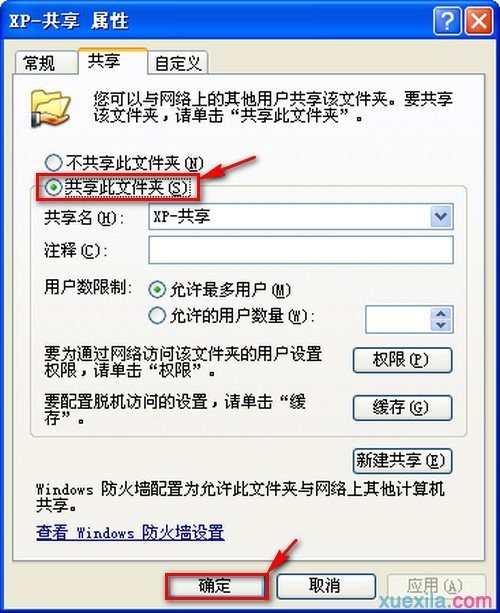
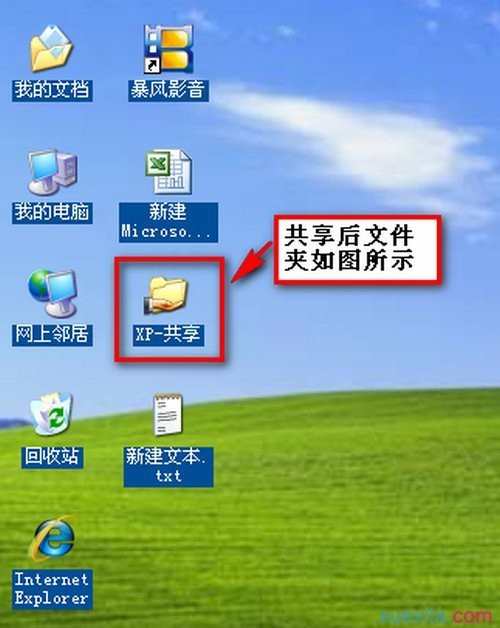
文件夹共享后图标如图所示:
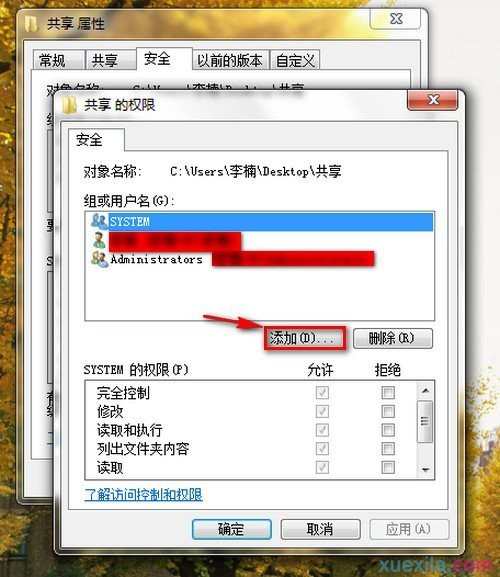
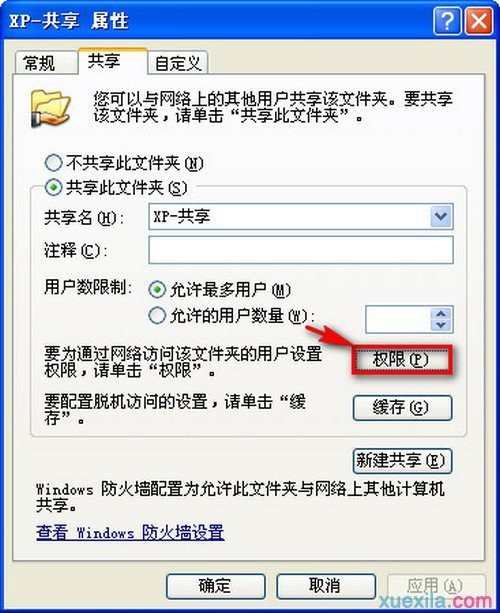
共享后目前还是无法让Windows 7端访问共享文件夹,需要添加访问权限,再次打开文件夹共享和安全选项设置权限;
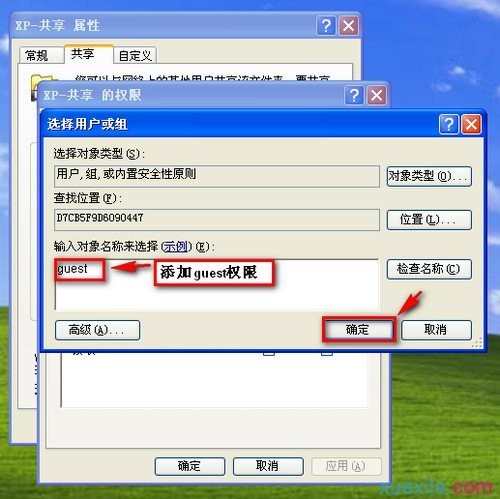
添加来宾账户;
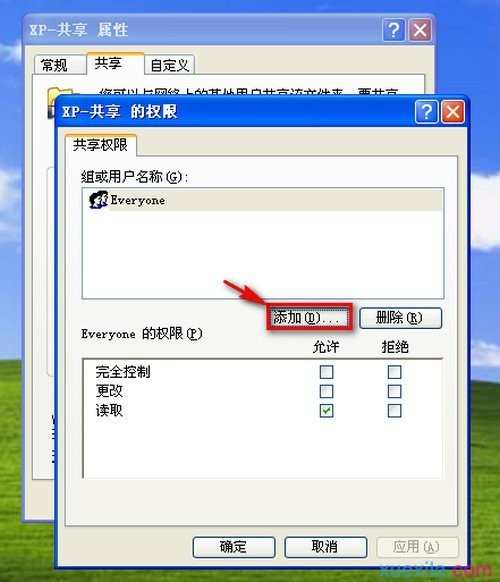
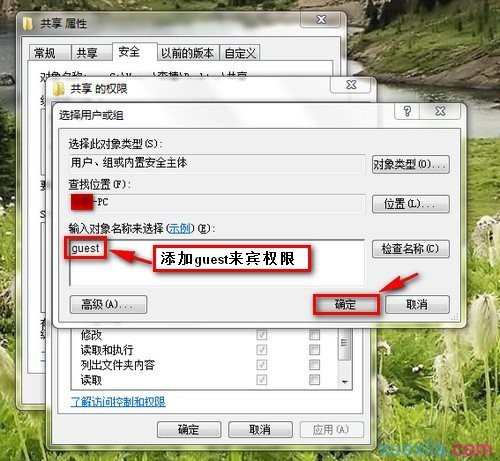
与Windows 7端一样,XP下也需要添加guest权限,添加后确定;
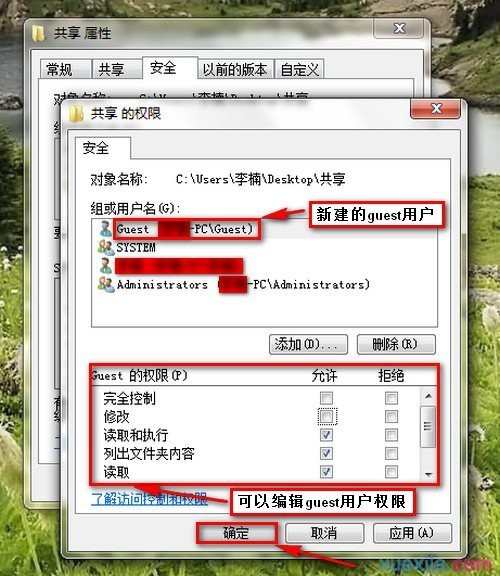
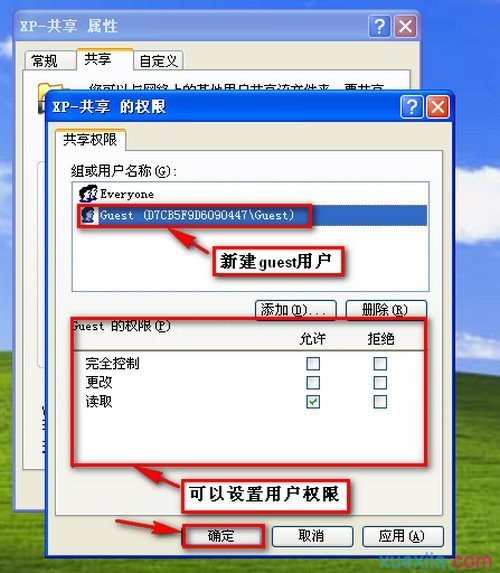
可以设置guest用户的访问权限,这里设置为可以读写,设置后确定关闭对话框;
XP端已经设置完毕,现在可以使用WIN7端来访问共享的文件夹了。
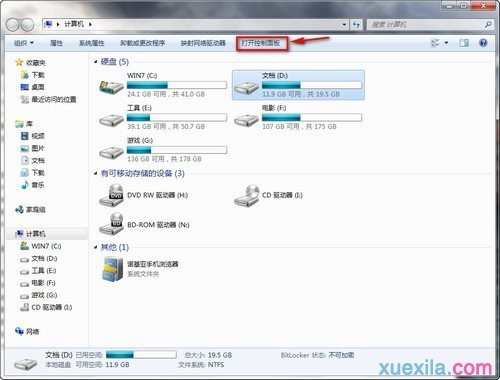
4、Windows 7下访问XP共享文件的方法:

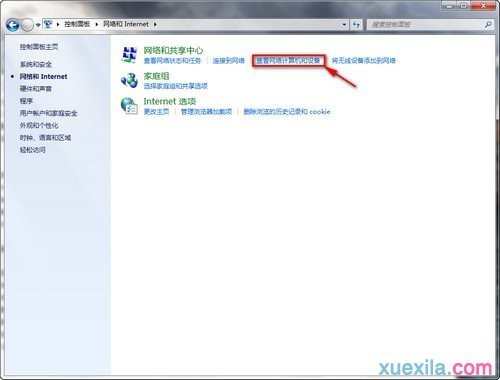
点击打开控制面板;
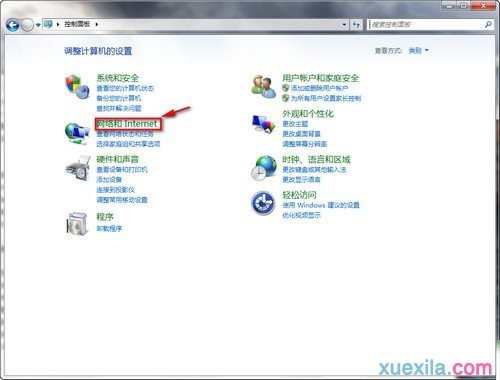
选择网络和Internet;
选择查看网络计算机和设备,如图:
刚才共享文件的XP端计算机可以看到了。
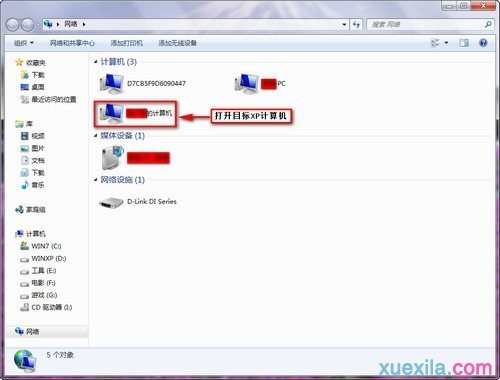
XP端的共享文件夹

同样可以正常访问
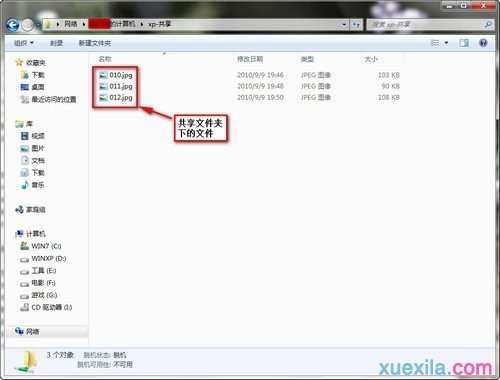
整个设置共享过程就结束了,如果想共享其他文件,可以直接设置文件为共享并添加guest权限即可访问。
windows 7xp系统如何设置局域网文件共享的评论条评论