
excel2003打印区域的设定教程
发布时间:2016-12-06 17:49
相关话题
Excel中的打印区域具体该如何进行设定呢?下面是由小编分享的excel2003打印区域的设定教程,以供大家阅读和学习。
excel2003打印区域的设定教程:
打印区域设定步骤1:本例文件中有多列数据,假设特殊原因,只想打印DEF中某部分区域。如何操作,请看下面介绍。
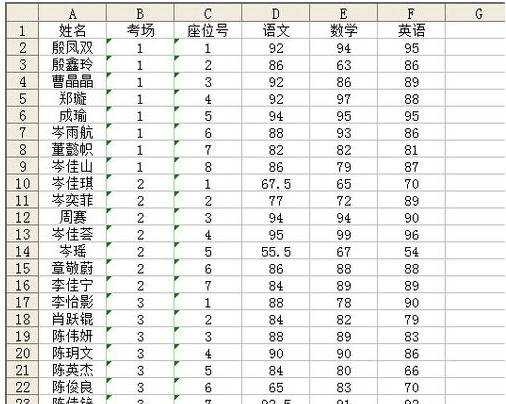
打印区域设定步骤2:选中需要打印的区域,本例提供的比较简单,选了D1:F9区域。
在EXCEL2003中,点文件菜单---打印区域---设置打印区域。
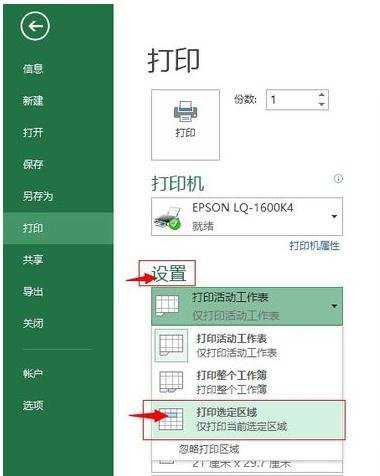
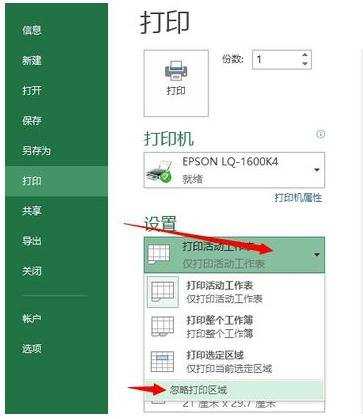
在EXCEL高版本中,一般是在打印设置中。如图大家参考一下,有打印选定区域类似的选择。

打印区域设定步骤3:设置完成后,在表格上会出现虚线圈住的区域。

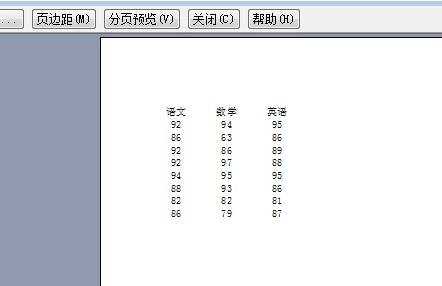
打印区域设定步骤4:通过打印机预览会看到如图效果,只打印刚才设置的区域。
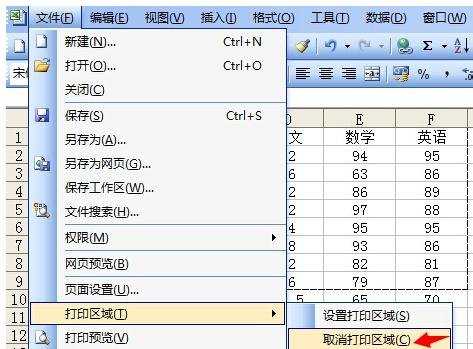
打印区域设定步骤5:取消打印区域是方法。不想使用这个设置了,可以通过如下操作取消。
在EXCEL2003中,点文件菜单---打印区域---取消打印区域。
在EXCEL高版本中,一般是在打印设置中。如图大家参考一下,有忽略打印选定区域类似的选择。
看了excel2003打印区域的设定教程还看了:
1.excel2003打印区域设置的教程
2.Excel2013怎么设置打印区域
3.excel2013设置打印区域的教程
4.excel2013设置打印区域的方法
5.怎么在excel2010中设置打印区域
6.如何设置excel打印区域的方法
7.EXCEL打印区域设置
excel2003打印区域的设定教程的评论条评论