
photoshop怎样制作灯光效果
发布时间:2017-06-01 10:00
相关话题
灯光是图片中重要的部分,大家可以用photoshop来制作灯光效果。那么大家知道photoshop怎样制作灯光效果吗?下面是小编整理的photoshop怎样制作灯光效果的方法,希望能帮到大家!
photoshop制作灯光效果的方法
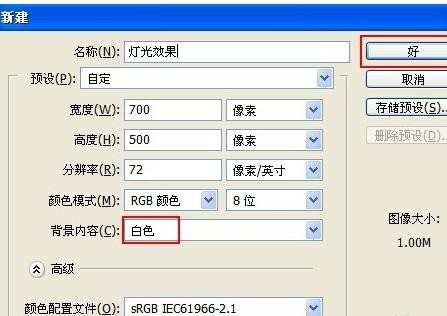
打开PS,新建一文档,大小根据需要来设置,背景色设置为“白色”。
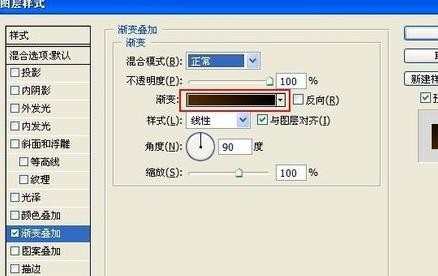
双击背景层,将其转换成“图层0”,然后双击该层,为其添加“图层样式”,参数如图所示:
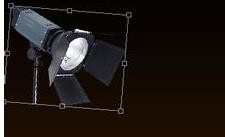
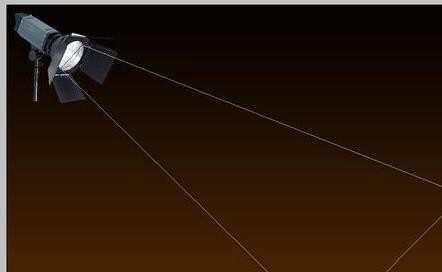
接着导入一张投影灯图片,并放置在舞台合适的位置。如图图片含有背景,可以利用魔术棒工具将背景选中并按“Delete”删除。
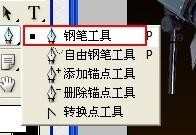
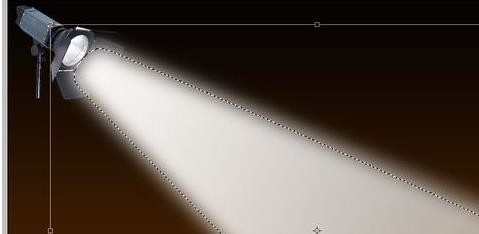
新建一图层,选择“工具栏”中的“钢笔工具”,在舞台绘制一个灯光投影路径形状。
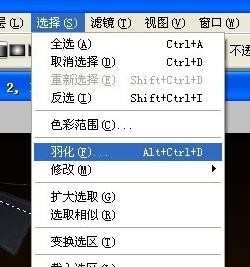
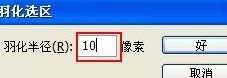
打开“路径”面板,点击“将路径作为选区载入”按钮。返回“图层”面板,并将选区的羽化半径设置为“10”。

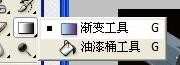
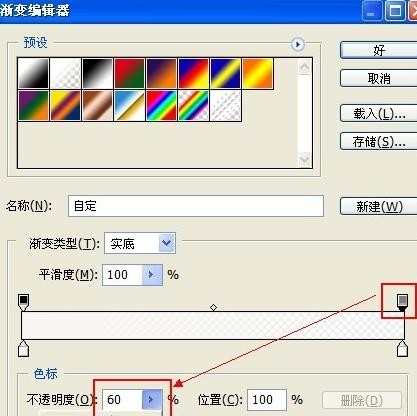
选择“工具栏”中的“渐变填充”工具,进行“白色”填充,同时将渐变条一侧的透明度设置为“60%”,然后在选区内拖动进行填充。接着按“Ctrl+T”对选区进行变换,效果如图:
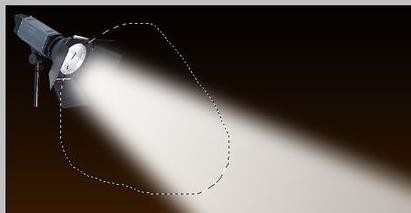
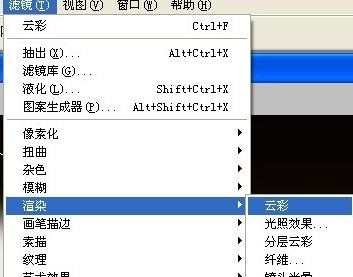
接下来,我们为投影灯增加一些烟雾效果。新建一图层,选择“工具栏”中的“套索”工具,在投影灯附近创建一选区,并设置羽化半径为“30”。采用默认背景色和前景色,然后执行“滤镜”→“渲染”→“云彩”。
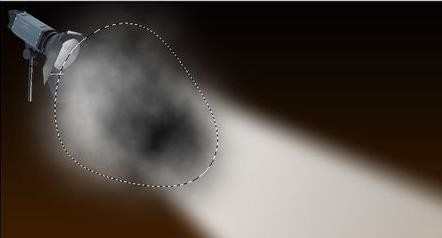
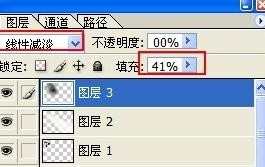
然后将图层混合模式设置为“颜色减淡”,填充设置为“40%”。
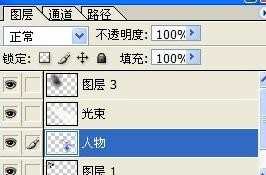
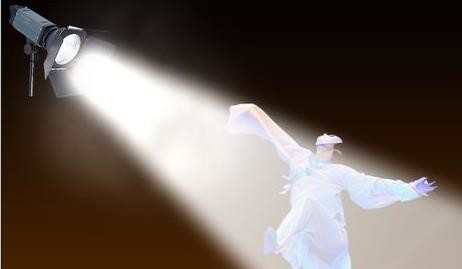
接下来,该人物出场啦!导入一张人物图片。将其放置在光束图层的下方,并调整其大小。最终效果如图:
photoshop怎样制作灯光效果的评论条评论